Lost Ark Class Overview

Introduction
Welcome to the Class Overview article! Here we provide a brief summary of all the classes available in the Western version. Each class is broken down into its sub-classes, including an overview of their identity, playstyle, leveling speed, and the role each of them plays in a group. Learn about their strengths and weaknesses so you can decide which class is right for you!
Disclaimer: The leveling speed shouldn't be the deciding factor for your class of choice. The average player needs about 15 hours to reach level 50 and unlock the end game content. Once you reach that point, the leveling speed of a class won't matter anymore for the rest of your journey in the world of Arkesia.
Assassin
Identity
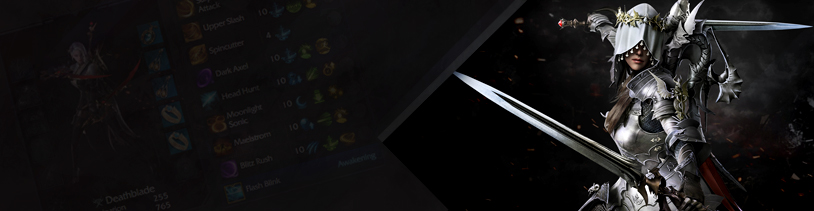
Deathblade has 3 Death Orbs you can charge by using any of her skills. You can enter Death Trance as long as at least 1 Death Orb is filled, immediately reducing the remaining cooldown of all of your skills and gaining access to Surge, your most powerful skill.
Playstyle
Surge focuses on building up to 60 stacks with each hit of your regular skills while in Death Trance, allowing you to unleash a significantly empowered Surge skill.
Remaining Energy removes the need to enter Death Trance at all, and instead plays around quickly gathering Death Orbs in a fast-paced playstyle, repeatedly using the Surge skill as part of your regular rotation.
Deathblade's Synergy (Open Weakness) increases the damage that the enemy receives from your party. This damage increase is more efficient for skills with the Back Attack and Front Attack affixes.
For more details, check out the Surge and Remaining Energy guides!
Pros & Cons
Identity
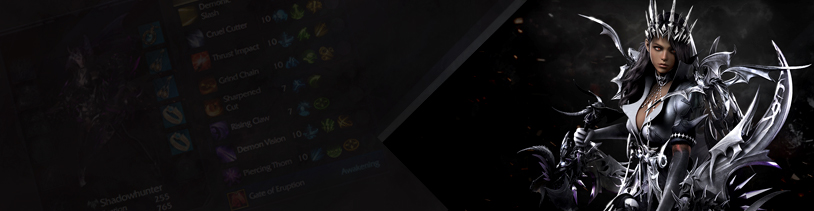
Shadowhunter's identity gauge is called Shadowburst Meter, and it is charged by using Intruder skills. While the main focus for Demonic Impulse is on Demon Skills, Perfect Suppression removes their ability to Demonize, keeping them in Human Form.
Playstyle
Demonic Impulse focuses on quickly rebuilding Shadowburst Meter in order to remain in Demon Form for as long as possible, unleashing powerful Demon Skills.
Perfect Suppression moves away from the Demon Form, instead opting to generate Shadowburst Meter to enhance specific Normal skills and deal increased damage thanks to Encroachment Release tripods.
Shadowhunter's Synergy (Damage Amplification) increases the damage that the enemy receives from your party.
For more details, check out the Perfect Suppression and Demonic Impulse guides!
Pros & Cons
Identity
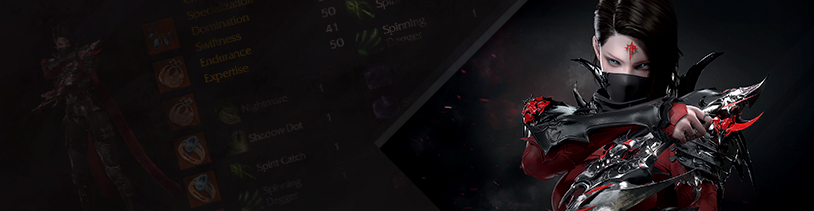
Reaper's identity consists of a Persona meter and a Chaos meter. They are both filled by using your Shadow and Dagger skills. Filling up your Persona meter allows you to enter Persona Mode (Z), expending your meter and putting you in a state of Stealth for 10 seconds and spawning a controllable Shadow Illusion. After filling the Persona meter, you can then fill up your Chaos meter, putting you in Chaos Mode and granting you increased stats.
Playstyle
Hunger focuses on quickly filling up the Chaos meter to enter Chaos Mode, remaining in it throughout the fight in order to enhance her damage and speed.
Lunar Voice focuses on quickly and repeatedly filling up the Persona meter, allowing you to enter Persona Mode and enhance your Swoop skills, unleashing powerful and precise attacks.
Reaper's Synergy (Poison: Corrosion) reduces the enemy's defense, increasing the damage they receive from your party.
For more details, check out the Hunger and Lunar Voice guides!
Pros & Cons
Identity
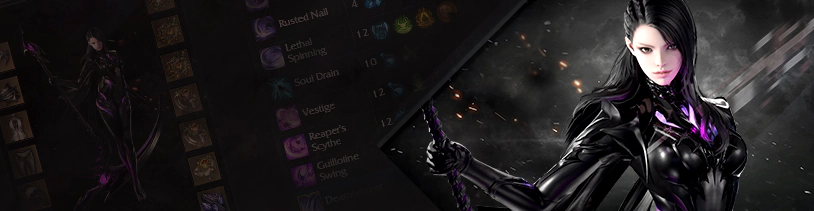
Souleater's identity consists of 3 Soul Stones and a Possession Meter. While Soul Stones can be built up by hitting both Ghast and Stygian skills, the Possession Meter can only be filled with Stygian and Deathlord skills. Soul Stones are required in order to use Deathlord skills.
Playstyle
Full Moon Harvester focuses on building Possession Meter through a mix of Ghast, Stygian, and Deathlord skills, allowing you to enter Deathlord Mode and quickly unleash an enhanced version of Deathlord skills, dealing devastating damage.
Night's Edge focuses on dealing consistent damage while filling up the Edge Meter, occasionally using enhanced Deathlord skills for a short and powerful burst. Once the Edge Meter is full, you are forced into Soul Snatch Mode, causing a tempo switch in your rotation. During Soul Snatch Mode, you receive significantly reduced cooldowns for your Ghast skills, but your Deathlord skills are disabled.
Souleater's Synergy (Damage Amplification) increases the damage that the enemy receives from your party.
For more details, check out the Full Moon Harvester and Night's Edge guides!
Pros & Cons
Gunner
Identity
Sharpshooter's identity consists of his Hawk Meter. When full, you can activate Summon Silverhawk, gaining access to Wings of Storm, which calls upon your hawk companion to deal damage in a wide area, and Last Rush, which expends your Hawk Meter to deal significant damage in a confined area.
Playstyle
Death Strike focuses on quickly building up your Hawk Meter and using Last Rush, significantly increasing your damage for a short period.
Loyal Companion focuses on activating Summon Silverhawk and maintaining your companion through skills that increase your Hawk Meter, allowing you to use Wings of Storm repeatedly while your hawk aids you in battle.
Sharpshooter's Synergy (Damage Amplification) increases the damage that the enemy receives from your party.
For more details, check out the Death Strike and Loyal Companion guides!
Pros & Cons
Identity
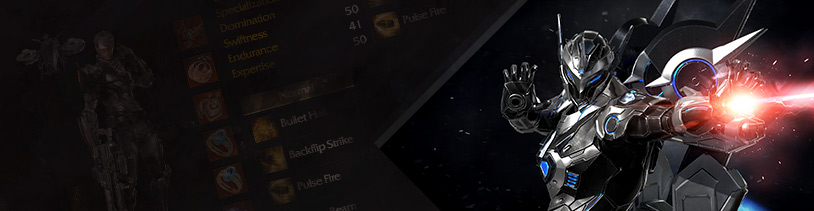
Artillerist's identity consists of a Firepower Meter and a Barrage Meter. The Firepower Meter has three levels that ramp up your damage as they get filled up, but it will rapidly decay if you are not actively attacking. The Barrage Meter fills up when you use Normal skills and allows you to enter Barrage Mode when full, giving you access to powerful artillery skills.
Playstyle
Barrage Enhancement focuses on utilizing Normal skills to generate Barrage Meter and enter Barrage Mode as often as possible, raining down a burst of artillery fire each time.
Firepower Enhancement moves away from using Barrage Mode, instead focusing entirely on Normal skills and maintaining your Firepower Meter at its highest at all times, allowing you to keep blasting your enemies.
Artillerist's Synergy (Armor Destruction) reduces the enemy's defense, increasing the damage they receive from your party.
For more details, check out the Barrage Enhancement and Firepower Enhancement guides!
Pros & Cons
Identity
Deadeye can swap between three different weapon stances, allowing you to skilfully adapt to any situation. Pistol skills are used for mobility and engagement, Shotgun skills deal high damage in melee range, and Rifle skills deal moderate damage at long range.
Playstyle
Enhanced Weapon uses all three weapon stances, but most of your damage comes from Shotgun skills, which become significantly more powerful when used from close range.
Pistoleer only has access to Pistol skills, allowing you to unleash a hail of bullets in a highly agile and stylish playstyle.
Deadeye's Synergy (Weakness Exposure) increases the Crit Rate of your party's attacks against the enemy.
For more details, check out the Enhanced Weapon and Pistoleer guides!
Pros & Cons
Identity
Gunslinger can swap between three different weapon stances, allowing you to skilfully adapt to any situation. Pistol skills are used for mobility and utility, Shotgun skills deal concentrated damage in melee range, and Rifle skills deal significant damage at long range.
Playstyle
Peacemaker uses all three weapon stances, but most of your damage comes from Shotgun and Rifle skills, relegating Pistol skills to fulfilling a utility role.
Time to Hunt cannot use Shotgun skills, instead using her Rifle skills to unleash devastating long-range shots, while her Pistol skills allow you to remain on the move.
Gunslinger's Synergy (Weakness Exposure) increases the Crit Rate of your party's attacks against the enemy.
For more details, check out the Peacemaker and Time to Hunt guides!
Pros & Cons
Identity
Machinist's identity consists of Core Energy which is generated with Drone and Joint skills. Once your Core Energy is filled up, you can enter Sync Mode, unlocking powerful Sync skills and gaining a strong shield for the entire duration of Sync Mode. Unlike other classes, your regular skills consume Battery instead of mana, which means you need to be mindful of managing this resource, since support buffs will not regenerate it.
Playstyle
Evolutionary Legacy focuses on quickly rebuilding Core Energy in order to remain in Sync Mode for as long as possible, unleashing powerful Sync skills. Additionally, some of your Sync skills have special effects when used in quick combination with other Sync skills.
Arthetinean Skill moves away from the Sync Mode, instead relying on commanding your drone and using your SMG as your primary tools for Normal, Drone, and Joint skills in a more tactical playstyle.
Machinist's Synergy (Fighting Spirit Enh.) increases the Attack Power of everyone in your party.
For more details, check out the Evolutionary Legacy and Arthetinean Skill guides!
Pros & Cons
Mage
Identity
Bard's identity consists of a Serenade Meter with three Bubbles, filled up by your regular skills. Once you have at least one Bubble, you can choose to use either Serenade of Courage for a powerful damage buff, or Serenade of Salvation for a strong healing aura. Both Serenade skills consume all available Bubbles, and their effect scales with the amount of Bubbles used.
Playstyle
Bard is one of the Support classes in Lost Ark. Your primary role revolves around providing your party with various damage buffs, but keeping your party members safe through Shields, Damage Reduction, and Heals also falls within your responsibilities. This effectively makes having a Support class in every party a necessity.
For more details, check out the Bard guide!
Pros & Cons
Identity
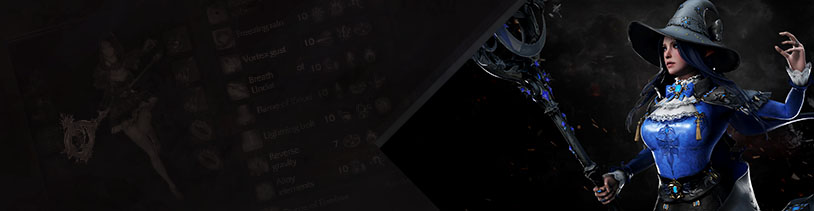
Sorceress's identity consists of an Arcane Meter. By consuming varying amounts of it, you can activate Arcane Rupture to increase the damage of your elemental skills and boost the effects of skills that have specific elements, or you can use Blink for mobility.
Playstyle
Igniter focuses on fully building up her Arcane Meter and activating Arcane Rupture to unleash a devastating burst of skills.
Reflux relies on constantly and rapidly slinging spells at your enemies while staying on the move by using Blink.
Sorceress's Synergy (Damage Amplification) increases the damage that the enemy receives from your party.
For more details, check out the Igniter and Reflux guides!
Pros & Cons
Identity
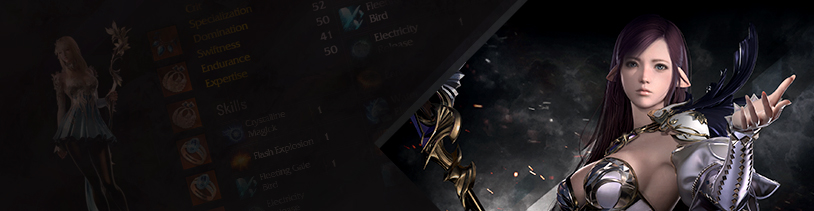
Summoner's identity consists of Ancient Energy, which allows her to summon Ancient Elementals to help aid her in battle. As your accumulated Ancient Energy increases, you gain access to a wider variety of Elementals, ranging from a Giant's Foot smashing your enemy to an Elemental Lord unleashing their power. Additionally, she is able to summon powerful companions (or Summons) to fight by her side.
Playstyle
Master Summoner focuses on enhancing her Ancient Elementals and constantly making good use of them for damage and utility. Akir is her favorite elemental!
Communication Overflow focuses on enhancing your Summons, such as Maririn and Pauru, allowing them to do most of the work for you.
Summoner's Synergy (Corrosion Diffusion) reduces the enemy's defense, increasing the damage they receive from your party.
For more details, check out the Master Summoner and Communication Overflow guides!
Pros & Cons
Identity
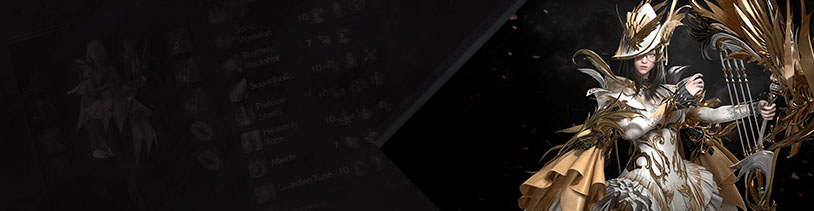
Arcanist's identity consists of a Card Meter, which allows you to draw from a deck of Tarot Cards when filled. You can hold up to two Cards at the same time, and using them grants unique effects. Additionally, there's a special stacking mechanic called Ruin Detonation, where Ruin Stacks are generated through Stacking skills and detonated by Ruin skills, empowering their damage.
Playstyle
Empress's Grace focuses on Ruin Detonation, quickly accumulating Ruin Stacks through Stacking skills and strategically using the right Cards to empower her Ruin skills even further.
Order of the Emperor focuses on rapidly cycling through your Normal skills, generating Cards and allowing you to consistently have several of their respective buffs active. Occasionally, you can detonate the Ruin Stacks that you've accumulated passively while cycling through other skills.
Arcanist's Synergy (Weakness Exposure) increases the Crit Rate of your party's attacks against the enemy.
For more details, check out the Empress's Grace and Order of the Emperor guides!
Pros & Cons
Martial Artist
Identity
Scrapper's identity consists of a dual system, using a Shock gauge and a Stamina gauge. Using Shock skills consumes some of your Shock gauge and generates Stamina gauge in exchange, while using Stamina skills consumes some of your Stamina gauge and generates Shock gauge in exchange. Additionally, you have access to a meter that allows you to activate Tenacity Release when filled up enabling a powerful state.
Playstyle
Ultimate Skill: Taijutsu focuses on Stamina skills, delivering unrelenting blows in a highly mobile playstyle. Since your Stamina generation is incredibly high, allowing you to keep pounding your enemies, Tenacity Release becomes an occasional afterthought.
Shock Training focuses on methodically using your Stamina skills to generate Shock and deliver concussive blows against your enemies. When your meter is full, you can use Tenacity Release, empowering your abilities even further.
Scrapper's Synergy (Damage Amplification) increases the damage that the enemy receives from your party.
For more details, check out the Taijutsu and Shock Training guides!
Pros & Cons
Identity
Soulfist's identity consists of a Hype Meter with three levels. This allows you to enter a state of Hype, with each level granting you progressively stronger effects, but also significantly lowering the duration. Once Hype ends, there will be a short exhaustion period where you cannot enter this state.
Playstyle
Robust Spirit focuses on rising straight to the third level of Hype, allowing you to take advantage of a massive burst window and annihilating your enemies with your Awakening skill, World Decimation. The exhaustion period after each burst window is relatively long.
Energy Overflow focuses on managing all three Hype levels to maximize the amount of time spent in this state and your damage output, through a constant flurry of attacks. Playing around Hype timing and its exhaustion period creates a dynamic playstyle that can change with each encounter.
Soulfist's Synergy (Fighting Spirit Enh.) increases the Attack Power of everyone in your party.
For more details, check out the Robust Spirit and Energy Overflow guides!
Pros & Cons

Identity
Wardancer's identity consists of Esoteric Orbs, filled up by landing your regular skills. Consuming Esoteric Orbs allows you to unleash powerful Esoteric Skills against your enemies.
Playstyle
Esoteric Skill Enhancement focuses on constantly generating Esoteric Orbs, making sure you have as many as possible available with each use of Esoteric Skills in order to empower their damage.
First Intention locks away your ability to generate and use Esoteric Orbs and Esoteric Skills, instead focusing on strengthening your martial arts skills.
Wardancer's Synergy (Weakness Exposure) increases the Crit Rate of your party's attacks against the enemy.
For more details, check out the Esoteric Skill Enhancement and First Intention guides!
Pros & Cons
Identity
Glaivier's identity consists of a Dual Meter with three bars, filled up with each skill that lands on an enemy. Additionally, you have access to two stances - Focus and Flurry, each one coming with its own set of skills. Swapping between stances can be done freely, but in order to gain the buffs that come with it, you must consume one bar of the Dual Meter.
Playstyle
Pinnacle focuses on masterfully swapping between stances and using the right skill for each given situation. Normally, the Focus and Flurry stances come with separate buffs, but this build harmonizes them and grants you both effects combined regardless of the stance you are in.
Control locks away your ability to enter the Focus stance, instead utilizing your Dual Meter to empower some of your Flurry skills through the Final Decision tripods in a fast-paced playstyle.
Glaivier's Synergy (Target Weak Point) increases the damage of your party's Critical Hits against the enemy.
For more details, check out the Pinnacle and Control guides!
Pros & Cons
Identity
Striker's identity consists of Esoteric Orbs, filled up by landing your regular skills. Consuming Esoteric Orbs allows you to unleash powerful Esoteric Skills against your enemies.
Playstyle
Esoteric Flurry focuses on swiftly unleashing multiple Esoteric Skills, with each one consuming a single Esoteric Orb.
Deathblow focuses on significantly empowering your Esoteric Skills, with each one consuming all available Esoteric Orbs at once.
Striker's Synergy (Weakness Exposure) increases the Crit Rate of your party's attacks against the enemy.
For more details, check out the Esoteric Flurry and Deathblow guides!
Pros & Cons
Identity
Breaker's identity consists of a dual system, using a Shock gauge and a Stamina gauge. Using Shock skills consumes some of your Shock gauge and generates Stamina gauge in exchange, while using Stamina skills consumes some of your Stamina gauge and generates Shock gauge in exchange. Additionally, you have access to a meter that behaves differently, depending on your Class Engraving.
Playstyle
 Asura's Path focuses on alternating between your Shock and Stamina skills in order to fill up your Asura Energy, allowing you to enter Asura State and enhance your basic attacks into a powerful flurry of blows.
 Brawl King Storm focuses on quickly building up your Tenacious Power through Stamina and Shock skills, allowing you to enter Brawl King Stance. While in this state, you gain additional stats and the ability to use
  Falling Blossoms, a new and incredibly powerful skill.
Breaker's Synergy (Damage Amplification) increases the damage that the enemy receives from your party.
For more details, check out the Asura's Path and Kingfist guides!
Pros & Cons
Warrior
Identity
Berserker's identity consists of a Fury Meter that fills up when you land your regular skills. When full, it allows you to enter Burst Mode, granting you increased damage and speed, and access to Bloody Rush, an incredibly powerful skill.
Playstyle
Berserker's Technique focuses on methodically generating Fury Meter to enter Burst Mode as often as possible, significantly empowering your skills and increasing your damage.
Mayhem allows you to spend the entirety of the fight in Burst Mode, delivering a fast-paced playstyle where you are relentlessly slashing at your enemies.
Berserker's Synergy (Damage Amplification) increases the damage that the enemy receives from your party.
For more details, check out the Berserker's Technique and Mayhem guides!
Pros & Cons
Identity
Gunlancer's identity consists of a Shield Meter, which allows you to enter a powerful Defensive Stance. Once in Defensive Stance your Shield Meter turns into an unyielding shield, granting you Super Armor and access to Battlefield Shield.
Playstyle
Combat Readiness focuses on upkeeping your Defensive Stance for as long as possible, empowering your Shield skills. This allows you to become a truly resilient warrior that your allies can rally behind.
Lone Knight primarily focuses on using your Lance skills in precise burst windows. While this build allows you to go on the offensive and trade blows head-on with your enemies, its defensive capability is sacrificed in exchange for combat prowess.
Gunlancer's main Synergy (Armor Destruction) reduces the enemy's defense, increasing the damage they receive from your party. Their secondary Synergy (Open Weakness) increases the damage that the enemy receives from your party. This damage increase is more efficient for skills with the Back Attack and Front Attack affixes.
For more details, check out the Combat Readiness and Lone Knight guides!
Pros & Cons
Identity
Paladin's identity consists of a Piety Meter that fills up when you land your regular skills. When full, it allows you to activate Holy Aura, granting your party a powerful damage buff while healing them and reducing damage taken at the same time, thanks to Blessed Aura.
Playstyle
Paladin is one of the Support classes in Lost Ark. Your primary role revolves around providing your party with various damage buffs, but keeping your party members safe through Shields, Damage Reduction, and Heals also falls within your responsibilities. This effectively makes having a Support class in every party a necessity.
For more details, check out the Paladin guide!
Pros & Cons
Identity
Destroyer's identity consists of a Gravity Meter and three Gravity Cores. You gain Gravity Cores by using Concentration skills, allowing you to empower a Gravity Release skill at three Cores. This empowered skill will generate Gravity Meter, which once full allows you to activate Hypergravity, significantly empowering your basic attacks and defensive capability in exchange for becoming almost stationary.
Playstyle
Rage Hammer focuses on using Concentration skills to generate Gravity Cores and empower your Gravity Release skills. Gravity Release skills can become incredibly strong, dealing monumental damage with each blow and often shielding you from harm.
Gravity Training focuses on using Concentration skills to generate Gravity Cores, empowering your Gravity Release skills and filling up your Gravity Meter, allowing you to consistently enter Hypergravity. Once in this state, your focus shifts on relentlessly smashing down your enemies.
Destroyer's Synergy (Armor Destruction) reduces the enemy's defense, increasing the damage they receive from your party.
For more details, check out the Rage Hammer and Gravity Training guides!
Pros & Cons
Identity
Slayer's identity consists of a Fury Meter that fills up when you land your regular skills. When full, it allows you to enter Burst Mode, granting you increased damage and speed, and access to Bloodlust, an incredibly powerful skill.
Playstyle
Predator focuses on quickly building your Fury Meter at the beginning of the encounter and entering Burst Mode, then fighting against your own identity to remain in Burst Mode for as long as possible, until you inevitably become Exhausted. When that happens, there's a short period of cooling down when you are unable to enter Burst Mode again.
Punisher focuses on repeatedly building your Fury Meter throughout the fight, entering Burst Mode when it fills up and quickly unleashing a powerful rush of damage on your enemies.
Slayer's Synergy (Damage Amplification) increases the damage that the enemy receives from your party.
For more details, check out the Predator and Punisher guides!
Pros & Cons
Specialist
Identity
Artist's identity consists of three Harmony Orbs, filled up when you land your regular skills. Most of the time, you will be using Moonfall, consuming two Harmony Orbs and granting your party a powerful damage buff. However, sometimes you are required to cast Sunrise, consuming a single Harmony Orb and granting nearby party members a strong heal effect, as well as leaving behind a Sun Marble which can be consumed by a single party member to restore even more of their health.
Playstyle
Artist is one of the Support classes in Lost Ark. Your primary role revolves around providing your party with various damage buffs, but keeping your party members safe through Shields, Damage Reduction, and Heals also falls within your responsibilities. This effectively makes having a Support class in every party a necessity.
For more details, check out the Artist guide!
Pros & Cons

Identity
Aeromancer's identity consists of a Raindrop Meter which fills up when you land your skills, allowing you to enter Sun Shower state when full. During Sun Shower, you gain a powerful aura around you.
Playstyle
Drizzle focuses on using Weather Skills to quickly fill up your Raindrop Meter and remain in Sun Shower for as long as possible, enhancing your damage.
Wind Fury focuses on using your Umbrella Skills in a fast-paced playstyle, alternating between skills with the Current Occurrence tripod and those with the Reversal tripod.
Aeromancer's Synergy (Weakness Exposure) increases the Crit Rate of your party's attacks against the enemy.
For more details, check out the Drizzle and Wind Fury guides!
Pros & Cons
Identity
Wildsoul's identity consists of a Phantom Beast Energy gauge that is utilised differently by each playstyle, either to transform yourself into a Beast or to enter an Awakening state in which you summon beasts to attack for you.
Playstyle
Wild Instincts focuses on methodically generating Fox Energy and Bear Energy while consuming Phantom Beast Energy, to unleash powerful finishers providing massive damage every few rotations.
Phantom Beast Awakening focuses on quickly generating Phantom Beast Energy to enter the Phantom Beast Awakening state for 30 seconds, sending beasts to attack with your spells and using the identity mechanic to reduce cooldowns and regenerate mana.
Wildsoul's Synergy (Armor Destruction) reduces the defense of your foe, increasing the damage it receives.
For more details, check out the Wild Instincts and Phantom Beast Awakening guides!
Pros & Cons
Summary
We hope that this article provided you with some insight about the basics of each class. If you managed to narrow down your choices but still can't decide, check out our in-depth Class Guides!
Alternatively, joining our Discord and asking the helpful veteran players in the Maxroll Lost Ark Community for advice could help answer any questions you might still have after reading through this article.
Credits
Written by Perciculum
Reviewed by Facefoot
Updated by Sekwah, Raeinor, and Civo