Enhanced Weapon Deadeye Build Guide
Last Updated:June 4, 2025|Changelog
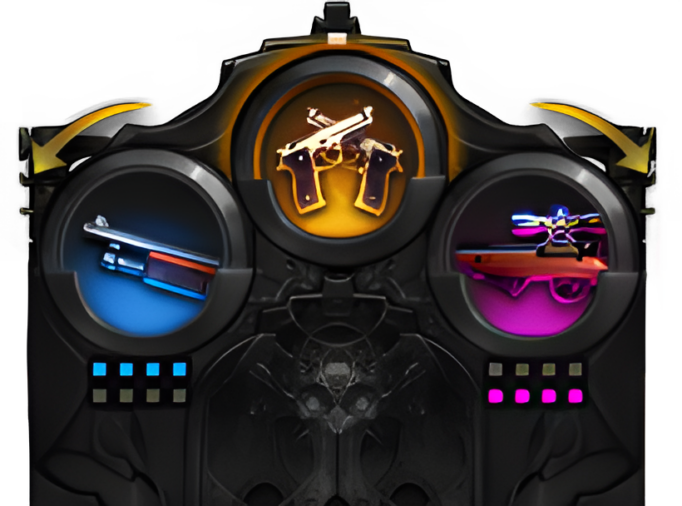
Welcome to the Enhanced Weapon Deadeye Build Guide! This build revolves around skillfully swapping between your Shotgun, Handgun, and Rifle stances to unleash a hail of bullets from various distances while making strategic use of your unparalleled mobility potential in a close range playstyle.
Enhanced Weapon Deadeye can inflict decent amounts of Stagger and will often be in a favorable position to perform Counters. His Destruction potential is average.
- If you want a more dynamic and flashy playstyle, check out our Pistoleer guide.
- For more information on some of the systems that make up your build, check out the guides below:
Builds
Ark Passive
Skills Setup
- Judgment Day, Shotgun Rapid Fire, Shotgun Dominator, Last Request, Sign of Apocalypse, and Doom Shot are your main damage skills.
- Desperado and One Shot One Kill are secondary damage skills.
- Enforce Execution is your Counter skill.
- AT02 Grenade and Spiral Tracker are your Synergy (Weakness Exposure) skills.
- Bursting Flare is your Awakening. It is preferred over Clay Bombardment thanks to its higher damage output.
Sign of Apocalypse should only be used if you have Strategic Garb.
Ark Passive
Skills Setup
- Desperado, Equilibrium, and Death Fire are your main ways to deal with large packs of enemies.
- Quick Shot and Cruel Tracker can both deal with Elite monsters on their own.
- Spiral Tracker is used as filler.
- Dexterous Shot and Somersault Shot serve as quick mobility options.
- Clay Bombardment is your Awakening. It is preferred over Bursting Flare thanks to its faster cast speed.
Recommended Engravings
- Preemptive Strike
- Contender
- Raid Captain
- Cursed Doll
- Magick Stream
This build is optimized and meant to be used only in Kurzan Front. For Ebony Cube use a Raid build.
Identity & Gameplay
Enhanced Weapon Deadeye uses all three of his stances, but most of his damage comes from Shotgun skills. In exchange, Handgun and Rifle skills provide exceptional mobility and utility, as well as back-up damage skills.
Swapping stances grants you the following effects:
- +23% Crit Rate
- +14% Crit Damage
It's important to note that your Shotgun skills must be used in close proximity to the enemy, otherwise they lose a significant portion of their damage potential.
All attacks with a Back Attack affix receive +10% Crit Rate and +5% Damage when they land on the target's back-side indicator. It is important to position yourself accordingly as much as possible to take advantage of this.
Deadeye Identity
This build focuses on maneuvering around the target in order to consistently find yourself behind them, in close range, to take advantage of your Shotgun skills' close shot attribute. When forced to disengage, you can shift to Handgun and Rifle skills to keep attacking.
Rotation
Priority Order
- While this build does not have a specific rotation, using skills in the order presented above is recommended when you first engage the enemy. Due to the chaotic nature of encounters, you may have to improvise and adapt as the fight goes on.
- Try your best to maintain your Synergy using AT02 Grenade and Spiral Tracker, even if you aren't planning to attack immediately after.
Stagger Check
- Using skills in this specific order is recommended for short stagger checks. Remember you can also use a Whirlwind Grenade if you have one equipped!
Gems
Gems are another significant aspect of your build, as they directly impact the damage and cooldowns of your skills. You can equip up to 11 gems at a time. Here are the ones you should focus on to maximize this build's potential, listed according to their priority.
Damage Gems
- Judgment Day
- Shotgun Rapid Fire
- Last Request
- Shotgun Dominator
- Sign of Apocalypse
- Desperado
Cooldown Gems
- Judgment Day
- Shotgun Rapid Fire
- Last Request
- Shotgun Dominator
- Sign of Apocalypse
Engravings
Engravings are a core part of your build. You can equip up to five at a time, freely swapping between them. Engravings are listed in order of importance.
Recommended Setup
- Grudge
- Ambush Master
- Keen Blunt Weapon
- Cursed Doll
- Adrenaline
Tripods
Tripods affect your skills directly by providing utility, damage, cooldown reduction or gauge generation. These are the ones you should prioritize:
- Judgment Day: Dragon Breath and Farewell
- Shotgun Rapid Fire: Close Shot and Special Bullet
- Last Request: Quick Prep, Massive Explosion, and Volley
- Shotgun Dominator: Close Shot, Weak Point Detection, and The Ruler
Bracelet
Bracelets provide beneficial effects to yourself or to your party members depending on the rolls they have.
The primary goal is to get the main stats used by your build. After that, you should be aiming for Special Rolls to get more damage. Here are the effects you should look out for, in no particular order:
| Tier 3 | Tier 4 |
|---|---|
| Specialization | Specialization |
| Crit | Crit |
| Ambush | Crit Rate +3.4/4.2/5%. Crit Hit Damage +1.5%. |
| Circulate | Crit Damage +6.8/8.4/10%. Crit Hit Damage +1.5%. |
| Fervor | Damage +2/2.5/3%. Damage against Staggered foes +4/4.5/5%. |
| Hammer | Additional Damage +2.5/3/3.5%. Demon & Arch-Demon Damage +2.5%. |
| Wedge | Damage +4.5/5/5.5%. Skill Cooldown +2%. |
| Assail | On hit, Weapon Power +1,160/1,320/1,480 and Att. & Mov. Speed +1%. (max 6 stacks, 10s duration). |
| Precise | Weapon Power +7,200/8,100/9,000. When HP is above 50%, on hit Weapon Power +2,000/2,200/2,400 for 5s. |
| Superiority | Weapon Power +6,900/7,800/8,700. On hit, Weapon Power +130/140/150 (max 30 stacks, 120s duration). |
| Dexterity | Damage +2/2.5/3%. |
| Weapon Power | Additional Damage +3/3.5/4%. |
| Back Attack Damage +2/2.5/3%. | |
| Crit Rate +3.4/4.2/5%. | |
| Crit Damage +6.8/8.4/10%. | |
| Weapon Power +7,200/8,100/9,000. | |
| Dexterity |
Elixir
The recommended Elixir Set for this build is Critical.
Credits
Written by Raeinor
Reviewed by Perciculum