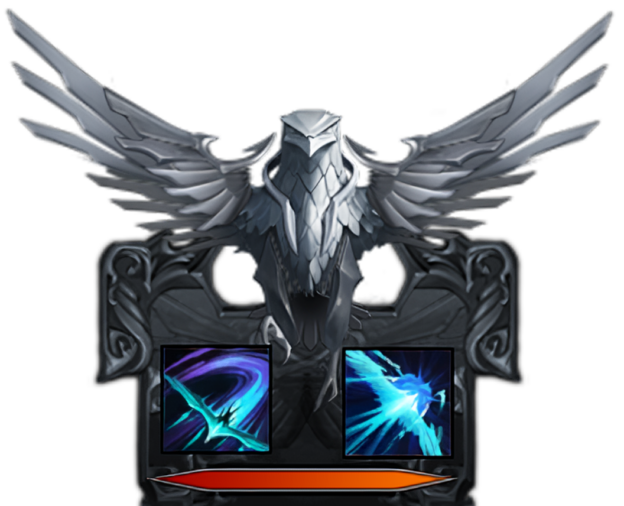
Tier 4 Death Strike Sharpshooter Build Guide
Last Updated:December 2, 2024|Changelog
Welcome to the Tier 4 Death Strike Build Guide! This build revolves around utilizing your Hawk to get incredibly consistent bursts of high damage. Thanks to Death Strike you become a little unethical and utilize the burst of your Hawk to self-buff and unleash your multiple big hitters.
Outside of that, this build provides great Stagger to the party. The main things to watch out for are his lack of range as his playstyle revolves around staying close to the boss and not being able to utilize your Hawk outside of damage. If you can master that then this becomes a great non-directional class that can excel in all content.
- If you're unsure when to transition, our
 Ark Passive Breakpoints guide could help you decide whether you should return to the Tier 3 Guide or continue.
 - If you want a more relaxed and simple playstyle, check out our Loyal Companion guide.
- For more information on some of the systems that make up your build, check out the guides below:
Builds
Ark Passive
Skills Setup
- Snipe, Sharpshooter, Charged Shot, and are your damage skills.
- Hawk Shot and Blade Storm are both a high damage skill and a meter generation skill.
- Deadly Slash and Moving Slash are your meter generation skills.
- Atomic Arrow is your Synergy from Damage Amplification.
- Deadly Slash is also your Counter.
- Fenrir's Messenger is your Awakening. It is used to generate max meter at the start of raids to have a comfortable start.
Alternative Skill, Tripod, and Rune Options
Charged Shot
- Overwhelm - Can be used if you are struggling with Stagger.
Sharpshooter
- Overwhelm - Can be used if you are struggling with Stagger.
Ark Passive
Skills Setup
- Snipe, Hawk Shot, and Arrow Wave are your best skills for clearing elites.
- Arrow Shower, Claymore Mine, Blade Storm, and Charged Shot are your best mob clearing skills.
- Moving Slash is your mobility skill.
Recommended Engravings
- Preemptive Strike
- Contender
- Raid Captain
- Cursed Doll
- Magick Stream
This build is optimized and meant to be used only in Kurzan Front. For Ebony Cube please use a Raid build.
Identity & Gameplay
Death Strike allows you to get significantly increased meter recovery to play around the massive debuff provided by Silverhawk Assault (Z) for a high uptime buff playstyle.
Using his identity Silverhawk Assault (Z) with Death Strike will provide.
- 27% Increased Damage to the Boss
- 12% Increased Damage while Hawk is NOT Summoned
This build focuses around Silverhawk Assault (Z) to deal massive bursts of damage. Your tripods on Snipe and Hawk Shot like Solo Performance will further increase your damage when the Hawk is not summoned.
Sharpshooter Identity

The core concept of this build is to generate meter, using Silverhawk Assault (Z) to apply your Death Strike debuff to the boss. The Hawk must land and does provide a significant portion of your damage. While the debuff is ticking you will send in some heavily buffed damage skills and use some meter generation skills to build up your meter and then repeat. This results in a playstyle of a bunch of mini-bursts dealing quite significant damage. Due to Silverhawk Assault (Z) having no animation, it can be cast anytime, even during Snipe animation.
Rotation
Standard Damage Rotation
- This rotation follows a simple core principle, you are mainly trying to keep 100% uptime on the debuff provided by Silverhawk Assault (Z). You first apply the debuff, fit in some damage skills, and then use two meter generation skills to generate more meter for another Silverhawk Assault (Z) to keep the debuff going. It is a bit confusing at first but if you understand this core principle it will become obvious on how your rotation will adapt to slightly different raid scenarios.
- Blade Storm can generate a full bar of meter by itself. Additionally, if you are overcapping on meter, you can instantly cast Silverhawk Assault (Z) to make use of the extra meter on Blade Storm and Deadly Slash.
- Try your best to maintain your Synergy using Atomic Arrow, even if you aren't planning to attack immediately after.
- Weave in Spiral Arrow whenever it is available.
Stagger Check
- Using skills in this specific order is recommended for short stagger checks. For longer mechanics, simply follow your regular rotation. Remember, you can also use a Whirlwind Grenade if you have one equipped!
Gems
Gems are another significant aspect of your build, as they directly impact the damage and cooldowns of your skills. You can equip up to 11 gems at a time. Here are the ones you should focus on to maximize this build's potential, listed according to their priority.
Damage Gems
- Silverhawk
- Snipe
- Hawk Shot
- Charged Shot
- Sharpshooter
- Blade Storm
Cooldown Gems
- Snipe
- Sharpshooter
- Blade Storm
- Hawk Shot
- Charged Shot
Engravings
Engravings are a core part of your build. You can equip up to five at a time, freely swapping between them.
Recommended Setup
- Grudge
- Hit Master
- Cursed Doll
- Keen Blunt Weapon
- Adrenaline
Bracelet
Bracelets provide beneficial effects to yourself or to your party members depending on the rolls they have.
The primary goal is to get the main stats used by this build - Specialization and Crit. After that, you should be aiming for Special Rolls to get more damage. Please note that this system is heavily reliant on RNG, and you should not expect to get much more beyond your main stats early on.
Optimal Bonus Rolls
Crit
Swiftness or Specialization
Circulate
Fervor
Hammer
Wedge
Precise
Alternative Bonus Rolls
Assail
Superiority
Sawtooth Blade
Weapon Power
Dexterity
Elixir
The recommended Elixir Set for this build is Critical.
Credits
Written by Civo
Reviewed by Perciculum