Elden Ring Nightreign Beginner’s Guide
Last Updated:June 3, 2025|Changelog
Limveld is a mysterious place full of lethal foes and well-hidden secrets. This beginner's guide teaches you everything you need to know to get started in Elden Ring Nightreign, how to explore Limveld and use the map to navigate, and what to do when you face off against a Nightlord. Each expedition follows the same 3-day structure. During days 1 and 2, you run around the Limveld map farming points of interest or bosses to gain Runes, Armaments, and Passive Traits. Then on day 3, you face off against the Nightlord in an all-out battle to the death.
If you played Elden Ring previously, there are a lot of familiar weapons (and systems) in Nightreign. But there are some subtle differences that may trip you up. One of the biggest difference is that many weapons have new scaling in Nightreign to better suit the stat templates given to each of the Nightfarers.
Choose your Nightfarer
Before you can set out from Roundtable Hold, you need to select your Nightfarer. At launch, there are 8 playable characters, 6 of which are available right away and 2 more you can obtain through gameplay. Future DLCs may bring more Nightfarers to the roster in the future. Since each of them have stat templates, you need to choose weapons that match the Nightfarer as opposed to adjusting their stats to fit your favorite weapon. With that said, do spend some time trying out each of the Nightfarer's favorite weapons as they have movesets unique to that character.
Starting Characters
Wylder, Guardian, Ironeye, Raider, Recluse, and Executor.
Wylder
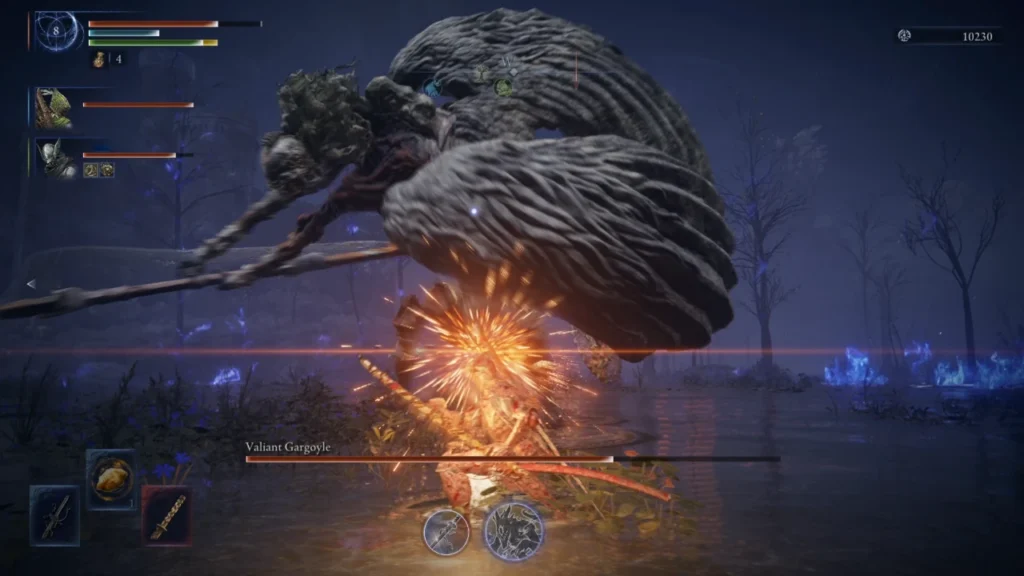
Wylder is a well-rounded character who is suitable for beginners. His Sixth Sense passive allows you to cheat death and stay up through one instance of fatal damage. As a generalist, he does not excel with specific weapons, but instead can use most martial armaments. However, his favorite weapon is the Greatsword.
- Claw Shot gives the Wylder excellent mobility, he can grapple to large bosses or pull smaller foes to himself.
- Onslaught Stake is a powerful attack that can be charged to do AoE damage.
- When uncharged, you refund part of your Ultimate gauge on use.
- The charged version deals massive stance damage.
Learn more about Wylder's playstyle, skills, and what weapons to look out for with our dedicated Wylder Character Guide.
Guardian
The Guardian is Nightreign's tank class. He is most comfortable wielding a large shield and a weapon that can be used while guarding, such as a Halberd, Rapier, or Hand Crossbow. While the Guardian deals less damage than the other Nightfarers, he has immense durability and multiple ways to disrupt foes.
- His Whirlwind skill excels at disrupting large groups of enemies and can be charged for greater range.
- Wings of Salvation is an ultimate art that can be used quickly to disrupt enemies, bring allies back up, or channeled to provide allies with further defensive benefits.
- Use a relic that draws enemy attention when guarding to better make use of his Steel Guard stance (L1/LB + Circle/B).
Learn more about Guardian's playstyle, skills, and what weapons to look out for with our dedicated Guardian Character Guide.
Ironeye
Ironeye is the bow specialist, though his high Dexterity makes him proficient with a variety of other melee weapons such as daggers and curved swords. Unfortunately, his low durability makes him a poor choice as a front-line fighter, so use melee weapons with caution.
- When an Ironeye is in your Expedition, you passively gain item discovery, making it more likely for an enemy to drop something when slain.
- Ironeye's Marking skill creates a weak point, which causes the marked foe to take increased damage from all sources. Attack and destroy the weak point to inflict significantly more damage and stagger the enemy.
- His Single Shot ultimate art pierces most terrain features and delivers a massive burst of damage. You can use this to bring near death allies back up, interrupt some boss skills, or take out a group of weaker enemies.
Learn more about Ironeye's playstyle, skills, and what weapons to look out for with our dedicated Ironeye Character Guide.
Raider
The Raider has high Strength and uses large/colossal weapons to smash his foes. While he can use a variety of martial armaments well, his FP is extremely low, making it difficult to use weapon skills. The Raider's inherent durability makes him difficult to stagger, helping him ensure that his blows connect.
- Retaliate is an unusual character skill that is scaled by the damage the Raider takes. You can use it frequently to cause foes to flinch for a short time, or wait for the fully charged version (which is harder to land) that does a large amount of damage and poise damage.
- Totem Stela is the Raider's ultimate art. This is a bit of a double-edged sword as it summons a physical object that can block enemy attacks. Unfortunately, the Stela can also block ally attacks or prevent them from entering doorways if placed incorrectly. This rises up from your location, so position yourself well. It has an aura that buffs your martial fighters, increasing their damage.
- Ranged/Caster allies can stand on the Totem Stela for added safety.
Learn more about Raider's playstyle, skills, and what weapons to look out for with our dedicated Raider Character Guide.
Recluse
A spellcaster adept who can use her character skill to restore FP, the Recluse excels at unleashing devastation from afar. Her stats favor Sorceries and Incantations, but she can use Magic, Frost, Fire, Holy, and Lightning affinity weapons. This character is a bit more difficult to play as you don't have as many defensive options, and need to manage FP in addition to your Health and Stamina. However, if you do everything correctly, she deals significant damage.
- The Magic Cocktail character skill has two functions;
- First, absorb elemental residue (Magic, Fire, Lightning, or Holy) from an enemy, restoring FP and building a charge.
- Then, at 3 charges, unleash a custom spell. Each elemental combination has a different spell, resulting in 14 different options. In general, the tri-element spells are both the most difficult to pull off and also the most powerful.
- Her Ultimate Art Soulblood Song marks all foes with a Blood Sigil. Attacks against the marked foe deal more damage and restore both health and FP. This is a great way to provide your team with extra resources after staggering a boss, or to help the party recover from a near miss.
- If you get a relic with the Terra Magica effect, you can create an on-demand damage boost by using your Character Skill to absorb residues.
Learn more about Recluse's playstyle, skills, and what weapons to look out for, and some basics on the Cocktails with our dedicated Recluse Character Guide.
Executor
The Executor excels in single combat. He has high Dexterity and Arcane, giving him access to a majority of the game's smaller weapons. In particular, look out for Katanas as these scale off of Dexterity while also triggering the Blood Loss status to enemies. Position carefully because the Executor has low durability.
- Your Character skill "Cursed Sword" enables a unique playstyle. With the sword drawn, you can guard to deflect enemy attacks and build up poise damage. This is similar to Wolf's fighting style in the game Sekiro: Shadows Die Twice. The Cursed Sword replaces your normal weapon but has excellent damage in the early game.
- Meanwhile, Executor's Ultimate Art, Aspects of the Crucible: Beast, transforms him into a gigantic creature capable of going toe to toe with the game's deadliest bosses. This form unlocks a completely new move set, fully heals Executor, and bolsters his health for the form's duration.
- The Beast can AoE down groups of enemies or cause a boss with low poise to flinch repeatedly.
Learn more about Executor's playstyle, skills, and what weapons to look out for with our dedicated Executor Character Guide.
Unlockable Non-DLC Characters
Duchess and Revenant.
Duchess
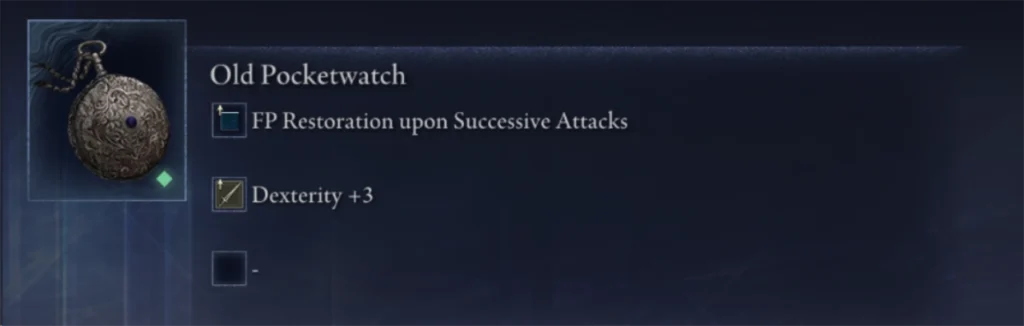
You unlock the Duchess by talking to the Hooded Woman after obtaining the Old Pocketwatch Relic and asking her about it.
The Duchess is a dagger-wielding Nightfarer who excels at evasive action to weave in and out of combat. Her starting weapon comes with a potent character skill, enchanting your blade with the Magic affinity for extra damage. In addition, she can adeptly wield Glintstone Sorceries due to her high intelligence and has decent Faith scaling for Incantations as well. Look out for weapons with the Magic or Frost Affinity, and those that can trigger statuses like Frostbite or Blood Loss.
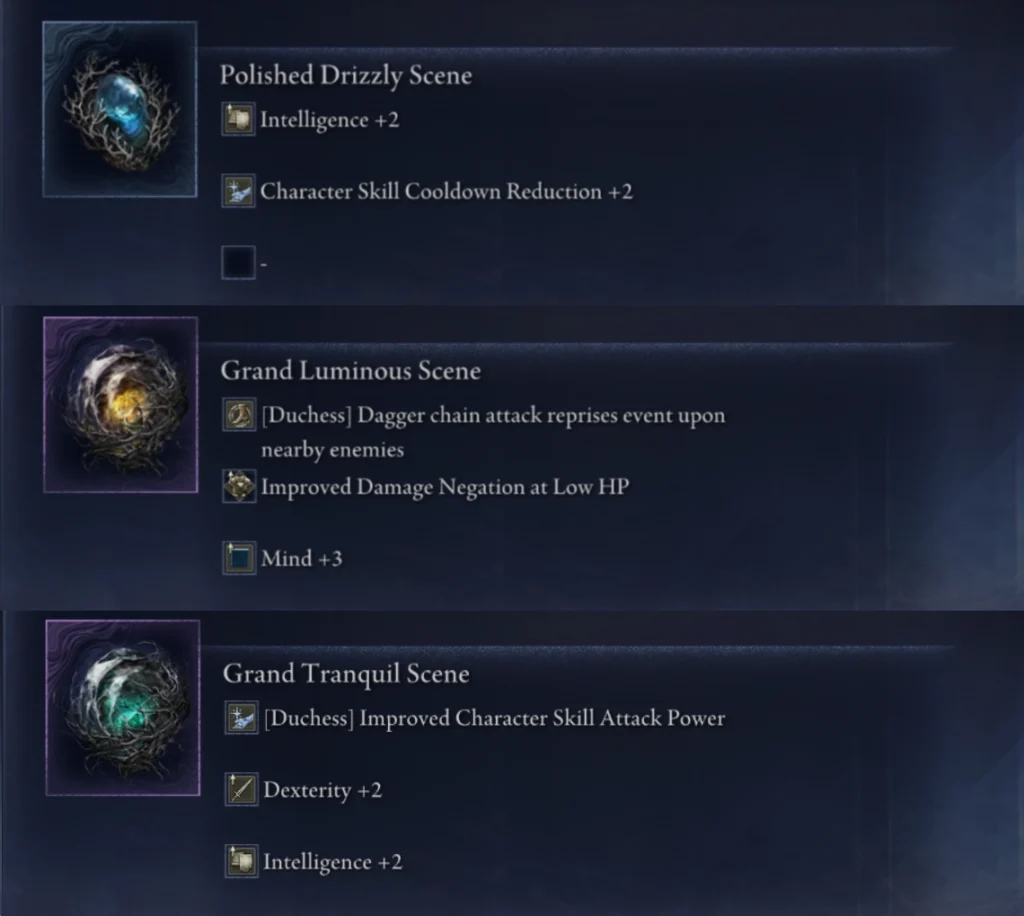
- Her character skill Restage replays recent events, inflicting 50% of the damage. This includes damage dealt by your allies and contributes to ailment buildup or poise break, making it a powerful skill when timed correctly.
- Finale is her ultimate art; it does not deal damage but provides stealth to the Duchess and her allies. You can use this to escape from sticky situations, bring an ally up mid-fight, or get behind enemies and ambush with a backstab.
- The Duchess has a lot of mobility but low survivability. Position yourself away from enemy attacks and look for opportunities to use Restage to stagger the boss.
Learn more about Duchess's playstyle, skills, and what weapons to look out for with our dedicated Duchess Character Guide.
Revenant
After unlocking the Duchess, purchase the Besmirched Frame at the Small Jar Bazaar, then speak to the spectral girl marked on your map to complete a special challenge and obtain the Revenant. During the encounter, you face off against the Nightfarer and 3 of her minions. This is a solo encounter, so you need to kite the minions away from each other to break the encounter down into more manageable 1-on-1s.
The Revenant is a support class, though her high Faith allows her to use offensive Incantations with ease. However, her ability to deal damage is limited as she has no method of FP recovery. Her passive ability summons the shades of foes to fight at your side, distracting enemies and dealing damage.
- Revenant's character skill summons the spirit of a fallen family member to aid her in battle.
- Helen the Page is a perfumer who deftly attacks your foes.
- Frederick the Pumpkin Head uses sweeping strikes to deal damage to enemies in a wide area.
- Sebastian the Giant Skeleton cannot move but deals high damage.
- Her Ultimate Art, Immortal March, revives allies in the near-death state and grants Immortality to your entire party for a short duration.
Learn more about Revenant's playstyle, skills, and what weapons to look out for with our dedicated Revenant Character Guide.
Rememberances
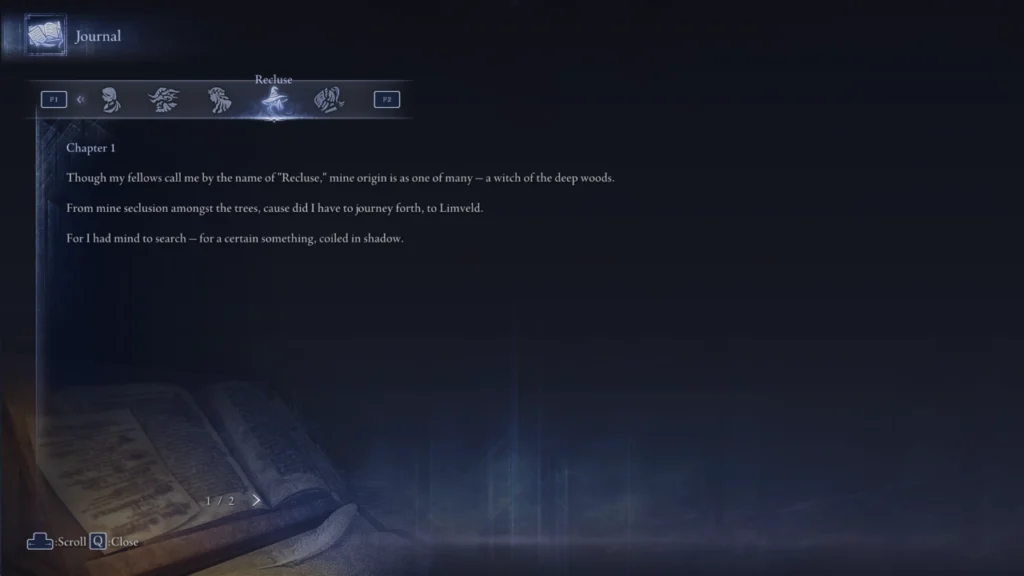
Each character has their own storyline, which you explore by interacting with the Journal. Certain pages have events known as "Remembrances," where you must complete a special task to advance the story first. In most cases, Remembrances reward you with a powerful Relic or Vessel related to the character.
The best way to get strong Relics is by completing Rememberances and progressing your Nightfarer's storyline. You also get powerful Relics either as direct rewards for beating the Nightlords, or from the Small Jar Bazaar after defeating a requisite number of foes.
Roundtable Hold
Roundtable Hold is Elden Ring Nightreign's central hub. This is where you set out on Expeditions against the Nightlords, manage your relics, and learn about the game through the Visual Codex.
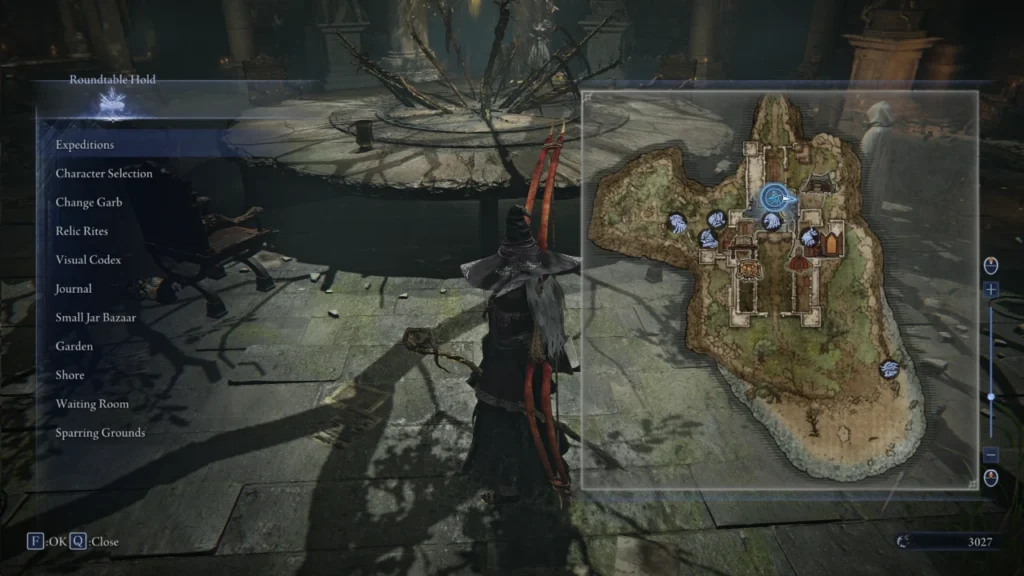
While there are several points of interest around the map, you don't need to memorize the layout for Roundtable Hold. If you need to go to a specific area as part of a Remembrance, you can see it marked with a (!) on the map. Otherwise, you can open the menu with Back/Select and use that to navigate.
Expeditions
You set out for Expeditions from the Table of Lost Grace, located in the central room of Roundtable Hold.
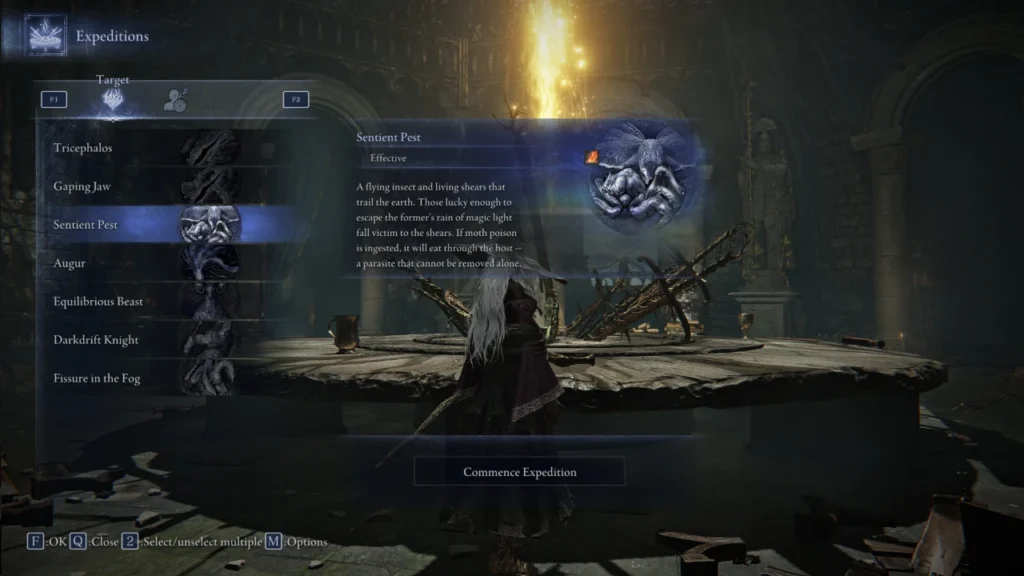
The Expedition menu has 2 tabs. In the first tab, you can select the Nightlord you wish to set out against and commence the Expedition. If you wish to select multiple Nightlords, use X/Square to select all of the desired bosses. In the second tab, you can switch between Singleplayer and Multiplayer Expeditions, or create a team by inviting your friends. Personal Objectives for Remembrances, and Shifting Earth events also appear in this menu before you set out.
While you can play solo, you may find the experience to be extremely punishing; proceed with caution.
Sparring Grounds
At the Sparring Grounds, you can experiment with a variety of Armaments, Sorceries, and Incantations. This is useful for testing new Nightfarers out before you take them on an Expedition.
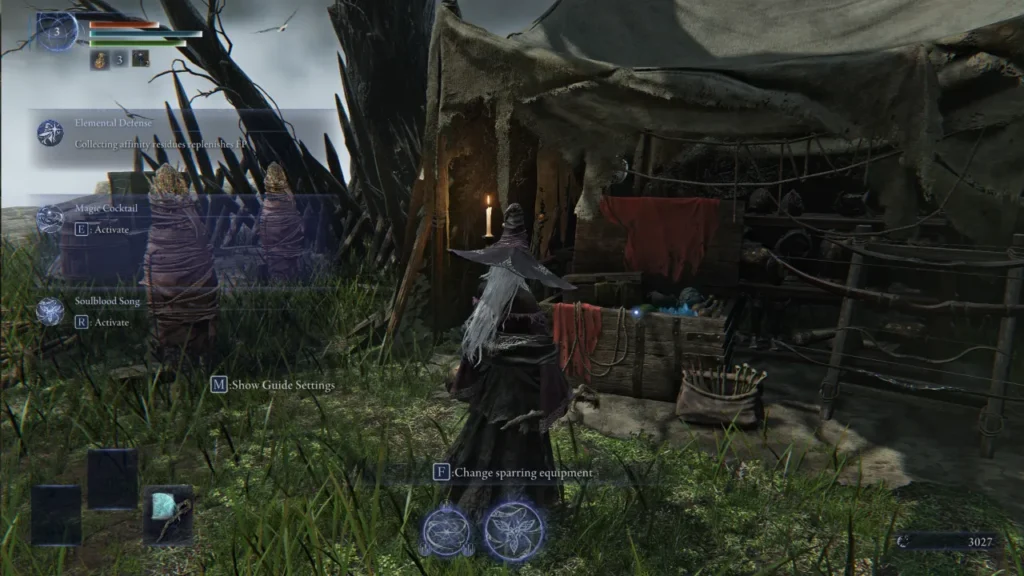
Head over to the equipment chest to check out all of the Armaments available in the game. You can spawn copies in to try them out against the dummies or duel the Marionette Soldier. If you want to adjust your character's Level or a variety of other combat properties, you can do so in another menu by pressing Back/Select.
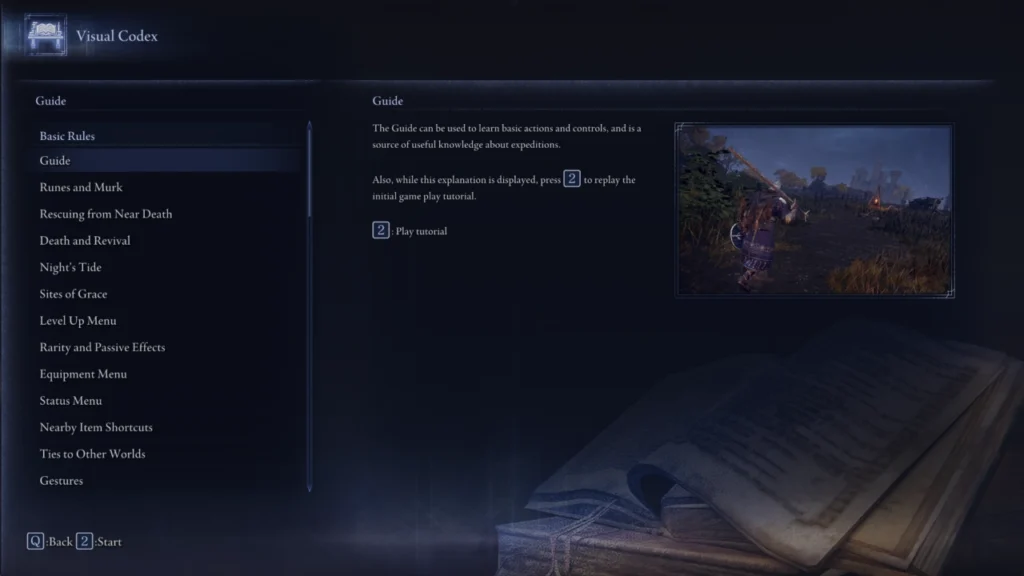
Visual Codex
Use the Visual Codex to learn more about the world of Limveld. The first few sections provide information on each of the characters, Equipment types, and Skills/Sorceries/Incantations. Then the Guide and Handbook detail individual game mechanics. Lastly, you can look at your result history for a detailed breakdown of your last 100 Expeditions, including where you went and major events along the way.
Relic Rites & the Small Jar Bazaar
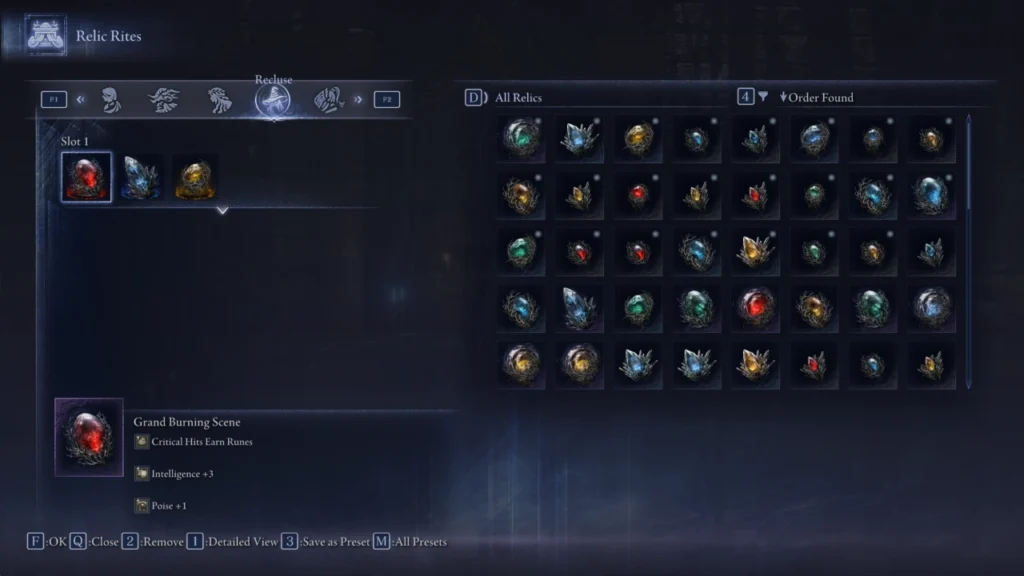
Relics and Vessels are Elden Ring Nightreign's metaprogression systems. Think of this as the power you carry with you from run to run. After you return from an Expedition, you gain Relics and the currency Murk. You equip Relics at the Relic Rites altar in Roundtable Hold.
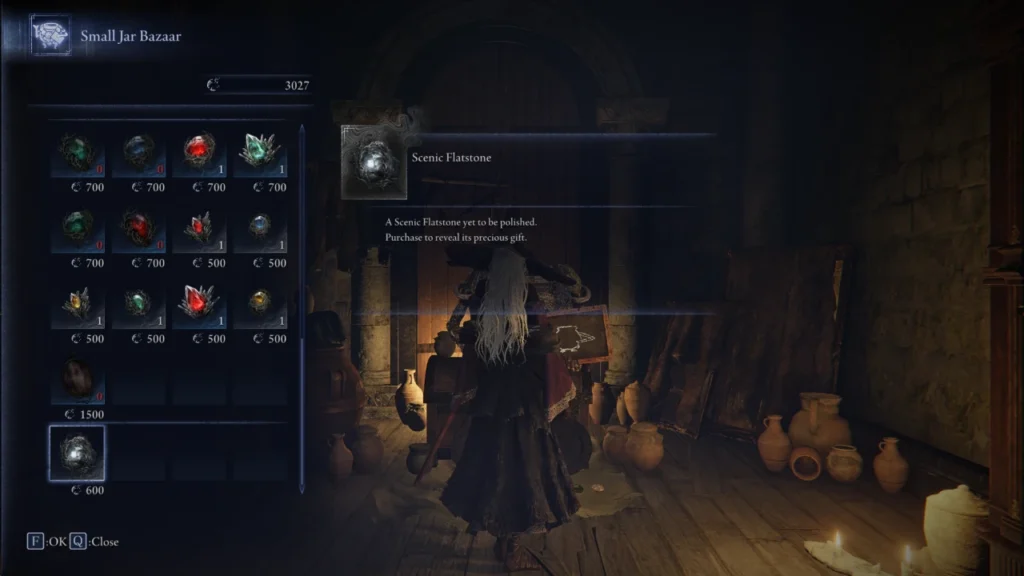
At the Small Jar Bazaar, you can purchase new Relics, Vessels, and Gestures. Defeating Nightlords may add new wares to the shop, and you can always spend your Murk on random relics using the option at the bottom.
Journal and Remembrances
Each character has a Remembrance, accessed via the Journal in Roundtable Hold. This represents their personal story and consists of a mix of cutscenes, solo encounters, and various tasks during an Expedition. Progressing a Remembrance suspends Shifting Earth events for all members of the Expedition. Even if you don't care about character stories, this is still worth doing because it gives you exclusive Relics and Relic Rites.
There's much more to explore around Roundtable Hold, and more features unlock as you defeat the Nightlords. Check out our Roundtable Hold Guide to learn more.
Combat
Elden Ring Nightreign borrows a lot from the combat of Elden Ring while incorporating new progression systems and a whole lot of movement. Because the weapons you acquire within a run are random, you need to be flexible when building your character. Luckily, each Nightfarer has a stat template that advances automatically when you level at a Grace. So, quite often it's as simple as using the weapon with the bigger number.
Combat Basics
Each weapon class in Elden Ring Nightreign has a different move set. Your bread and butter is the light attack (L1/RB) and heavy attack (L2/RT). But there are a variety of other moves, including the charged heavy attack and jump attack. 2-handing your weapon (Y+LB/RB or Triangle+L1/R1) changes up the move set. Most of the time, this means slower attacks that hit harder. Your move set changes yet again when dual wielding, where you can either attack with each weapon independently (if they are of different types) or "power stance" and attack with both simultaneously (L1/LB) if they are compatible.
Attacking consumes stamina (the green bar below your Health and FP), as does your evade. During your evade, you have a short window where you cannot be damaged, known as "iframes." This means it is often better to evade towards a boss, keeping them in attack range for a quick follow-up before they attack again. You need to balance using your stamina to attack enemies and keeping some in reserve to dodge their attacks.
When you have a shield (or appropriate weapon) equipped, you can guard (L1/LB). Guarding prevents physical damage to your health and reduces the non-physical damage you take, but you lose a portion of your stamina instead. If you run out of Stamina, your guard is broken. Successfully blocking lets you execute a Guard Counter (R2/RT). Think of this as the damage/stance damage from a heavy attack, executed at the speed of a light attack.
Weapons and Weapon Skills
As you explore Limveld, you can find a variety of armaments. These include martial weapons such as greatswords, bows, and maces, or caster weapons such as Glintstone Staves and Finger Seals. Weapons have a rarity ranging from Common (no level requirement) to Uncommon (requires level 3), to Rare (requires level 7), and finally Legendary (which requires level 10). Common and Uncommon weapons usually have a random skill and random affinity. However, many Rare and Legendary weapons have the same affinity and skill each time.
Weapons also have a passive effect, a minor boost to your character power. The value of the effect corresponds to the weapon's rarity, so a rare weapon has more potent passives than a common weapon. Legendary Weapons have a unique passive effect that always appears in addition to the random one.
If the icon has a hand, this means you must actively use the weapon to gain the effect, otherwise, it applies so long as you have it equipped in one of your 6 slots.
Weapon skills consume your FP and Stamina. Some of them provide buffs, whereas others deal direct damage. For example, Eleonora's Poleblade has a special Skill that rapidly deals a flurry of blows, with each hit dealing stance damage to the enemy and contributing to Blood Loss buildup. On the other hand, the Golden Vow skill provides a damage boost to yourself and any nearby allies. Keep an eye out for this as it rolls randomly.
Sorceries and Incantations
Then you have Sorceries and Incantations, both of which consume Stamina and FP, similar to Skills. These are the two broad categories of magic in Elden Ring Nightreign. Most sorceries require a Glintstone Staff and scale off of Intelligence. Incantations, on the other hand, are cast using a Finger Seal and scale off of Faith. Using magic is a great option for dealing high damage from range, but beware that many of these spells have a long cast time, and you may need to evade as enemies try to rush your location.
Most Sorceries deal Magic damage and consist of projectiles fired from range. This makes them an excellent offensive choice, especially when fighting larger foes like Dragons, where you can aim for the head. Unfortunately, most of them have little in the way of defense or utility.
Incantations, on the other hand, deal a variety of damage types, but primarily Holy, Lightning, and Fire. Many incantations have support effects you can use: Heal to restore health, Golden Vow to buff allies, and Rejection to push foes away. In comparison to Sorceries, Incantations tend to be shorter range and more of them have an AoE (area of effect component), but there are some exceptions to this. Even if you aren't playing a caster Nightfarer, if you see a good buff Incantation, throw the finger seal in your offhand to cast in tougher battles.
Learn about the different types of Sorceries and Incantations available in Elden Ring Nightreign.
Character Skills and Ultimate Arts
Each of the Nightfarers has their own character skill and ultimate art. For example, Ironeye's skill marks enemies, causing them to take increased damage, whereas Wylder can use his skill to grapple to enemies for more mobility. Most of these skills have a short cooldown, but there are some exceptions like Recluse, whose skill can be spammed but has no effect unless a nearby enemy (or ally) has active residues.
Ultimate Arts, on the other hand, build up as you fight and can be unleashed to turn the tide of battle. Most wayfarers get iframes during the initial cast, meaning you can also use your ultimate art as an emergency button to negate a boss attack you are unable to evade. Beyond that, each Art has a unique effect. For example, Executor's Art transforms him into a Crucible Beast, healing him and increasing his health. In that form, his attacks can also interrupt enemies by knocking them back. On the other hand, Guardian's defensive Art excels at reviving near death allies, deals AoE damage, and can be channeled to provide an extended protection aura to all allies.
Poise, Stance Break, and Critical Hits
Stance or Poise is a hidden meter that determines whether you (or an enemy) flinches when hit. Over time, this builds up and can result in a Stance Break. Generally speaking, bigger, heavier weapons are better at staggering enemies or breaking their poise. Some weapon skills and ultimate arts also excel at dealing poise damage, such as Wylder's onslaught stake or the charged form of Raider's Retaliate. When you break an enemy's Stance, they fall to the ground for a short duration. This is the perfect opportunity to execute a critical hit for massive damage.
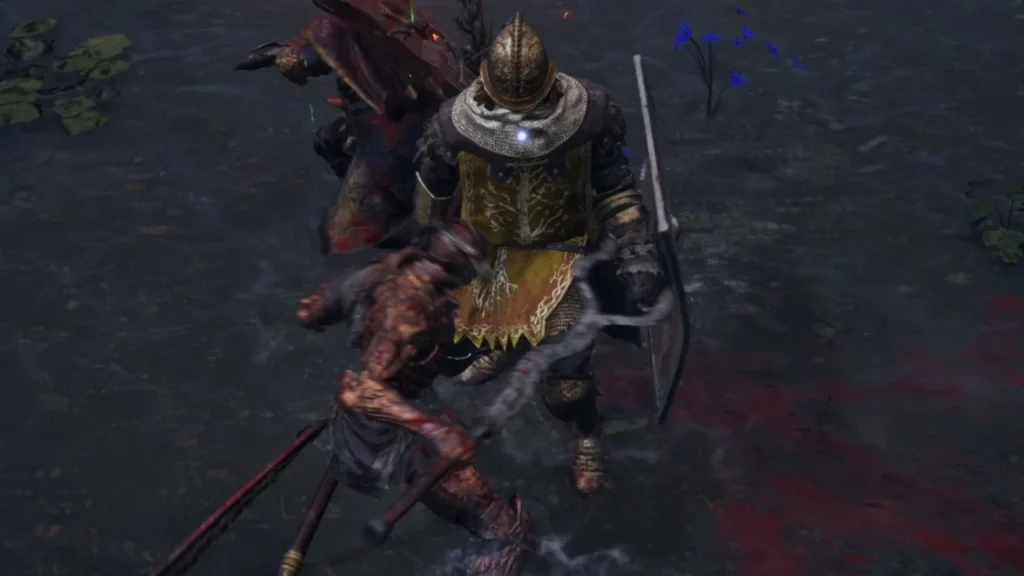
Critical hits deal heavy damage and knock the affected foe down for a short duration. While the animation is quite long, you have iframes while executing a critical hit. You can crit a regular humanoid enemy simply by walking behind them, then using a light attack (R1/RB). After you Stance Break a humanoid foe, you can crit them by using your light attack while directly in front of or behind them. Other instances of damage end the stagger, causing them to stand up early, so attack with care.
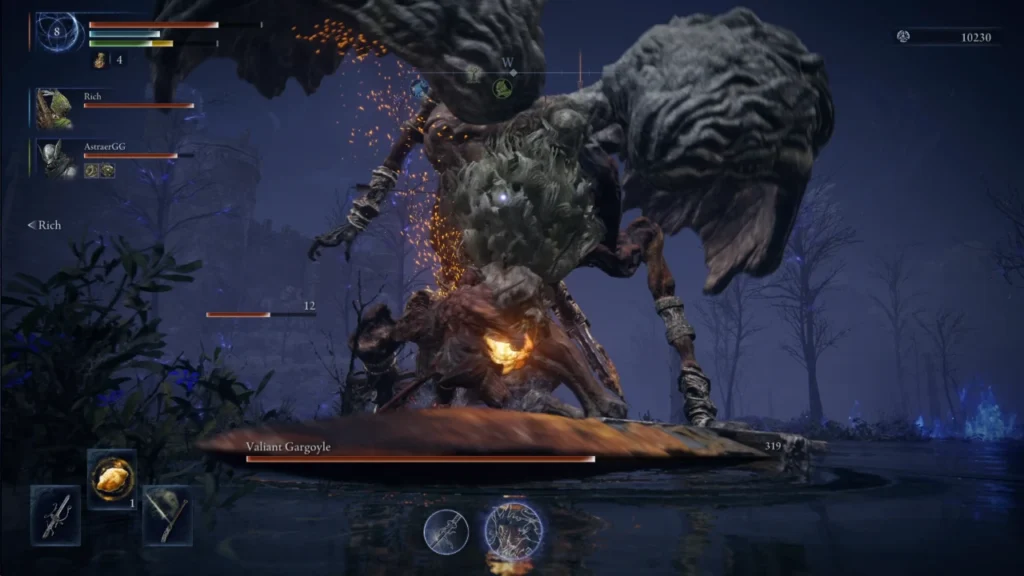
For larger foes, you need to first break their poise before you can execute a critical hit. This often causes a glowing weak point to appear near the monster's head. Execute your light attack here to deal a vicious critical hit. These larger enemies and bosses stand up after a short duration, regardless of damage, so use this time to unload your attacks onto them.
Death and Revival
Much like in the Lands Between, death is not the end in Limveld. When your health reaches 0, you are put into a near death state. When in this state, your allies can attack you to "heal" you; if they completely remove the purple gauge, you are returned to about 50% health. Each consecutive time you are downed a gauge is added to the bar, up to a maximum of 3. Normally, there's also a timer in the near death state with your character dying when you reach 0, which is temporarily paused when an ally hits you. On boss encounters, there is no timer, but the purple gauge still increases with consecutive downs. If you haven't been downed for a while, this mechanic resets.
If you die (due to the timer expiring), you lose all of your current runes plus an additional level. This is a significant penalty that puts you behind in your progression. You can reclaim your lost runes by returning to the location where you died, or in some cases, killing the enemy that defeated you. During the farming phase, death is not the end, but if the entire party is downed against a night boss (or the final boss), your expedition is over.
Consumables, Affinities, and Statuses
Last up, it's time to talk about a few more combat-adjacent mechanics that don't quite fit into any of the other sections.
Consumables
The first is consumable items, which are found in crates and provide a variety of beneficial effects. Gold-Pickled Fowl Foot increases your rune gain for a time, helping you stay ahead of the curve. Greases apply affinity damage to compatible weapons, and Pots can be thrown at enemies to damage them. Meanwhile, Starlight Shards restore FP, making them especially valuable on Nightfarers like Duchess and Revenant. Some consumables enhance your progression. Smithing Stones can be used to upgrade a weapon's rarity (up to Rare), and Stonesword Key unlock Evergaols, giving you access to a new boss fight.
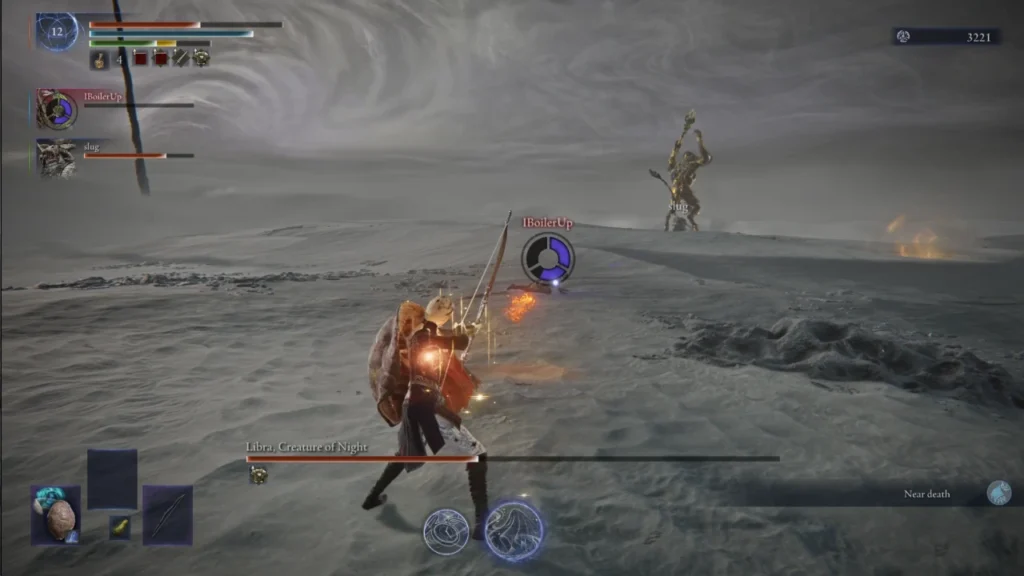
Boluses are a particularly useful type of consumable as they alleviate ailment buildup and grant you a resistance bonus. If the boss (or notable enemies) cause status buildup, try to get your hands on some of these. For example, using Clarifying Boluses when fighting Libra. These bonuses are relatively small individually, but stack up throughout your run.
Affinities
Affinities refer to damage types, both the physical and non-physical damage types are broken down into separate sub-categories. Enemies have different weaknesses that may make one damage type unusually effective against them. Physical damage is broken down into standard, slashing, piercing, and strike. Think of standard as a neutral damage type, whereas the other 3 are more specialized. For example, Strike damage is more effective against hard-bodied enemies like Gintstone Miners and Golems. Then you have the non-physical affinities: Magic, Fire, Lightning, and Holy. Cold weapons also deal Magic damage, but are differentiated by the Frostbite status.
Statuses
Next, there are status ailments, negative states that deal damage or inflict a detrimental effect. As you damage enemies with a status-inflicting weapon, you build up a bar. When the bar fills, the effect activates. Some statuses, like Poison and Scarlet Rot, deal damage over time when the duration continues until the bar empties completely. Others, like Blood Loss and Frostbite, deliver a burst of damage that scales with the target's maximum health. Finally, statuses like Sleep don't inflict damage but instead cause a negative effect, such as making the target more vulnerable.
Blood Loss and Frostbite are both particularly effective ailments as they deal a percentage of the boss's health. Frostbite further leaves the enemy vulnerable to damage for a short time after. Enemies can inflict statuses on players as well. Watch out for Death Blight, a status that inflicts Death, downing your character when the bar fills.
Navigating the Map
An Expedition in Elden Ring Nightreign plays out over the course of 3 days. During the daytime, you farm points of interest, gather runes, and obtain new armaments. But you're also locked in a constant battle against the clock. The rains continually encroach upon the map, shrinking the playable area. After the circle shrinks twice, night falls, and you fight against a dangerous boss before moving on to the next day. In general, the enemies who appear on day 1 are quite easy, but some of the roaming bosses on day 2 are extremely dangerous and should be approached with caution.
After defeating a dangerous foe, a Site of Grace appears alongside the reward. In the reward menu, you pick from a selection of weapons or passive traits. The rewards are random, so always check the weapons carefully to see if one of them has a useful passive effect. When it comes to character traits, bonuses like Health, Stamina Regeneration, and FP Restoration are all useful.
Many of these effects are the same ones you can find on Talismans (dropped by defeating Teardrop Scarabs). Head over to a Fort to gather information on where the Teardrop Scarabs appear nearby. You can also find a Talisman reward in the castle's central room (accessed through the sewers).
Limveld Map
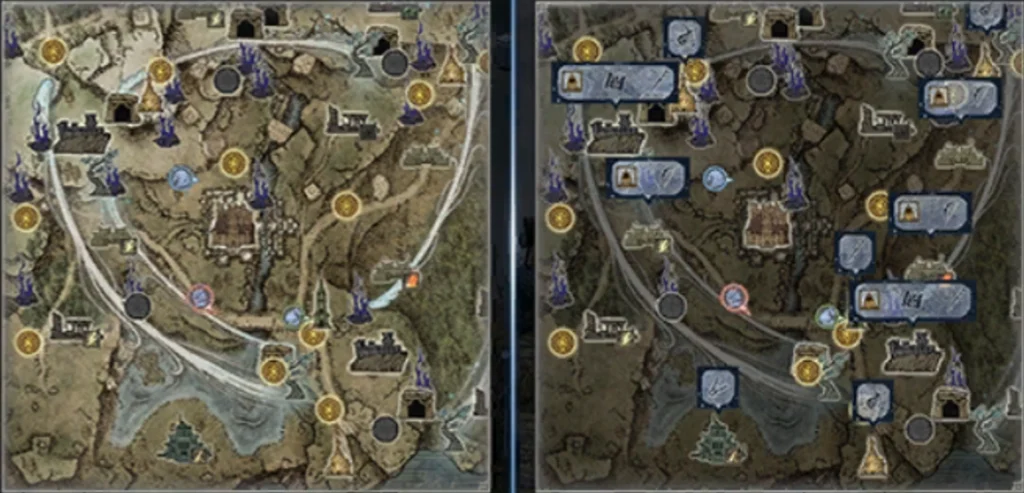
- The map contains a wealth of useful information. You can show more details using Y/Triangle.
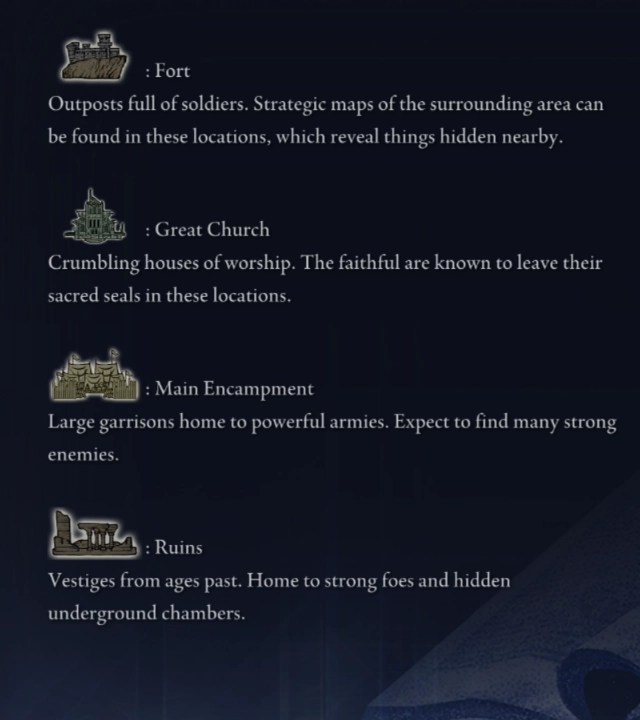
Forts, Great Churches, Encampments, and Ruins
Most of these encounters can be cleared in the early game, either at level 1 with your starting weapons or at level 3-5 after getting some gear from an earlier encounter. They are a good way to farm up early power to help you tackle greater challenges elsewhere. You can also target ruins if you want a weapon with a specific affinity, since you can see the affinity rewarded on the map. As you clear these camps, keep an eye out for treasure chests as they might contain more weapons or valuable consumables.
Forts and Great Churches are a great place to go first. They contain weak enemies that are easy to farm for runes. After you beat the area boss, you get a Site of Grace and a reward that yields a level 3 weapon. Your goal when completing this objective should be to hit level 3. Keep an eye out for Seals in Great Churches and Staves in a rack on the top floor of each Fort. Both locations are likely to yield a Stonesword Key that can be used to open a nearby Evergaol.
Ruins have a variety of different enemies, matching the affinity of the rewards. This means that some of them, like the Holy ruins populated with Albinaurics, are quite easy, whereas others, like the Sleep ruins populated with Rune Bears, are more challenging.
Main Encampments are more dangerous, especially the ones affected by Madness. However, there is also a wealth of runes and rewards to be collected. In particular, keep an eye out for bow racks, as this is a great way to get your Ironeye a weapon or grab a ranged backup for anyone in the party. As a small tip, you can jump on top of Flame Chariots to defeat them instantly, or knock archers off the top of a tower to clear a Main Encampment faster.
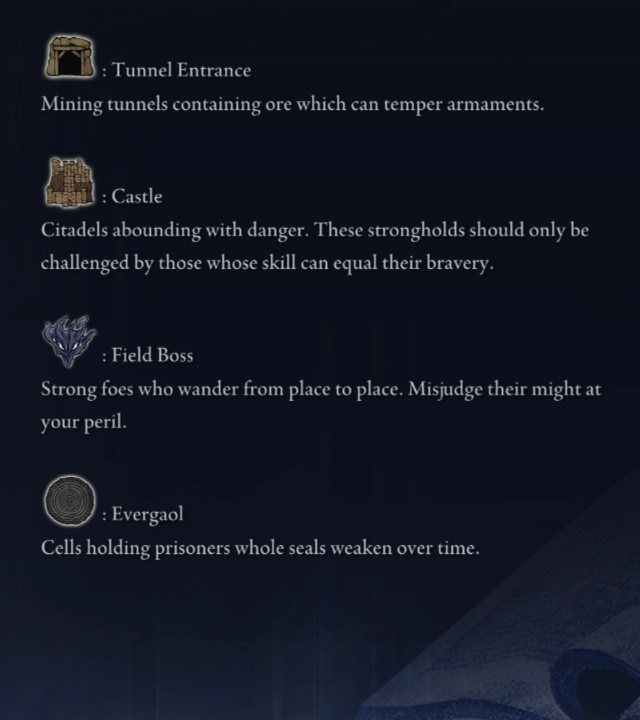
Tunnel Entrance, Castle, Field Boss, Evergaol
These encounters are more specialized or contain greater challenges. In general, you want to do Evergaols and Field Bosses when you can. The tunnel is good if you need to upgrade a weapon, but a poor source of rewards and runes if you have no use for the Smithing Stones. Lastly, the castle is very rewarding, but also quite dangerous. Don't be afraid to clear part of the castle, then leave if you're struggling. With that said, if you can clear all of it efficiently, the rewards are worth it.
Enter a tunnel in search of Smithing Stones, which you can use to upgrade a weapon to rare, enhancing its stats. The tunnels are maze-like and filled with Miners, and you can kill them using Magic or a Strike weapon, or simply run past to take out the mini-boss encounter.
The castle sits slightly off-center on the map. It's teeming with enemies and bosses. There is also a merchant here who offers better-than-average goods. Travel through the sewers to gain entry to the talisman chest in the center of the castle, or traverse the rooftop to fight a boss that tends to drop Rare or Legendary items. You can spend time farming the rest of the castle for runes and other rewards, but beware if trolls spawn on the upper walls as they hurl lethal pots down upon unsuspecting Nightfarers.
There are two ways to encounter bosses. First, field bosses roaming out in the open vary in difficulty, with the most dangerous having a red aura. The second is by opening an Evergaol using a Stonesword Key. At the start of day 1, Evergaol bosses spawn with 50% health, but by the end of day 2, they have full health.
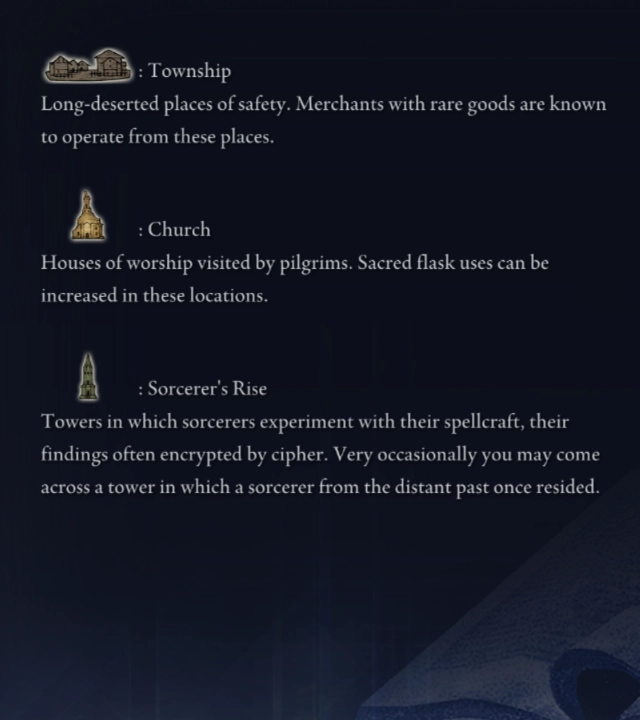
Townships, Curches, and Sorcerers' Rises
There are also non-combat encounters, which appear on your map and give rewards but don't provide enemies to fight. From time to time you may find a hidden treasure chest on your map in addition to the encounters mentioned below.
Townships are a rare occurrence, but you should always gather some runes then investigate when you see one. The merchant here sells a wealth of valuable items and talismans. This is a great way to get a high rarity weapon or boost your build's damage. Unlike many of the other ways to get powerful weapons, there are no enemies to fight here, just a merchant looking to trade his wares.
3 Churches appear on every map. You can travel to them to gain an additional Flask use. This also refills any Flask charges you may be missing, so it's pretty easy to grab a Church even if it's in the rain. You can also break the nearby crates to gain some valuable consumables. This encounter is quick, so look for opportunities to incorporate it efficiently while traversing the map.
The Sorcerer's Rise towers are puzzle encounters. To open each, you need to find the crest. It's usually hidden nearby, so look for an out-of-place statue, a tree stump that flees at your approach, or a blue glow in a bush. After that, enter the rise and climb to the top to claim your reward. In general, these aren't worth going out of your way for unless you can quickly identify the puzzle and how to solve it.
Site of Grace, Spectral Hawk Tree, and Spiritstream
Run by a Grace to fully restore HP, FP, and refill your Flask charges. This is also where you level up. Your character follows a stat template, meaning you don't need to allocate attributes. Instead, you just hit level up after acquiring the requisite runes. Even if you don't need to level up, you can always run by a Grace to restore your Flasks, giving yourself more sustain for the fights ahead.
Use Spectral Hawk Trees to cover long distances across Limveld. These birds take a fixed path, but you can always hop off early using your Left Stick. This flight works the same as the Spectral Hawks you ride at the start of an expedition. If you're looking to travel across a large portion of the map, see if there's a Spectral Hawk that can get you there more quickly.
Spiritstreams appear all over Limveld, normally at the base of cliffs. When you use one, your character executes a massive leap, taking you to the top of the cliff. You can use this in a variety of interesting ways, such as to shortcut your way across a chasm, getting on top of a building to reach an area you wouldn't normally be able to, or simply covering a large distance in a single bound.

Learn more about the Limveld map and the various events or points of interest with our Limveld Map & Key Locations guide.
Special Events
In addition to the above points of interest, there are several random events that can trigger as you explore Limveld. These do not appear in every Expedition, but when you find one, you should try your best to complete it, as they offer lucrative rewards. The following are some of the examples you can encounter while traversing Limveld.
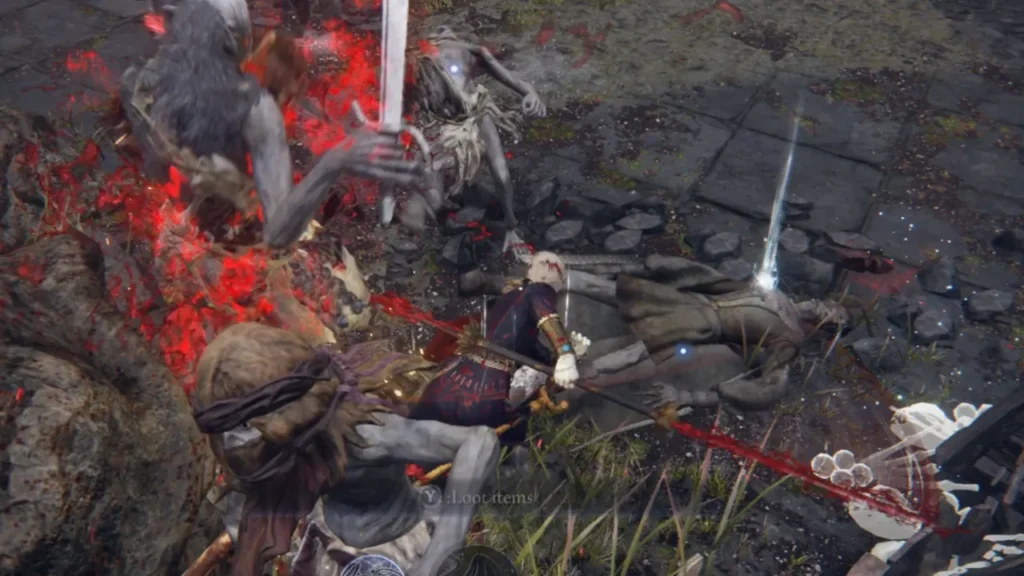
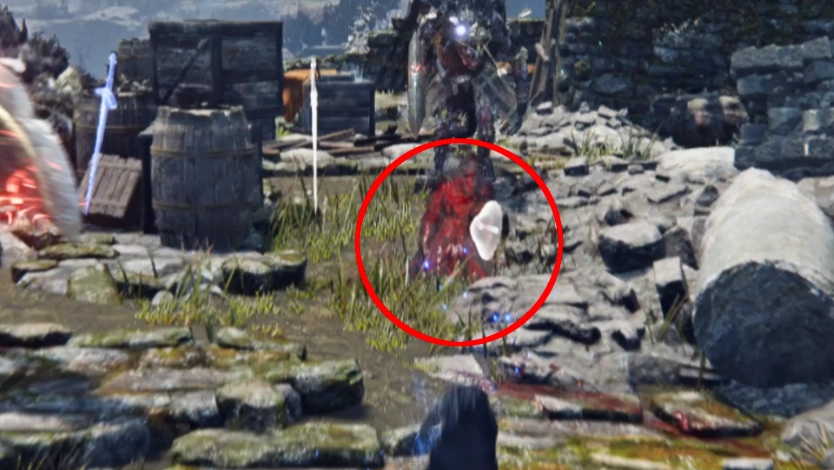
While they don't appear on your map, the corpse of a fallen Nightfarer sometimes appears in Limveld. These are the remains of other players who met their end during the expedition.
Interact with it to gain all of the items they were carrying when they died; each of the items has a special passive representing their grief which makes the items more effective. If you fall in battle, the grief effect is amplified when the item is passed along to another Nightfarer.
Cataclysm
A dark and twisted cloud appears over a point of interest on the map. If you enter this area, the enemies are far more dangerous than normal.
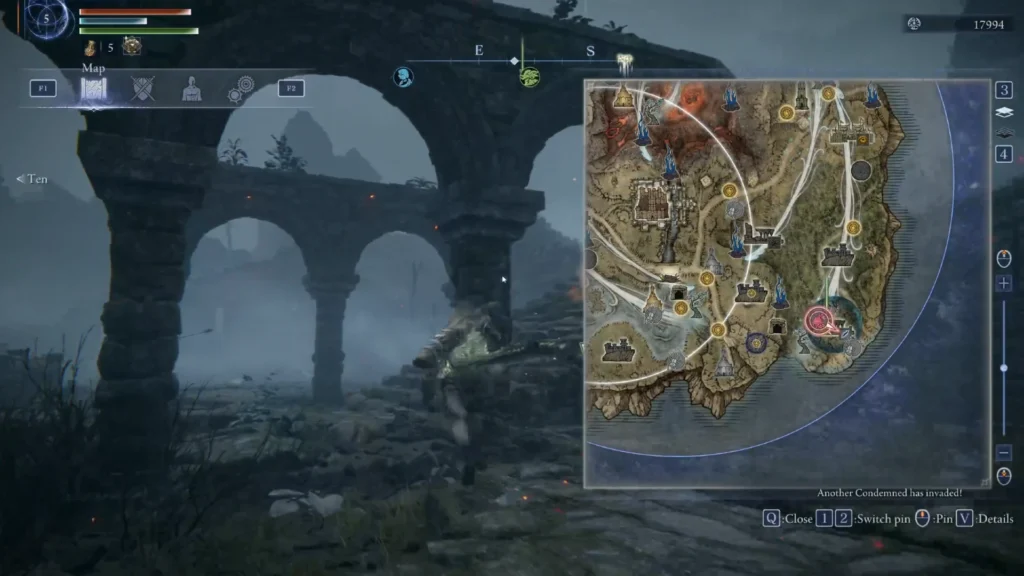
As you explore, hostile Nightfarers invade your world and attack. Their movesets are identical to what players have available, making them challenging foes to defeat. This encounter rewards you with a rare +2 version of the Nightfarer's weapon.
Shifting Earth
After defeating your first Nightlord, Shifting Earth events begin to trigger across Limveld. There are 4 of them, each posing a unique challenge and providing a special reward.
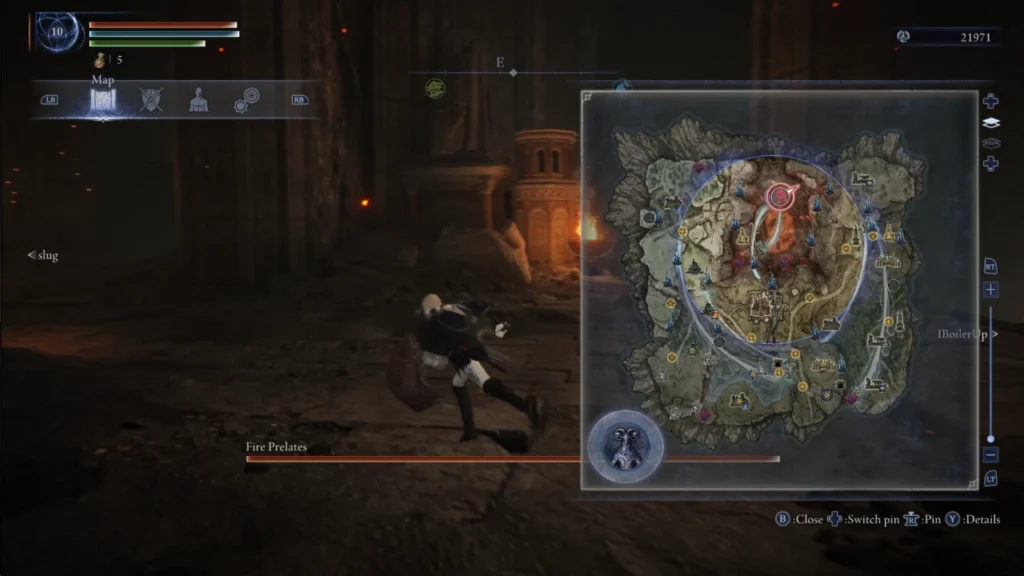
- The Crater - Descend into this gigantic fissure, battle fiery foes, and upgrade one of your weapons to Legendary.
- Mountaintop - A protective blessing lies at this mountain's peak; use it to guard yourself against the biting Frost.
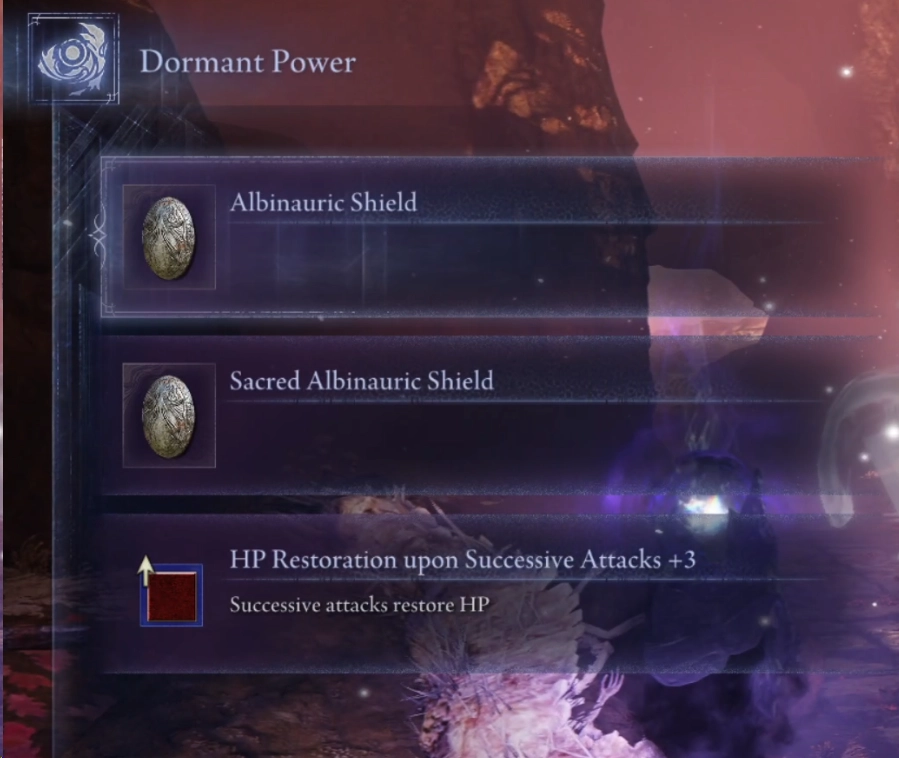
- Rotted Woods - Brave the woods to obtain a blessing that increases your maximum health, protects against Scarlet Rot, and lets you recover some lost health by attacking after taking damage.
- Noklateo, the Shrouded City - Enter this massive area to find a boon that revives you should you fall in battle. The city also contains an ancient power that can duplicate a weapon.
To learn more about each of the Shifting Earth events, how to complete them, and their rewards, check out our Shifting Earth Events guide.
Raid Event
During a Raid Event, unusual enemies or a powerful boss invade Limveld. If you can fight off the raid event, you gain a powerful effect for the remainder of your expedition.
- The Fell Omen attacks your party; defeat him to obtain a buff that enhances your attack each time you interact with a Site of Grace for the first time.
- Augur - A bubble appears, enter it to be transported to a battle with the Nightlord Augur, defeat him to obtain a Power that causes your Flask to restore FP in addition to HP.
- The Sentient Pest appears to steal your levels! Find the source of the plague of locusts to reclaim any lost levels and gain a power that gives you runes.
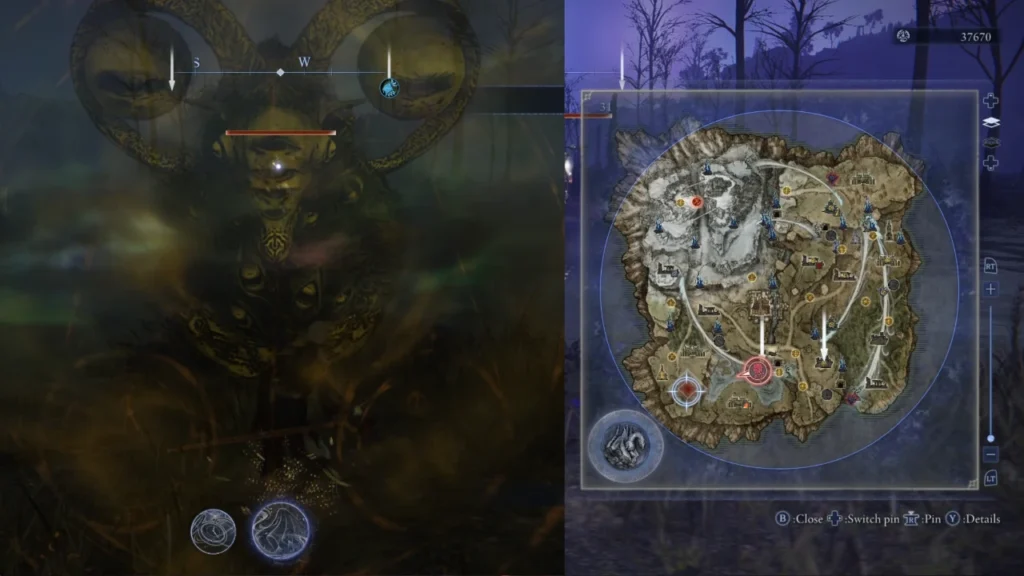
- Libra - A demon appears to seal your health, pay his price, then choose one of his rewards. You also gain a power that increases your attack power based on the number of runes you are carrying.
- Hands - Look for a ball of ominous purple mist, out of which climb many Fingercrawlers. Defeat all of the hands to gain a power that helps you use your Ultimate Art more frequently.
- There are several more Raid events to discover as you explore Limveld.
To learn more about each of the Raid events, how to complete them, and their rewards, check out our Raid Events guide.
Battling the Nightlord
On day 3, you do battle against the Nightlord you selected at the start of the Expedition. Because you always know which boss you face at the end, you can choose weapon affinities that are more effective against this particular foe. Each of the Nightlords provides a singular challenge that must be overcome if you want to progress.
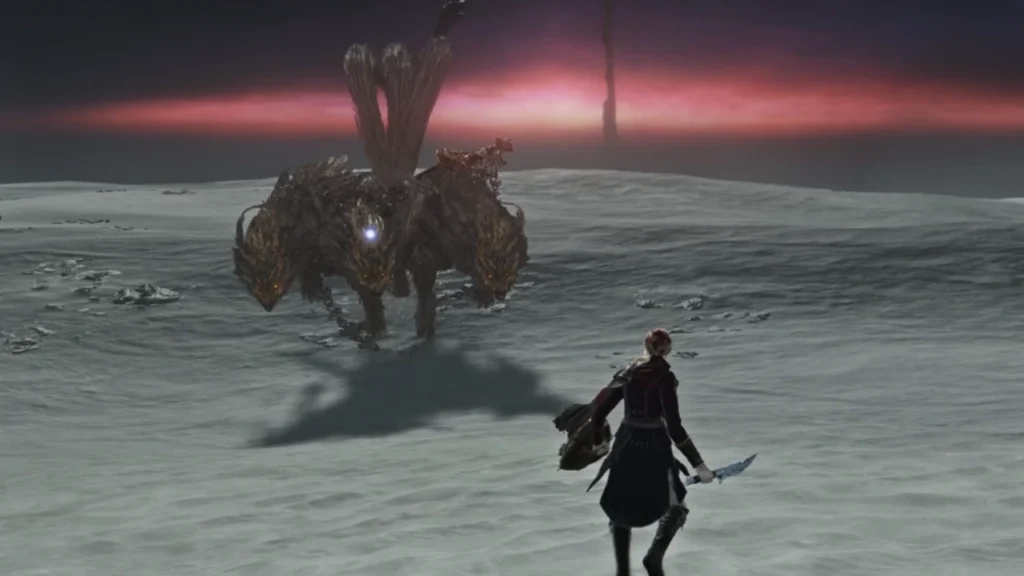
Tricephalos is the first Nightlord encounter. This 3-headed dog uses a variety of fiery attacks. When you're close, he uses biting attacks, but from a distance, he attacks using fireballs or the chained sword on his back. Watch out for a move where he howls and his 3 heads glow purple; this is the start of his devastating grab attack. At several points during the fight, his 3 heads split off into individual dogs. This phase is extremely dangerous, as you now need to deal with 3 times as many enemies. After you defeat Gladius, Beast of the Night, you unlock the other 6 Nightlord encounters.
Relics and Vessels
Relics and Vessels are your metaprogression systems in Elden Ring Nightreign. This is permanent power you carry over from run to run. Vessels are the slots you use to equip Relics.
Vessels
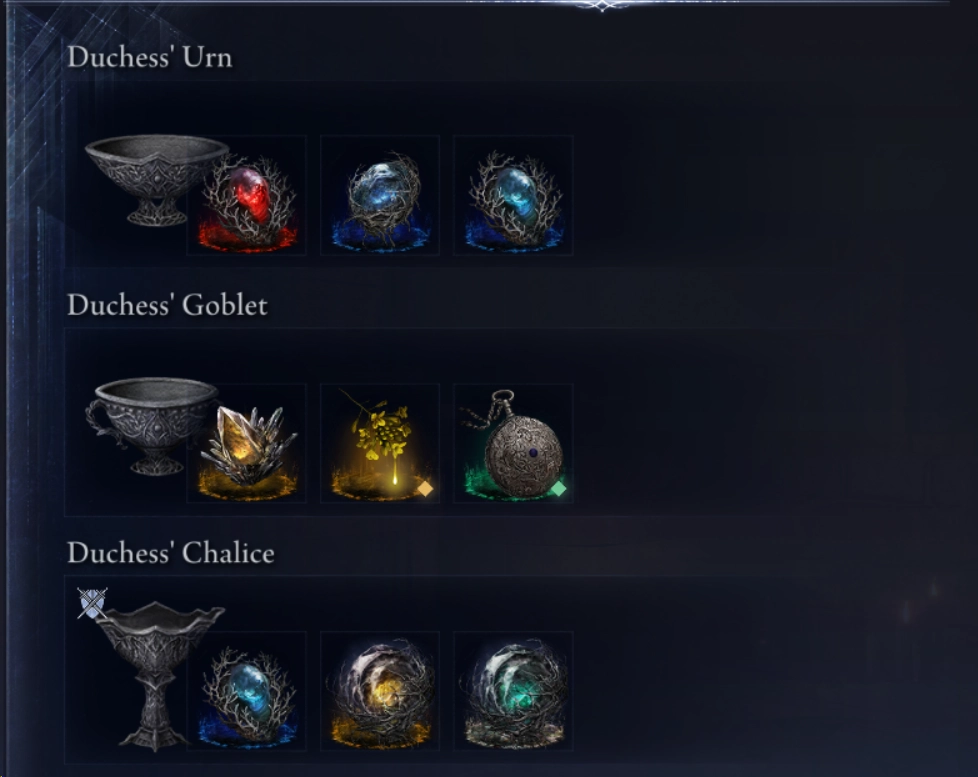
Each Nightfarer begins with a different Vessel, the slot colors are Blue, Red, Green, Yellow, and White. Each can only hold Relics of a corresponding color. For example, the Recluse begins with a Vessel that holds Blue, Blue, Green, meaning she can equip 2 Blue relics and 1 Green relic.
As you defeat Nightlords and progress your Remembrances, you unlock new vessels with different combinations. Purchase them in the Small Jar Bazaar
Relics
Relics roll different random affixes. Some of these are class-specific, directly enhancing a Nightfarer's abilities, whereas others are more generic. You can also get attributes on your Relics that provide Attributes like Dexterity or Vigor. Because Relics are random, it takes a long time to get something you want.
- Delicate Relics roll 1 random modifier.
- Polished Relics roll 2 random modifiers.
- Grand Relics roll 3 random modifiers.
The random Relics are very hit or miss. But as you progress a number of powerful Relics with stats focused on specific Nightfarers appear in the Small Jar Bazaar.
There are also special relics that you obtain by defeating Nightlords and progressing character storylines. These have fixed affixes and are typically quite powerful.
To learn more about Relics and Vessels, how to get them, and the power they offer to your Nightfarer, check out our Relics and Vessels guide.
Summary
That's it for the Elden Ring Nightreign beginner's guide. This serves as a broad overview of the game and touches on a lot of topics in brief. To learn more, check out some of our other guides.
- Begin by choosing a Nightfarer. Initially, you can play as Wylder, Guardian, Ironeye, Raider, Recluse, or Executor, but more unlock later.
- Then, select a boss and set out on an Expedition from the Roundtable Hold.
- Familiarize yourself with the basics of combat, including light and heavy attacks, stamina management, skills, stance breaking, and the near death mechanic.
- Navigate the map to find points of interest where you can gain runes and other rewards.
- Look for special events like Cataclysms, Raids, and the Shifting Earth.
- On Day 3, do battle against a dangerous Nightlord.
- Use Relics and Vessels to accumulate permanent power.
Credits
Written by: Tenkiei
Reviewed by: IBoilerUp