New Elden Ring Nightreign Guides & Database
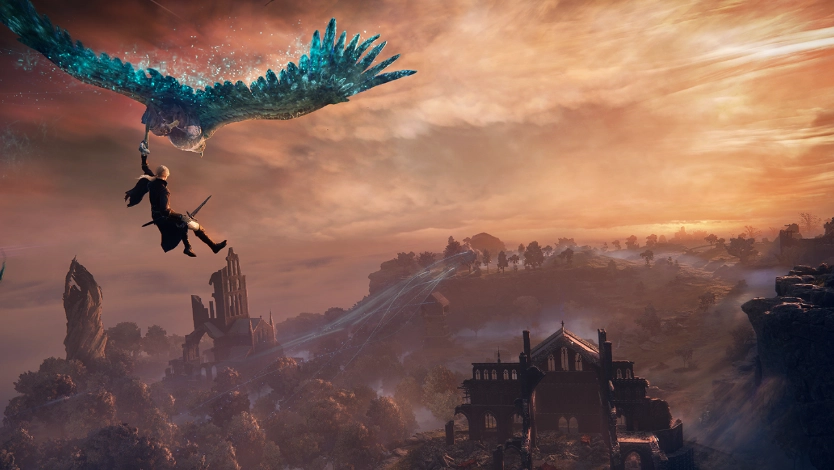
We are happy to announce our Elden Ring Nightreign Guides and Database! Head over to our Character guides to learn about each of the different Nightfarers. Check out our Map guides to plan your route through Limveld, and check our additional resources to learn more about the game's systems.
Getting Started

Our comprehensive beginner's guide goes over everything you need to get started in Elden Ring Nightreign. First, a short introduction to each of the 8 Nightfarers that are playable at release. Then, an explanation of Roundtable Hold is the game's central hub where you set out on Expeditions. After that, the guide goes into navigating Limveld, the basics of combat, and how to handle the Nightlords before wrapping everything up with a bit of information on Nightreign's metaprogression systems.
Character Guides
We've made guides breaking down each of the Nightfarers available in Elden Ring Nightreign at launch. This includes information on their unique skills, along with recommended weapons, Talismans, and passives. Nightreign is a Roguelike, so you can't count on having the same build from run to run, therefore, you need to be flexible and work with what you find.
Wylder is a well-rounded character who is suitable for beginners. His Sixth Sense passive allows you to cheat death and stay up through one instance of fatal damage. As a generalist, he does not excel with specific weapons, but instead can use most martial armaments. However, his favorite weapon is the Greatsword.
- Claw Shot gives the Wylder excellent mobility, he can grapple to large bosses or pull smaller foes to himself.
- Onslaught Stake is a powerful attack that can be charged to do AoE damage.
- When uncharged, you refund part of your Ultimate gauge on use.
- The charged version deals massive stance damage.
Learn more about Wylder's playstyle, skills, and what weapons to look out for with our dedicated Wylder Character Guide.
The Guardian is Nightreign's tank class. He is most comfortable wielding a large shield and a weapon that can be used while guarding, such as a Halberd, Rapier, or Hand Crossbow. While the Guardian deals less damage than the other Nightfarers, he has immense durability and multiple ways to disrupt foes.
- His Whirlwind skill excels at disrupting large groups of enemies and can be charged for greater range.
- Wings of Salvation is an ultimate art that can be used quickly to disrupt enemies, bring allies back up, or channeled to provide allies with further defensive benefits.
- Use a relic that draws enemy attention when guarding to better make use of his Steel Guard stance (L1/LB + Circle/B).
Learn more about Guardian's playstyle, skills, and what weapons to look out for with our dedicated Guardian Character Guide.
Ironeye is the bow specialist, though his high Dexterity makes him proficient with a variety of other melee weapons such as daggers and curved swords. Unfortunately, his low durability makes him a poor choice as a front-line fighter, so use melee weapons with caution.
- When an Ironeye is in your Expedition, you passively gain item discovery, making it more likely for an enemy to drop something when slain.
- Ironeye's Marking skill creates a weak point, which causes the marked foe to take increased damage from all sources. Attack and destroy the weak point to inflict significantly more damage and stagger the enemy.
- His Single Shot ultimate art pierces most terrain features and delivers a massive burst of damage. You can use this to bring near death allies back up, interrupt some boss skills, or take out a group of weaker enemies.
Learn more about Ironeye's playstyle, skills, and what weapons to look out for with our dedicated Ironeye Character Guide.
The Duchess is a dagger-wielding Nightfarer who excels at evasive action to weave in and out of combat. Her starting weapon comes with a potent character skill, enchanting your blade with the Magic affinity for extra damage. In addition, she can adeptly wield Glintstone Sorceries due to her high intelligence and has decent Faith scaling for Incantations as well. Look out for weapons with the Magic or Frost Affinity, and those that can trigger statuses like Frostbite or Blood Loss.
- Her character skill Restage replays recent events, inflicting 50% of the damage. This includes damage dealt by your allies and contributes to ailment buildup or poise break, making it a powerful skill when timed correctly.
- Finale is her ultimate art; it does not deal damage but provides stealth to the Duchess and her allies. You can use this to escape from sticky situations, bring an ally up mid-fight, or get behind enemies and ambush with a backstab.
- The Duchess has a lot of mobility but low survivability. Position yourself away from enemy attacks and look for opportunities to use Restage to stagger the boss.
Learn more about Duchess's playstyle, skills, and what weapons to look out for with our dedicated Duchess Character Guide.
The Raider has high Strength and uses large/colossal weapons to smash his foes. While he can use a variety of martial armaments well, his FP is extremely low, making it difficult to use weapon skills. The Raider's inherent durability makes him difficult to stagger, helping him ensure that his blows connect.
- Retaliate is an unusual character skill that is scaled by the damage the Raider takes. You can use it frequently to cause foes to flinch for a short time, or wait for the fully charged version (which is harder to land) that does a large amount of damage and poise damage.
- Totem Stela is the Raider's ultimate art. This is a bit of a double-edged sword as it summons a physical object that can block enemy attacks. Unfortunately, the Stela can also block ally attacks or prevent them from entering doorways if placed incorrectly. This rises up from your location, so position yourself well. It has an aura that buffs your martial fighters, increasing their damage.
- Ranged/Caster allies can stand on the Totem Stela for added safety.
Learn more about Raider's playstyle, skills, and what weapons to look out for with our dedicated Raider Character Guide.
The Revenant is a support class, though her high Faith allows her to use offensive Incantations with ease. However, her ability to deal damage is limited as she has no method of FP recovery. Her passive ability summons the shades of foes to fight at your side, distracting enemies and dealing damage.
- Revenant's character skill summons the spirit of a fallen family member to aid her in battle.
- Helen the Page is a perfumer who deftly attacks your foes.
- Frederick the Pumpkin Head uses sweeping strikes to deal damage to enemies in a wide area.
- Sebastian the Giant Skeleton cannot move but deals high damage.
- Her Ultimate Art, Immortal March, revives allies in the near-death state and grants Immortality to your entire party for a short duration.
Learn more about Revenant's playstyle, skills, and what weapons to look out for with our dedicated Revenant Character Guide.
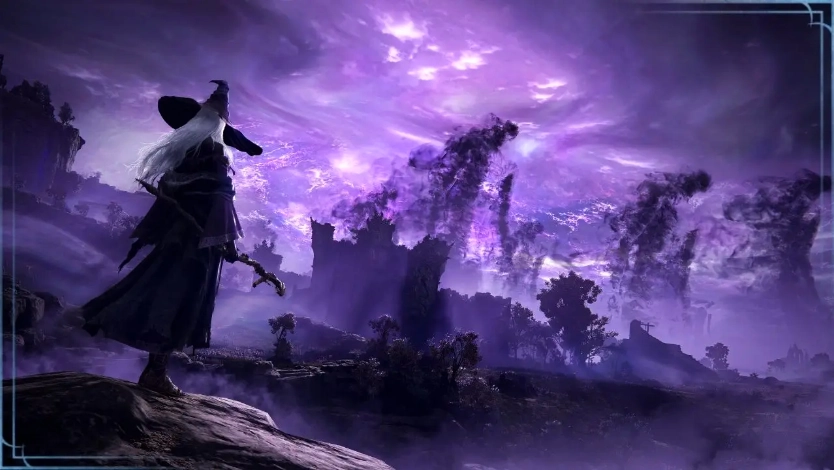
A spellcaster adept who can use her character skill to restore FP, the Recluse excels at unleashing devastation from afar. Her stats favor Sorceries and Incantations, but she can use Magic, Frost, Fire, Holy, and Lightning affinity weapons. This character is a bit more difficult to play as you don't have as many defensive options, and need to manage FP in addition to your Health and Stamina. However, if you do everything correctly, she deals significant damage.
- The Magic Cocktail character skill has two functions;
- First, absorb elemental residue (Magic, Fire, Lightning, or Holy) from an enemy, restoring FP and building a charge.
- Then, at 3 charges, unleash a custom spell. Each elemental combination has a different spell, resulting in 14 different options. In general, the tri-element spells are both the most difficult to pull off and also the most powerful.
- Her Ultimate Art Soulblood Song marks all foes with a Blood Sigil. Attacks against the marked foe deal more damage and restore both health and FP. This is a great way to provide your team with extra resources after staggering a boss, or to help the party recover from a near miss.
- If you get a relic with the Terra Magica effect, you can create an on-demand damage boost by using your Character Skill to absorb residues.
Learn more about Recluse's playstyle, skills, and what weapons to look out for, and some basics on the Cocktails with our dedicated Recluse Character Guide.
The Executor excels in single combat. He has high Dexterity and Arcane, giving him access to a majority of the game's smaller weapons. In particular, look out for Katanas as these scale off of Dexterity while also triggering the Blood Loss status to enemies. Position carefully because the Executor has low durability.
- Your Character skill "Cursed Sword" enables a unique playstyle. With the sword drawn, you can guard to deflect enemy attacks and build up poise damage. This is similar to Wolf's fighting style in the game Sekiro: Shadows Die Twice. The Cursed Sword replaces your normal weapon but has excellent damage in the early game.
- Meanwhile, Executor's Ultimate Art, Aspects of the Crucible: Beast, transforms him into a gigantic creature capable of going toe to toe with the game's deadliest bosses. This form unlocks a completely new move set, fully heals Executor, and bolsters his health for the form's duration.
- The Beast can AoE down groups of enemies or cause a boss with low poise to flinch repeatedly.
Learn more about Executor's playstyle, skills, and what weapons to look out for with our dedicated Executor Character Guide.
Map Guides

The Limveld map is teeming with points of interest to explore, enemies to defeat and of course loot to find. Raid Events appear at random, you need to resolve the Raid or deal with the consequences for the rest of your Expedition. As you progress, you can also encounter Shifting Earth events, which transform a portion of the map and offer unique rewards.
Resources

Lastly, here are some additional resources to aid you in your journey exploring Limveld. These are focused on explaining core game systems and demystifying things like what school a particular Sorcery or Incantation belongs to!
Database

Browse our Elden Ring Nightreign Database to learn more about the Weapons, skills, spells, Relics, Vessels, Relic modifiers, Talismans, passive traits, and nightfarers available in the game.
- Armaments include Daggers, Swords, Thrusting Swords, Curved Swords, Axes, Hammers, Spears, Halberds, Staves, Seals, Fist Weapons, Bows, Crossbows, and off-hand items.
- Then you have Skills, weapon arts that consume FP to trigger additional effects.
- Sorceries and Incantations offer buffs, healing, and ways to unleash devastation on your foes.
- Vessels and Relics are Nightreign's metaprogression systems.
- Talismans, found during your run, give your Nightfarer a small bonus.
- Weapon Passives and Passive Character Traits function similarly to boons in most roguelikes, adding temporary power during a run.
Good Luck in Limveld
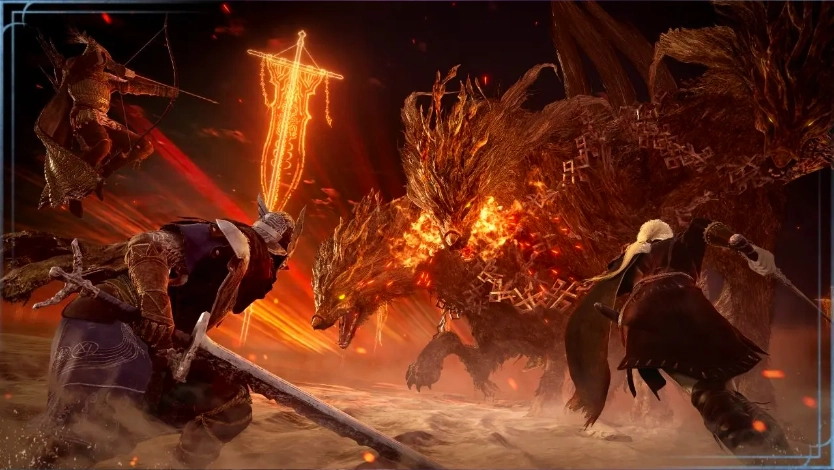
Elden Ring Nightreign is a challenging experience for 1-3 players where you race against time to gather resources before rallying against the Nightlord. Use our Elden Ring Nightreign guides to get started and set yourself up for success as you face off against each of the game's bosses. Or spend time browsing the database to learn more about the tools available to you in FromSoftware's newest game.
Credits
Written by: Tenkiei