Limveld Map & Key Locations
Last Updated:June 3, 2025|Changelog
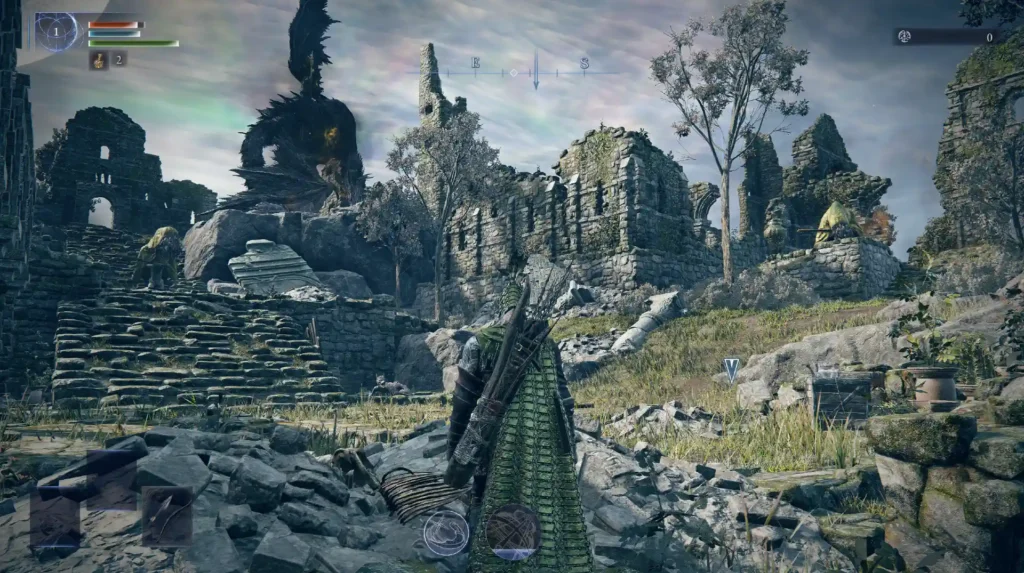
The map of Limveld in Elden Ring Nightreign is vast and sprawling. There are more than a dozen Key Locations across the Limveld map and a plethora of random events and encounters in between. These points of interest offer both scaling difficulty and individualized rewards. Oftentimes, they also have multiple layouts and encounter variants. Given the time pressure of each Expedition, as well as the weaknesses of each Nightlord, it's important to familiarize yourself with each of these locations and their rewards to give your run the best chance for success.
Using the Map
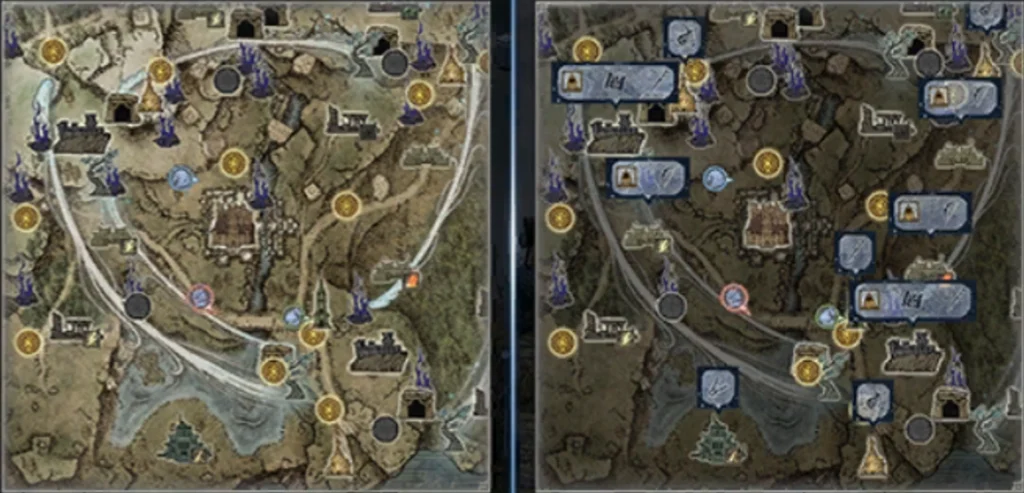
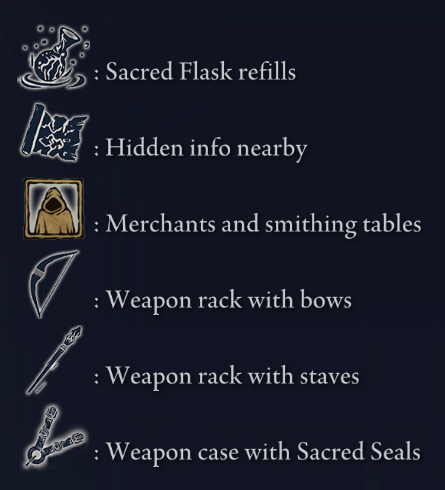
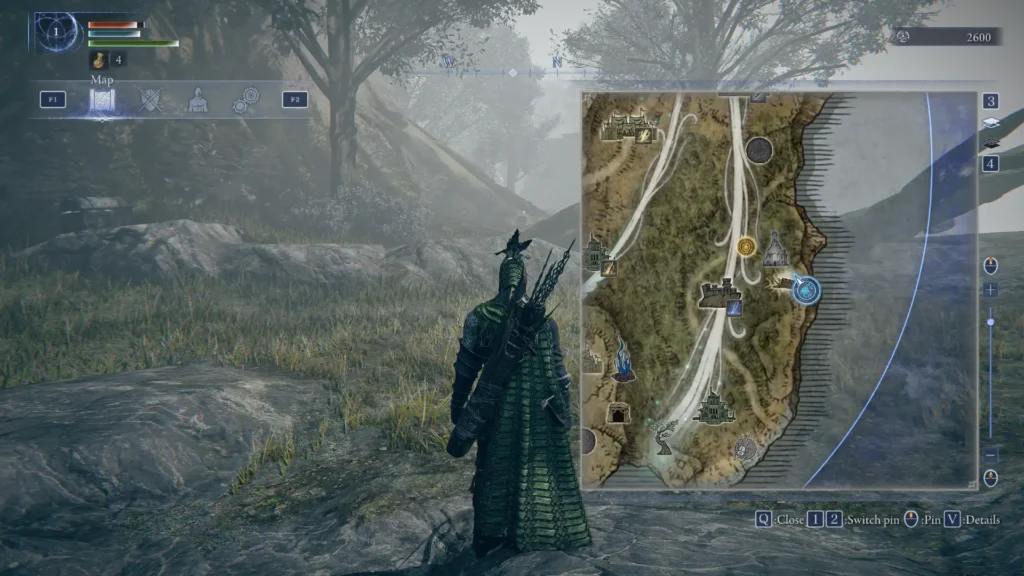
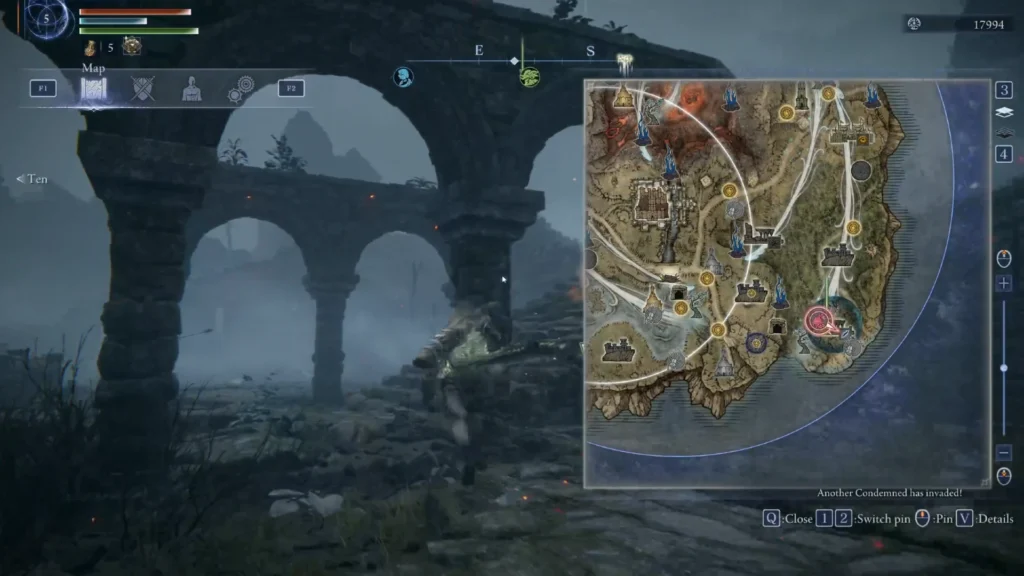
Step one of the process is accessing the Map and understanding the presented information. You can access the map as early as the fly-in and it's recommended to do so to begin planning your route. Pins are vitally important. Not only do they give a visual indicator on the compass toward your target location, but they also communicate your intentions to other members of the party. The Detailed View gives some additional information about the reward types at each Key Location (see the Legend below for more details). Adjusting Surface Level is rarely necessary, but it can help you better navigate Tunnels and other subterranean zones.
| Control | Keyboard | PlayStation / Xbox |
|---|---|---|
| Open Map | M | Options / Select |
| Detailed View | V | Triangle / Y |
| Zoom In | Scroll Wheel (Up) | R2 / RT |
| Zoom Out | Scroll Wheel (Down) | L2 / LT |
| Pin | Middle Mouse | R3 / Right Stick |
| Surface Level Up | 3 | D-Pad Up |
| Surface Level Down | 4 | D-Pad Down |
Key Location Overview
The following sections of the guide highlight the major points of interest that have their own markers on the map and contain one or more Mini Bosses. There is a semblance of progression to these Key Locations. For example, early on you want to prioritize Churches, Great Churches, Forts, and Sorcerers' Rises to get some Flask upgrades and Uncommon ranged weapons. Midgame needs might lead you to a Ruins or Main Encampment to fish for Armaments with specific properties, Evergaols for an infusion of Runes, or Tunnel Entrances to further upgrade your current weapons. Endgame Locations include the massive Castle at the center of each map, roaming Field Bosses, or the limited-time Shifting Lands events.
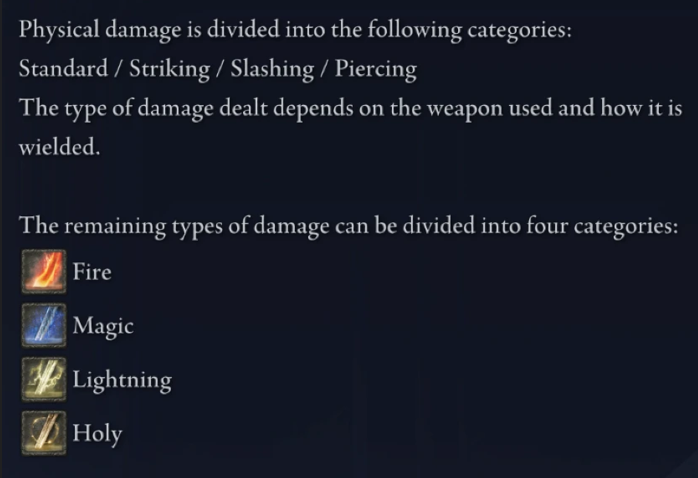
Many Key Locations are additionally marked with symbols representing various Attack Affinities or Status Ailments. These markings indicate both the types of enemies you are likely to encounter and the rewards you can expect to see. This is especially useful if you know the Nightlord you are pursuing has a particular weakness. If a Key Location is missing any kind of marking, it is generally considered Physical. See below for a reference of all Attack Affinities and Status Ailments.

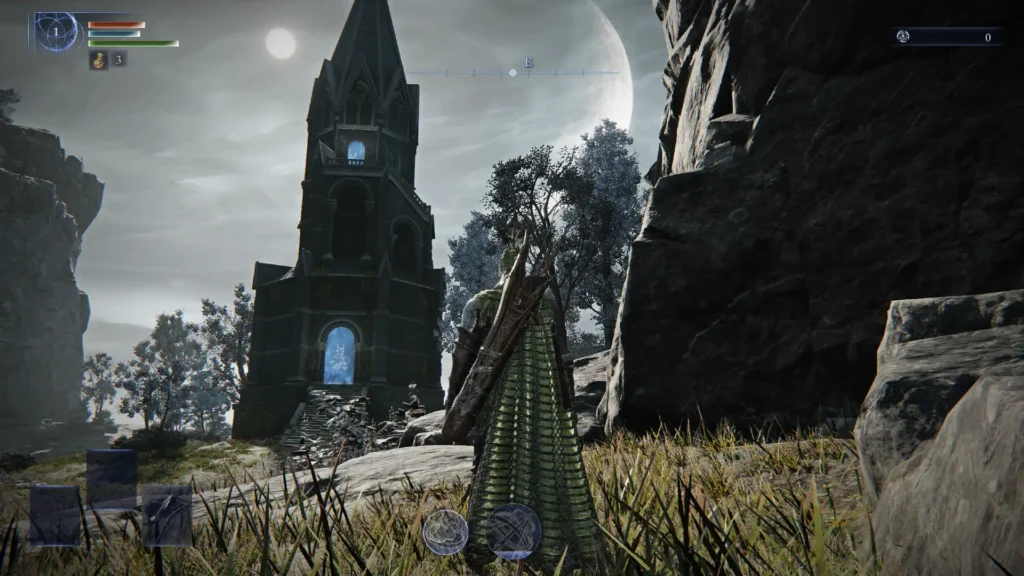
Church
Recommended level: 1
Rewards: Sacred Flask upgrade, Pickled Fowl Feet
Not to be confused with the Great Church, Churches glow brightly on the Map and are almost always worth your time. In each Church, there is an altar that refills your Flask charges and grants you an extra Sacred Flask charge, which is essential for taking on prolonged Boss fights. The destructible Crates are also noteworthy in that they often contain Gold- and Silver-Pickled Fowl Foot, consumables which temporarily boost Rune Gain and Item Discovery, respectively. There are typically no enemies in a Church and, if there are, the handful of Giant Rats or Guilty are easily dispatched.
Sorcerer's Rise
Recommended level: 1
Rewards: Staffs, Talismans, Starlight Shards
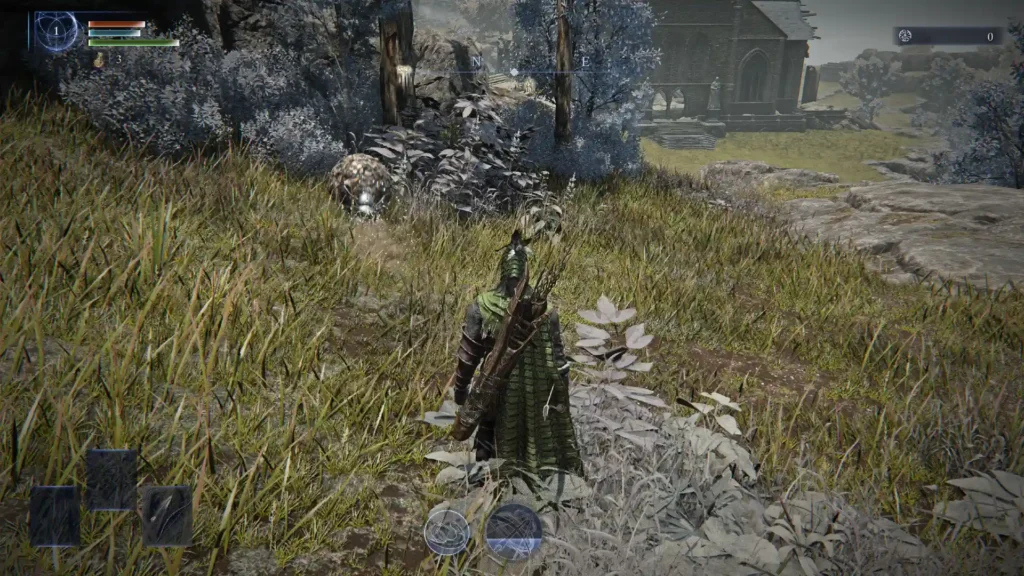
Sorcerers' Rises are a nice early game stop for dedicated caster classes, rewarding Staffs and other FP-related consumables on completion, as well as an offering of random Talismans. There are no enemies in or around these towers, but to gain access, you need to solve one of several possible puzzles. For example, you might see a tree stump spring to life and start roaming around the premises or a conspicuous gargoyle statue reading a book. Attacking and destroying these out-of-place objects drops a Crest, and destroying this Crest dispels the barriers preventing entry.
If you don't have a Recluse or other Intelligence-scaling Nightfarer in your party, it's generally not recommended to pursue a Sorcerer's Rise. Unlocking the tower can take an inordinate amount of time and Forts also drop Staffs while generating Runes through enemy encounters.
Fort
Recommended level: 1
Rewards: Staffs, Stonesword Key, nearby Scarab / Buried Treasure Locations, Merchant
Forts are one of the easier Key Locations to conquer. The Fort has two specific layouts, each of which have two combinations of mobtypes and Mini Bosses. Near the entrance of either Fort layout is a Merchant with an Anvil that allows you to buy and upgrade weapons. Both layouts also have a tower in their upper palisade that contains a Weapon rack with Staffs and a Map that reveals the location of all nearby Scarabs and Buried Treasures.
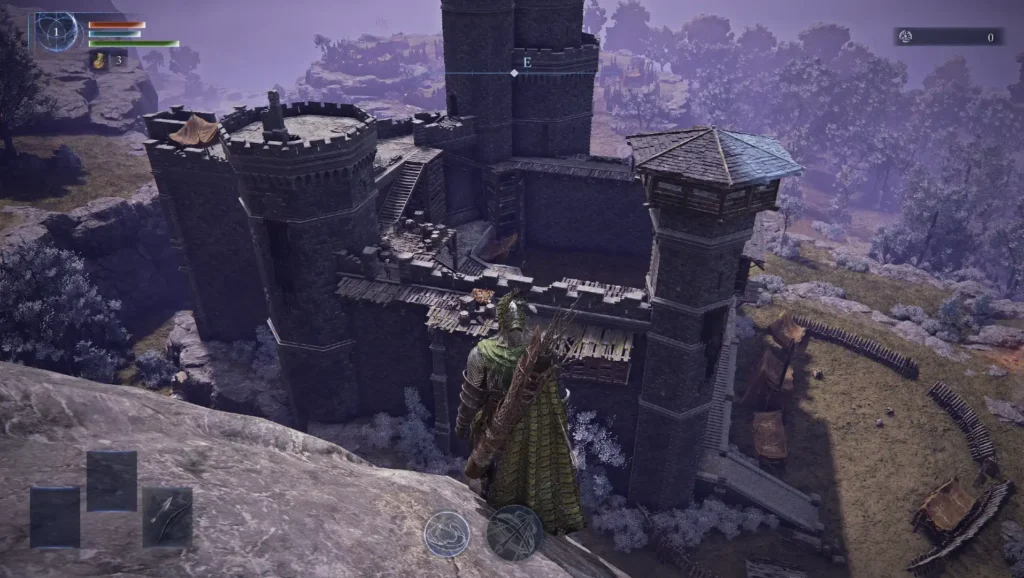
The two Layouts differ in their point of entry and the location of a Chest likely to contain a Stonesword Key (used to open Evergaols). Layout 1's entrance is up a flight of stairs within the wall of wooden pikes surrounding its frontside, and the chest in question is on the upper palisade near the Map and Armament rack. In Layout 2, the entrance is beneath a broken bridge near the Merchant, which doubles as cover from the rooftop enemies trying to assassinate you. The chest likely to contain a Stonesword Key is in a side room between the two flights of stairs on the way to the upper palisade.
| Affinity | Mobtype | Mini Boss | Layout |
|---|---|---|---|
| Physical | Godrick Footmen/Soldiers | Abductor Virgin | 1 |
| Physical | Godrick Footmen/Soldiers | Lordsworn Captain | 1 |
| Physical | Skeletal Slime, Giant Rats, Godrick Footmen/Soldiers | Guardian Golem | 2 |
| Magic | Living Jars, Glintstone Sorcerers | Crystalian | 2 |
Fort Affinities and Enemy Types
Great Church
Recommended level: 1
Rewards: Sacred Seals, Stonesword Key
Great Churches are dilapidated monuments containing relatively weak foes. They have two prominent layouts: one containing a hole in the ground that leads to an underground section (Layout 1) and one that doesn't (Layout 2). Layout 1 has its Mini Boss in the underground portion, its Weapon case containing Sacred Seals opposite this Boss Room, and the chest likely to contain a Stonesword Key behind the sarcophagus on the surface level. Layout 2 has its Mini Boss near the sarcophagus on the surface level. The Chest and Sacred Seal rack are either in the corner of the church that hasn't collapsed or in the rafters above. In either variant, it's worthwhile to loot the rooftop by scaling the scaffolding on either side.
| Affinity | Mobtype | Mini Boss | Layout |
|---|---|---|---|
| Physical | Mausoleum Foot Soldier / Soldier | Mausoleum Knight | 1 |
| Fire | Guilty | Fire Monk | 1 |
| Physical | Demi-Humans | Guardian Golem | 2 |
| Holy | Gray / White Wolves | Oracle Envoys | 2 |
Great Church Affinities and Enemy Types

Evergaol
Recommended level: 3
Rewards: 10,000-20,000 Runes OR a random Passive Character Trait
Evergaols require a Stonesword Key to activate and summon a wide variety of Mini Bosses. As a reminder, Stonesword Keys can be salvaged from either Great Churches or Forts, and can rarely be purchased from a Merchant. At the beginning of the Expedition, the summoned Mini Boss spawns with 50% of their health missing, and this scales to full health as the expedition progresses. So, it's best to tackle Evergaols after you've acquired some Uncommon Weapons and Stonesword Keys from the early game Key Locations. By lategame, you can likely amass a similar amount of Runes in the time it takes to travel to and complete this objective. Summoned Mini Bosses include (but aren't limited to):
- Beastly Brigade
- Beastmen of Farum Azula
- Bloodhound Knight
- Crucible Knight
- Crystalian
- Dragonkin Soldier
- Godskin Apostle
- Godskin Noble
- Nox Warriors
- Stoneskin Lords
Ruins
Recommended level: 3
Rewards: Armaments with specific Attack Affinities or Status Ailments
Ruins are best taken on after you acquire some Uncommon Weapons and levels from lesser Key Locations. They have the widest variety of associated Attack Affinities and Status Ailments and, consequently, the most diverse sets of mobs. This is your go-to spot to find Armaments that your selected Nightlord is weak against. There are two Layouts in the Ruins, and they dictate the locations of 6 chests with random loot. In the layout that progressively ascends in height, these chests are near the base of the Ruins in two parallel tunnels. In the layout which is mostly flat, there are two parallel staircases that each lead to 3 chests.
| Affinity | Mobtype | Mini Boss |
|---|---|---|
| Physical | Imps | Erdtree Burial Watchdogs x2 |
| Lightning | Beastmen of Farum Azula | Beastmen of Farum Azula x2 |
| Magic | Glintstone Sorcerers | Battlemages |
| Holy | Aulbinauric Villagers | Aulbinaurics x3 |
| Poison | Giant Bats / Toxic Miranda Sprouts | Perfumer |
| Blood Loss | Skeletal Slime / Blistered Putrid Corpse | Sanguine Noble |
| Frostbite | Spirit Jellyfish | Ancient Heroes of Zamor x3 |
| Frostbite | Aulbinauric Archers / Gray Wolves | Albinauric Archers x2 |
| Sleep | (Spectral) Wandering Noble | Runebear x2 |
| Death | Lesser Wormface | Wormface |
Ruins Affinities and Enemy Types
Main Encampment
Recommended level: 3
Rewards: Bows, Merchant
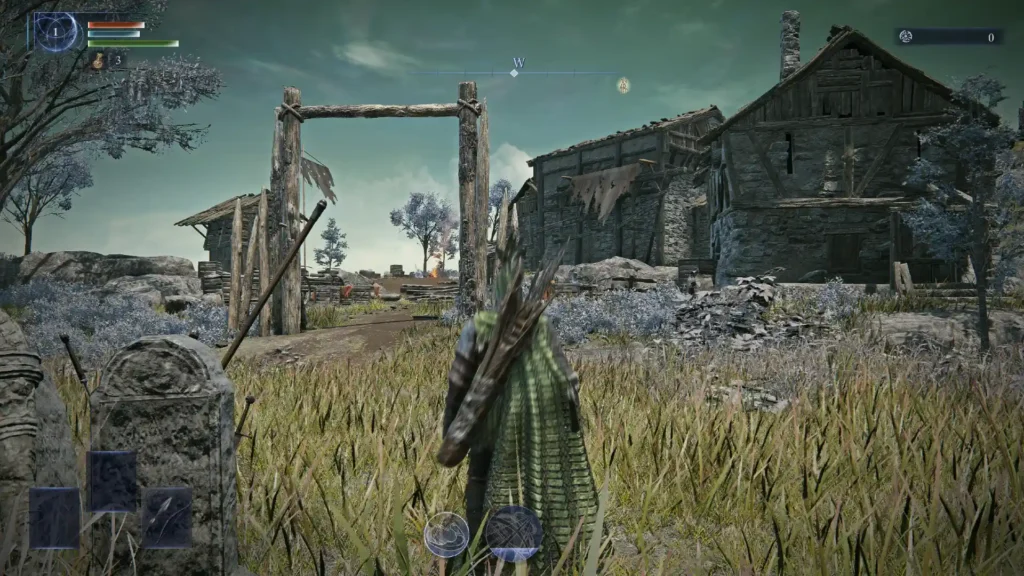
Main Encampments are sprawling structures surrounded by wooden pike fences. The enemies within present a decent challenge early on, and you probably want some Levels and Uncommon Armaments under your belt before you test one. Besides the respectable number of Runes available, Encampments additionally spawn 2 Armament racks which contain Bows and contain a Merchant either within or just outside their walls. If there is an Archer in the tower pictured, you can knock him off to complete the challenge more quickly.
| Affinity | Mobtype | Mini Boss |
|---|---|---|
| Physical | Misbegotten Warriors | Leonine Misbegotten |
| Physical | Dogs, Godrick Soldiers | Elder Lion |
| Physical | Wandering Nobles, Strays | Banished Knights x3 |
| Fire | Burning Putrid Corpse | Flame Chariots x3 |
| Fire | Redmane Soldiers | Redmane Knights x2 |
| Lightning | Leyndell Knights/Soldiers, Mad Pumpkin Head | Royal Army Knights x3 |
| Madness | Leyndell Knights | Frenzied Flame Troll |
Main Encampment Affinities and Enemy Types
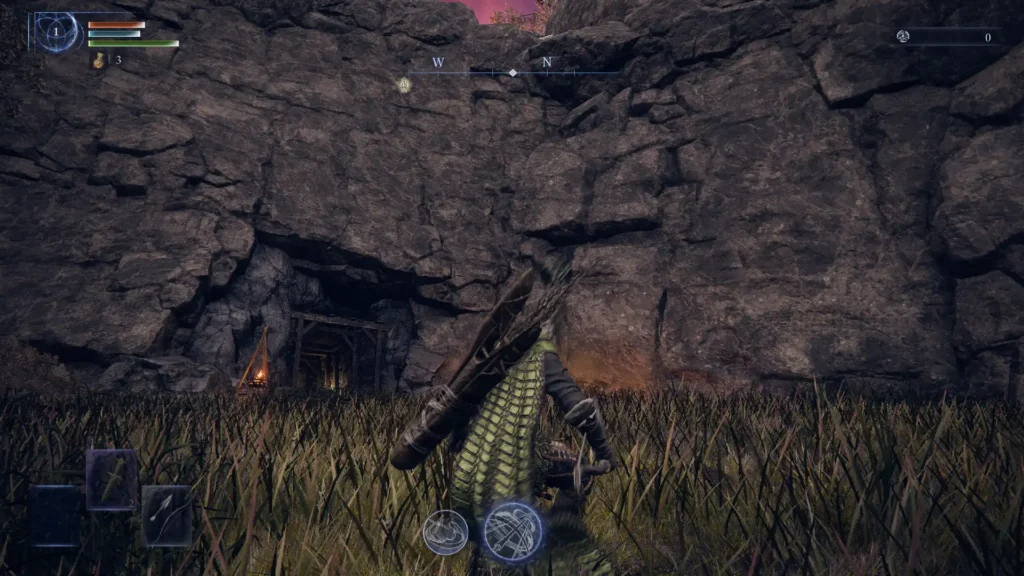
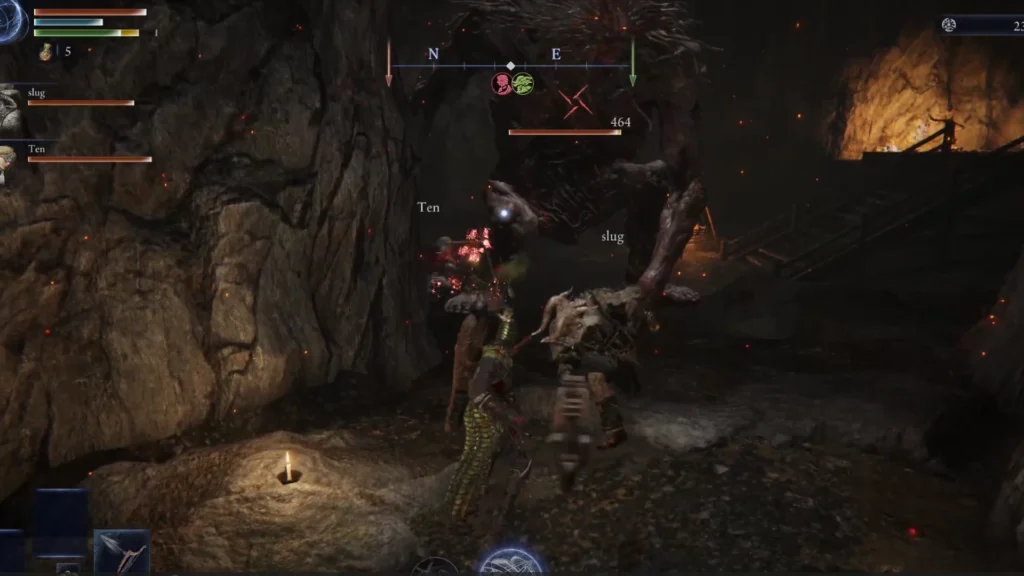
Tunnel Entrance
Recommended level: 3
Rewards: Smithing Stone [1] and Smithing Stone [2]
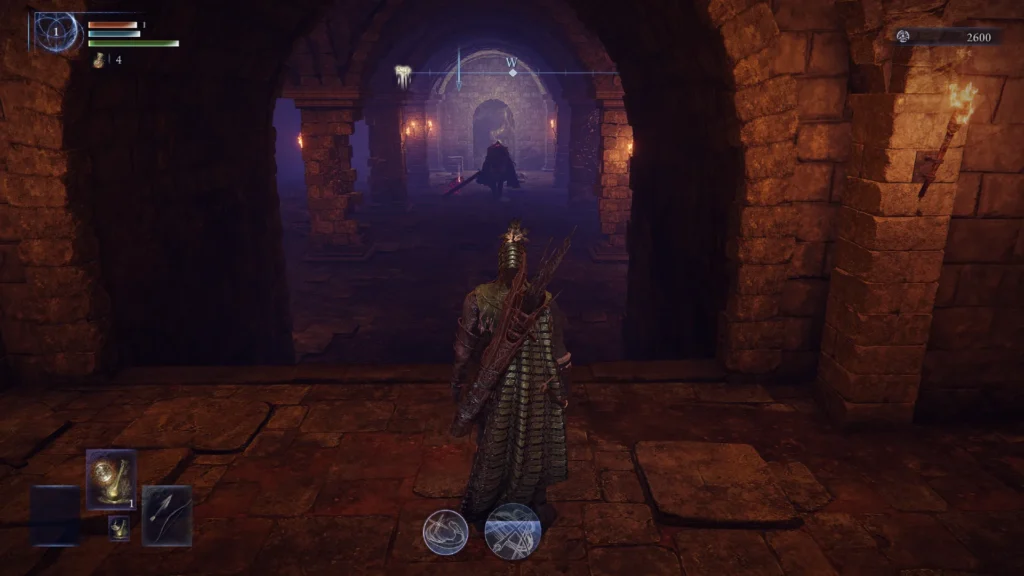
Tunnels are underground labyrinths filled with initially passive Glintstone Miners and a few overseeing Knights. They are a reliable source for Smithing Stones (of either rarity), and so their primary function is to allow you to upgrade an existing Common or Uncommon Weapon with a Skill or added damage type you strongly prefer. Smithing Stone [2] is available from the Mini Boss, either an unmarked Troll, Lordsworn Captain or Mad Pumpkin Head near the tunnel's center. Tunnel Entrances are fine to skip if you don't have a low-rarity weapon you intend to keep.
Use Surface Level Up ("3" / D-Pad Up) or Surface Level Down ("4" / "D-Pad Down) to alternate between subterranean and surface-level views on the Map.
Township
Recommended level: 1
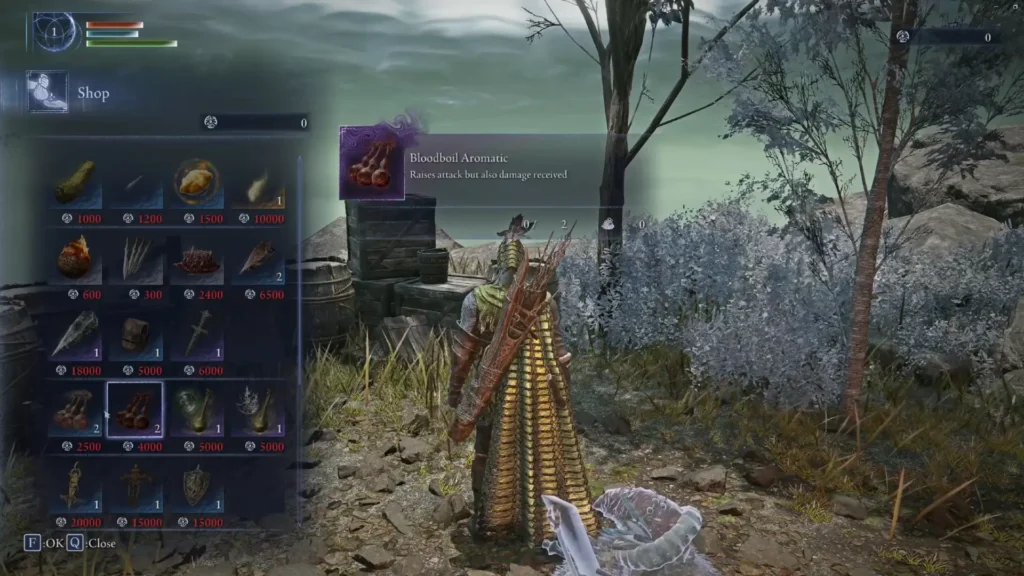
Townships are abandoned Locations with a lone Merchant and Anvil. The reason they don't make this list until now is because you need a healthy amount of spare Runes if you want to buy from this Merchant. Among his possible unique offerings are an assortment of Talismans, Rare Weapons and Consumables, a Smithing Stone [2], and the Legendary Consumable, Wending Grace, which offers a one-time revive. Townships are rare, occurring in approximately 10% of runs, but if you see one on the map, it's definitely worth exploring!
Field Boss
Recommended level: Varies
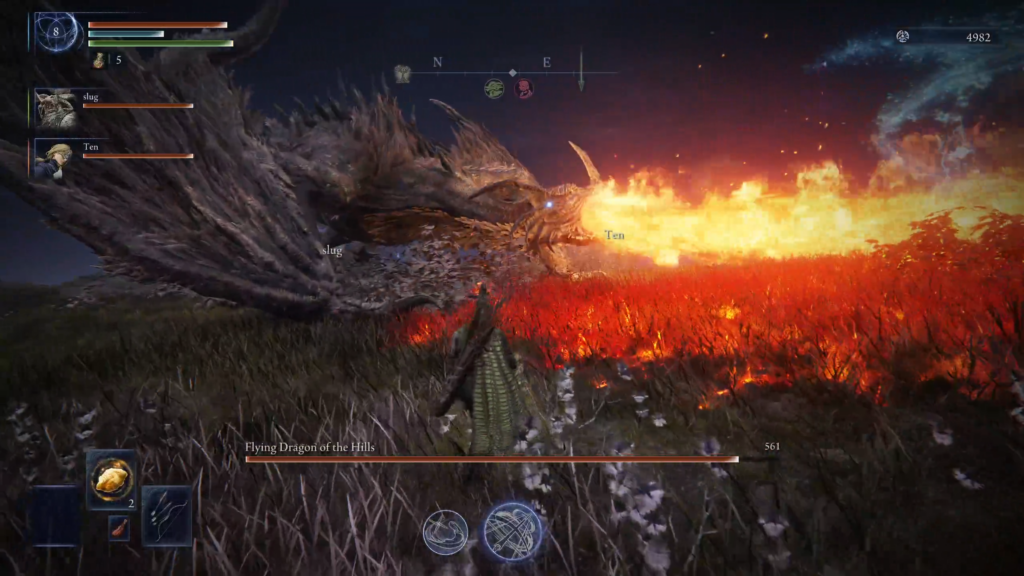
Mini Bosses (and even Night Bosses) of all shapes and sizes occur naturally on the Map. In Night 1, you can't see their locations unless you randomly encounter and engage them. Beginning in Day 2, all Field Bosses are highlighted on the map, and it's a viable strategy to hop from Boss to Boss for their insane Rune generation and enhanced Loot offerings. Field Bosses are not created equal, and the more dangerous versions have a glowing red tint on the mini map. Be sure you have plenty of levels and gear before you make this your main farming tactic!
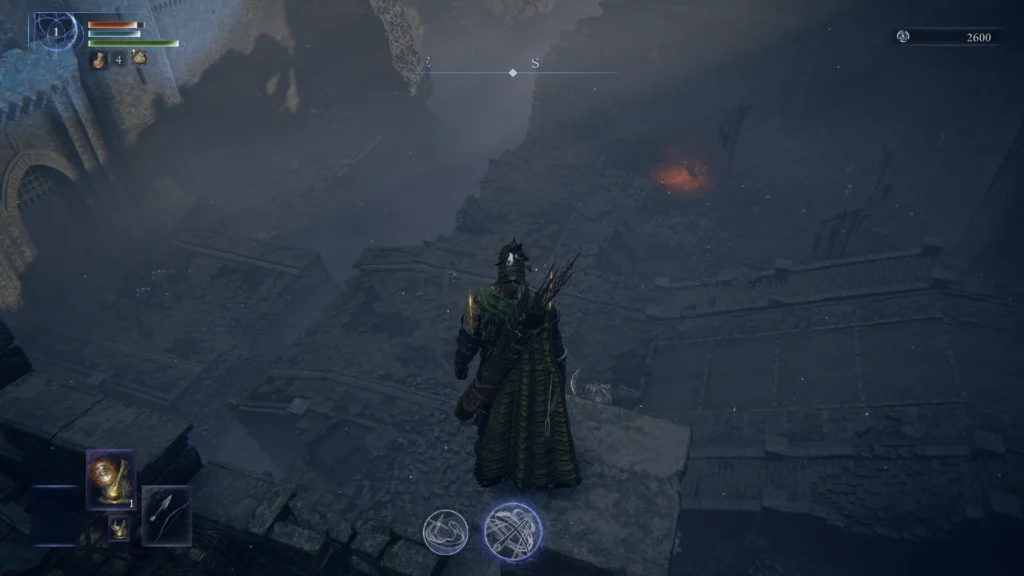
Castle
Recommended level: 7+
The Castle is the largest naturally occurring Key Location and is filled to the brim with tough enemies and Mini Bosses – as many as 8 in total. It is common and worthwhile to spend the entirety of Day 2 in a Castle slaying enemies and collecting rewards, as the Rain tends to leave this area accessible until the very last Night Boss. There are 4 levels to the Castle: the Sewers, the Courtyard, the Palisades, and the Rooftop, and the difficulty and rewards of encounters generally increase the higher you go. The Sewers and Rooftop each have a randomized Mini Boss, while the Courtyard (2) and Palisades (4) all share the same Mini Boss type: either Banished Knights (with a random Elder Lion in the Courtyard), Crucible Knights, or Trolls (which throw magic pots at great distances).
Sewers
The Sewers have two main entrances from an aqueduct along the backside of theCastle. This aqueduct is filled with Spirit Jellyfish, has a Tree granting increased Rune Generation on one side, and a Spiritstream on the other that allows quick access to the Palisades. When you enter the Sewers, there is a Boss Room between the two entrances that spawns a randomized Mini Boss. Note that defeating this Boss spawns the only Grace available in the Castle. After they are felled, collect your rewards and proceed to the once-sealed room behind their spawn point. This takes you to an enclosed, Courtyard-level room with a Chest that awards your choice of random Talismans. Standing on the pressure plate from the inside causes either gate to open.
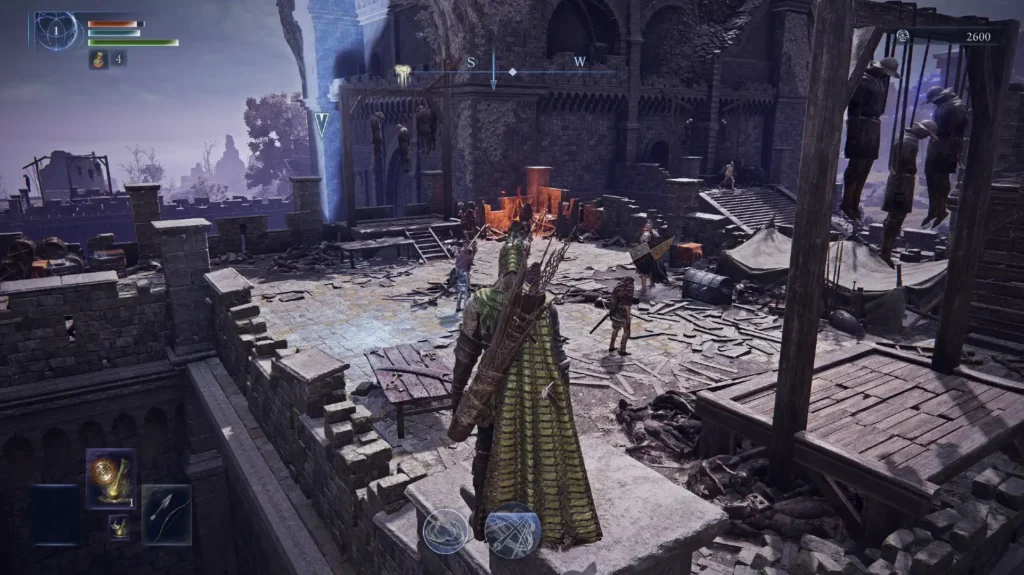
Courtyard
The Courtyard is best accessed either directly from the Sewers or by jumping down from a nearby Palisade. There isn't too much to say about the Courtyard. There is a Mini Boss both near the gates to the Sewers and across the broken bridge near a campfire. There a few chests and lesser enemies in the grassy area nearby. Enemies in this area are numerous and it's easy to overpull in the open space.
Palisades
The Palisades are accessible by taking the Spiritstream from the Sewer's aqueduct, walking up staircases on two sides of the Castle, or wall jumping up the inside wall of one of the inner Palisades. The Palisades stretch the entire length and width of the Castle in a U-shape and, with a few elevation changes, completely connect to each other. There are Mini Bosses on each inner and outer Palisade (a total of 4).
Rooftop
To reach the rooftop, start in the Great Hall between the two interior Palisades. There is a staircase in one corner that wraps around the Great Hall's exterior and appears broken near the top. A series of wall jumps allows you to bypass the rubble. Awaiting you at the summit is another randomized Mini Boss, but don't underestimate this one. It is always a very high level and extremely dangerous, even if you doubled back to level up at the Grace in the Sewers. It's totally reasonable to skip this boss and live to fight another day.

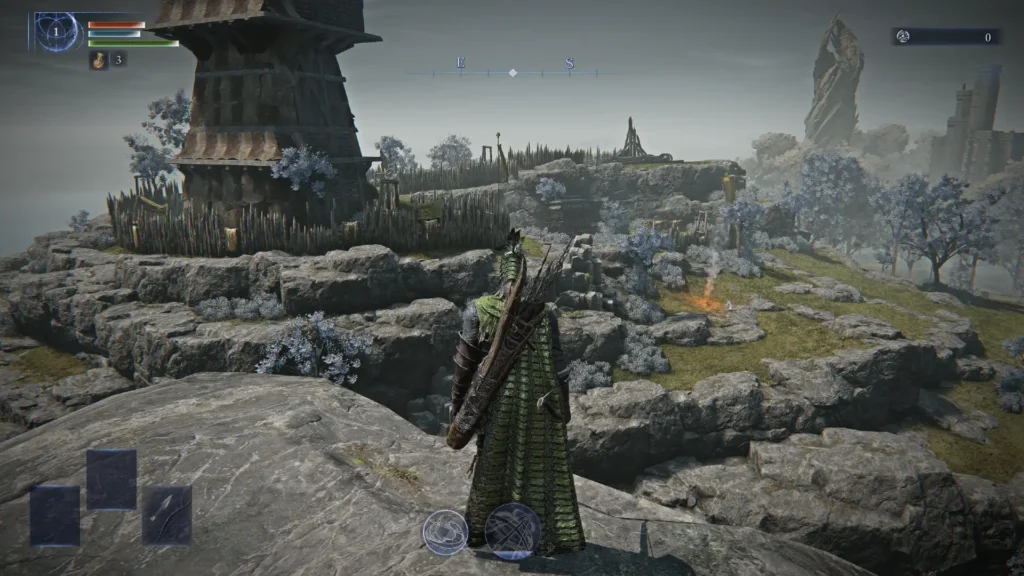
Traversal
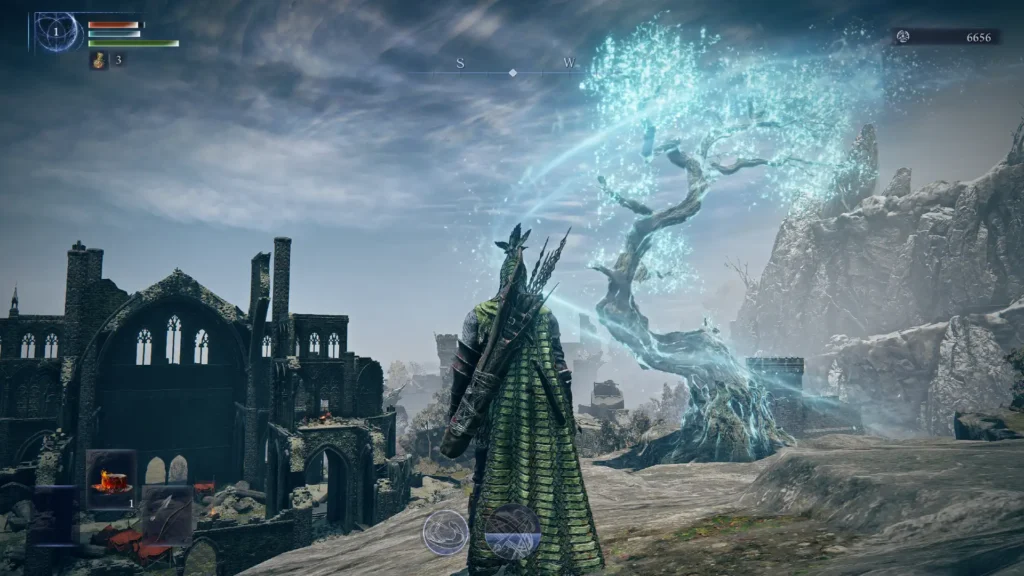
Spectral Hawk Tree
Spectral Hawk Trees allow for fast and mostly automated traversal across large portions of the Map. The same ethereal creatures that bring you into each Expedition also have six or more routes within each Map. These routes are drawn by breezy-looking lines on the Map that typically connect A-B to other Spectral Hawk Trees. However, there is a bit of wiggle room once you're airborne, as you can deviate slightly from the main path and disembark whenever you choose.
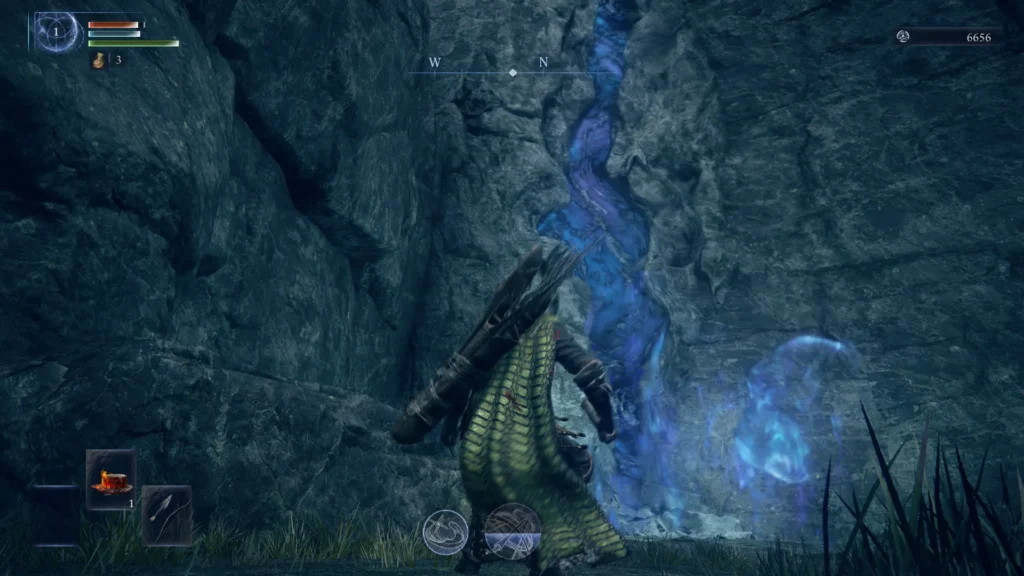
Spiritstreams
Spiritstreams jettison the Nightfarer high into the sky! Sometimes, this method of travel is practical or even essential for traversing steep cliffsides. You can influence your flightpath considerably by holding down a direction in mid-air. This freedom of movement can allow you to land on top of nearby Key Locations or even traverse a chasm in the opposite direction than intended.
Miscellaneous Locations
In addition to the marked locations explored above, there is an excess of other, smaller encounters not marked on the Map. While the rewards are generally lesser and you can't expect to see a Mini Boss at any of these locations, you can still benefit from a range of temporary bonuses, extra Chests and Armament racks, and even Talismans.
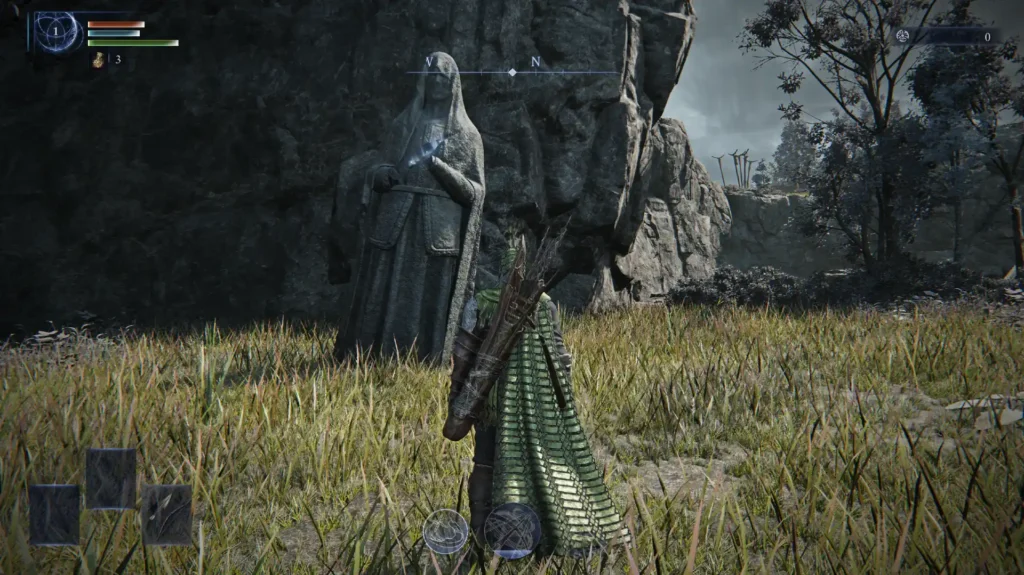
Breakable Statues
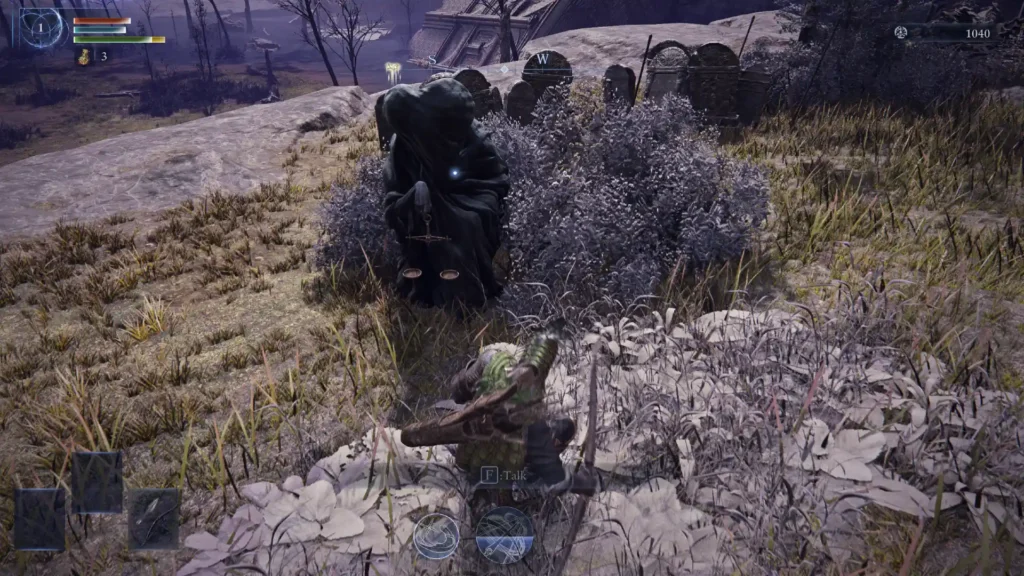
These statues are inconspicuous at first, but if you note the white light emanating from their chest, you know you're in the right place. The statues contain additional Armaments and Smithing Stones, but are tricky to open. To access its contents, either use an earth-altering Ultimate Art (Duchess's Finale does not work, for example) or bait a larger foe into dealing damage to the statue.
Buried Treasure
Buried Treasure is, admittedly, a little underwhelming. These chests provide marginally better loot than the chests at other locations, including Rare Consumables. But the locations of nearby Buried Treasures are revealed by the Map at the Fort, so if they happen to be on your way, there's no harm in some picking up some additional loot.
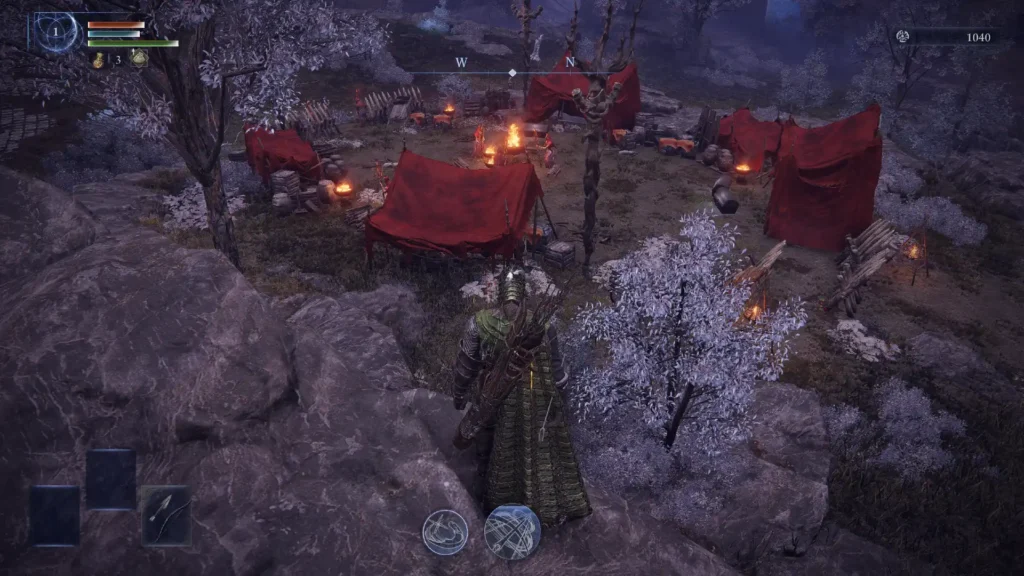
Camps
Smaller encampments are scattered throughout the Expedition that contain weaker foes and clusters of destructible Crates and Chests. It's common to land near one of these Camps off the initial Spirit Hawk. If you do, there's no harm in starting your adventure here!
Homesteads
Similar to lesser encampments, Homesteads are a fair mix of weaker enemies and randomized loot. Each contains an Armament rack (containing Sacred Seals, in this example) and a healthy number of destructible Crates which award Consumables. They're a solid choice for low-level adventuring.

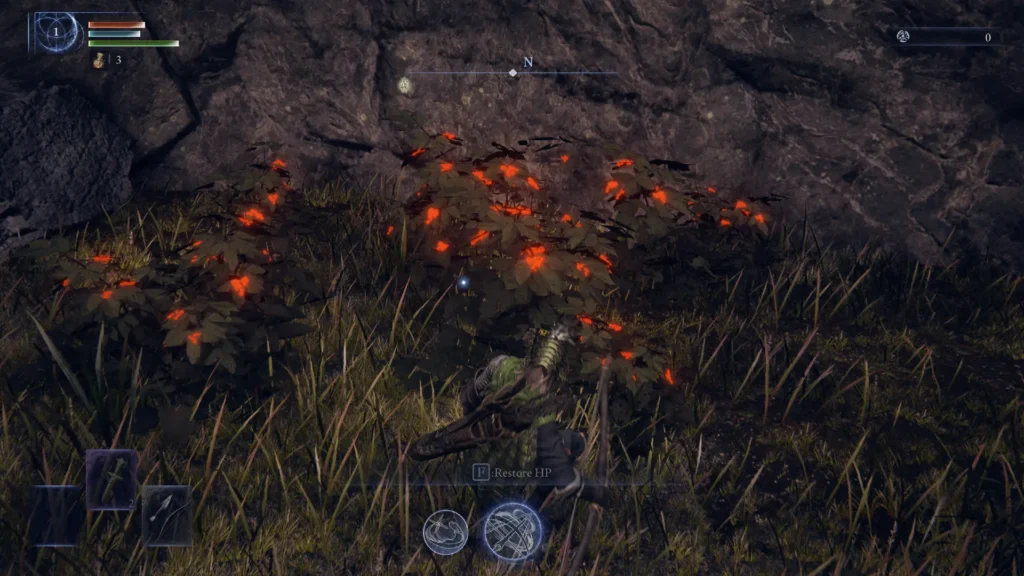
Lesser Shrines
A wide variety of lesser shrines are present to lend minor boons to your character. These can be as simple as restoring your HP and FP, temporarily increasing Rune Generation, or firing spectral projectiles at newly encountered foes. They're not worth going out of your way for, but a perk's a perk.
Scarabs
Scarabs are marked on your map if you randomly encounter them or if you use the map located in the upper palisade of any Fort. These little loot beetles are passive and, in fact, try to escape when attacked. If you let up, they can disappear completely. Taking them down awards you with a random Talisman and, considering you can equip up to two of these per run but can't bring any with you into the Expedition, it's a little extra power seldom seen elsewhere.
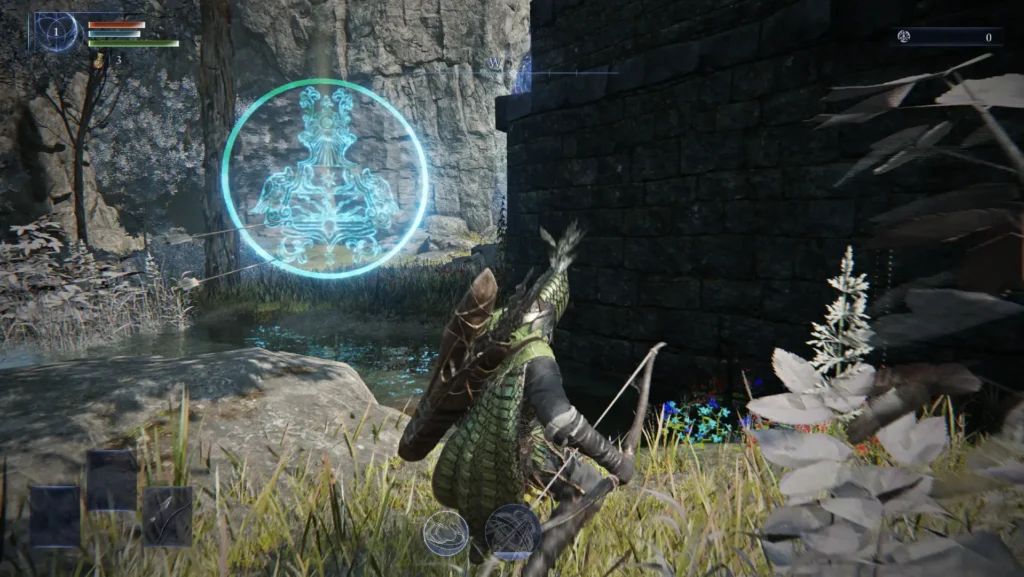
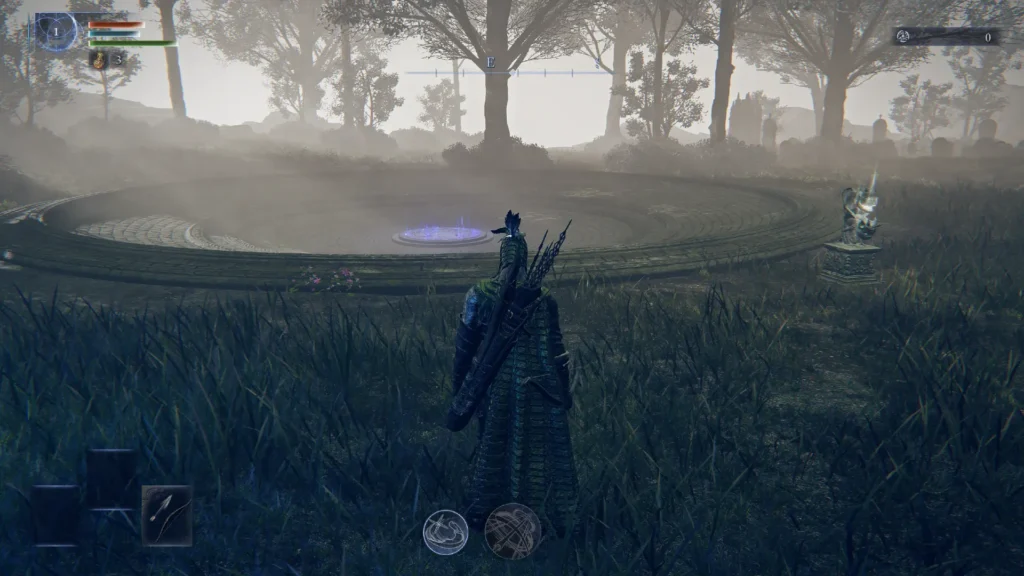
Shrine of Offering
This Shrine has its own marker on the Map, but it's about as rare as a Township, and so you might not see it for several Expeditions. This is the same type of Shrine you encounter before fighting the Nightlord Libra. It offers you several character-altering options that each come with a drawback. To give a few examples: it can improve the scaling of one Attribute at the cost of another, give you 20% increased Maximum HP/FP/Stamina after decreasing these values for a period of time, or instantly grant you level 15 with the caveat that you lose a level each time you use your Sacred Flask.
Watchtower
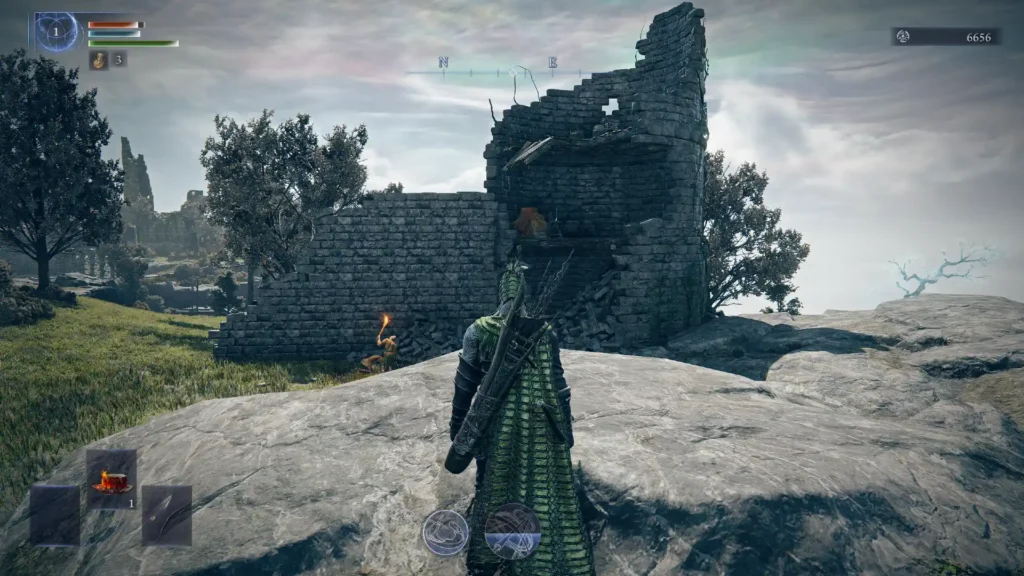
The Fort's little brother, Watchtowers have just a few weak enemies camped outside their exterior. With a bit of wall jumping, you can reach its dilapidated interior. Within is an Armament rack containing mostly Common and Uncommon Bows along with a few Crates.
World Events
Cataclysms
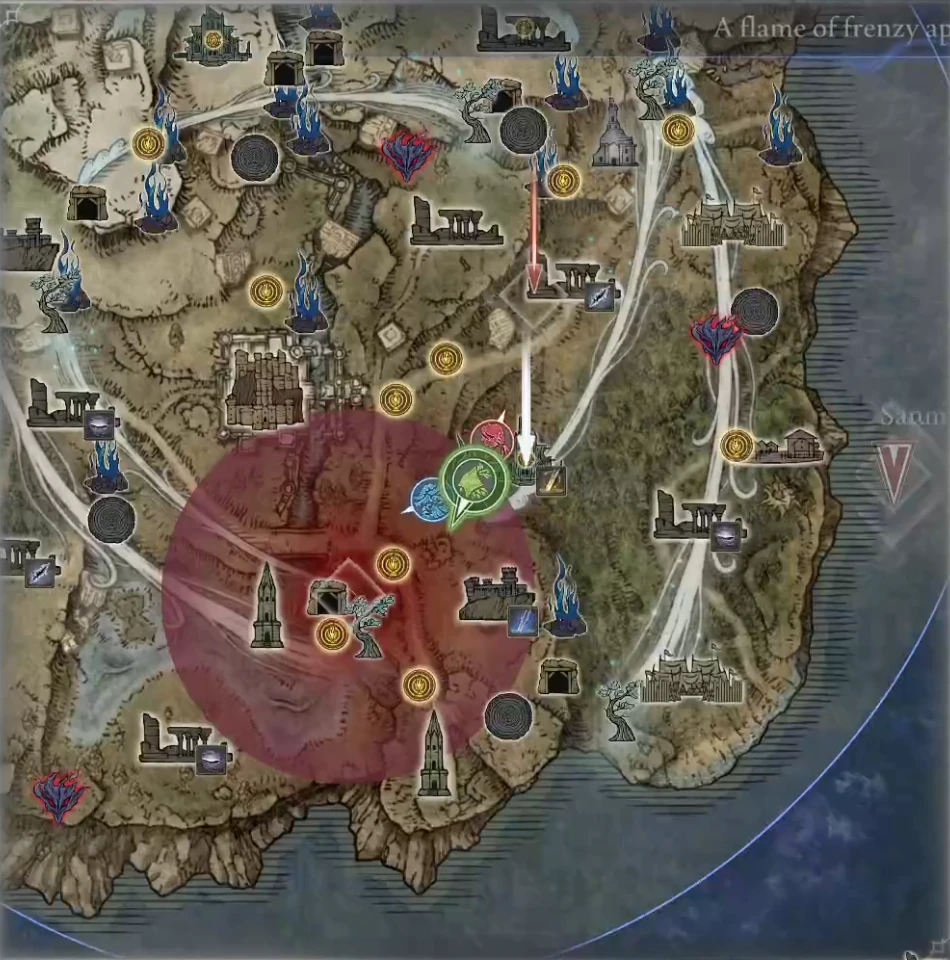
Cataclysms are randomly occurring events that overlap with existing, low-level Key Locations. They are denoted by a bluish bubble encompassing the structure on the map and a large, swirling storm above the structure when you arrive. Mobs within these zones have significantly increased damage and damage reduction. Additionally, up to two shadow clones of condemned Nightfarers occupy each zone and become aggressive as you approach. Each Nightfarer’s loot is fixed and worth fighting for, but you may elect to skip the rest of the zone if you can bait them out early.
Raid Events
Raid Events are random encounters that can begin between the end of Day 1 and the middle of Night 2. When a Raid event begins, a HUD notification appears in the top right of your screen (Ex: "A swarm of locusts appears"). After that, a red circle indicating the location of the Raid Event appears on your Map. These events spawn either a powerful Mini Boss or a lesser version of a Nightlord to this location. Defeating these enemies is obviously challenging, but the character traits awarded after their defeat are exceptional. For more information about Raid Events, see our Raid Event Guide.
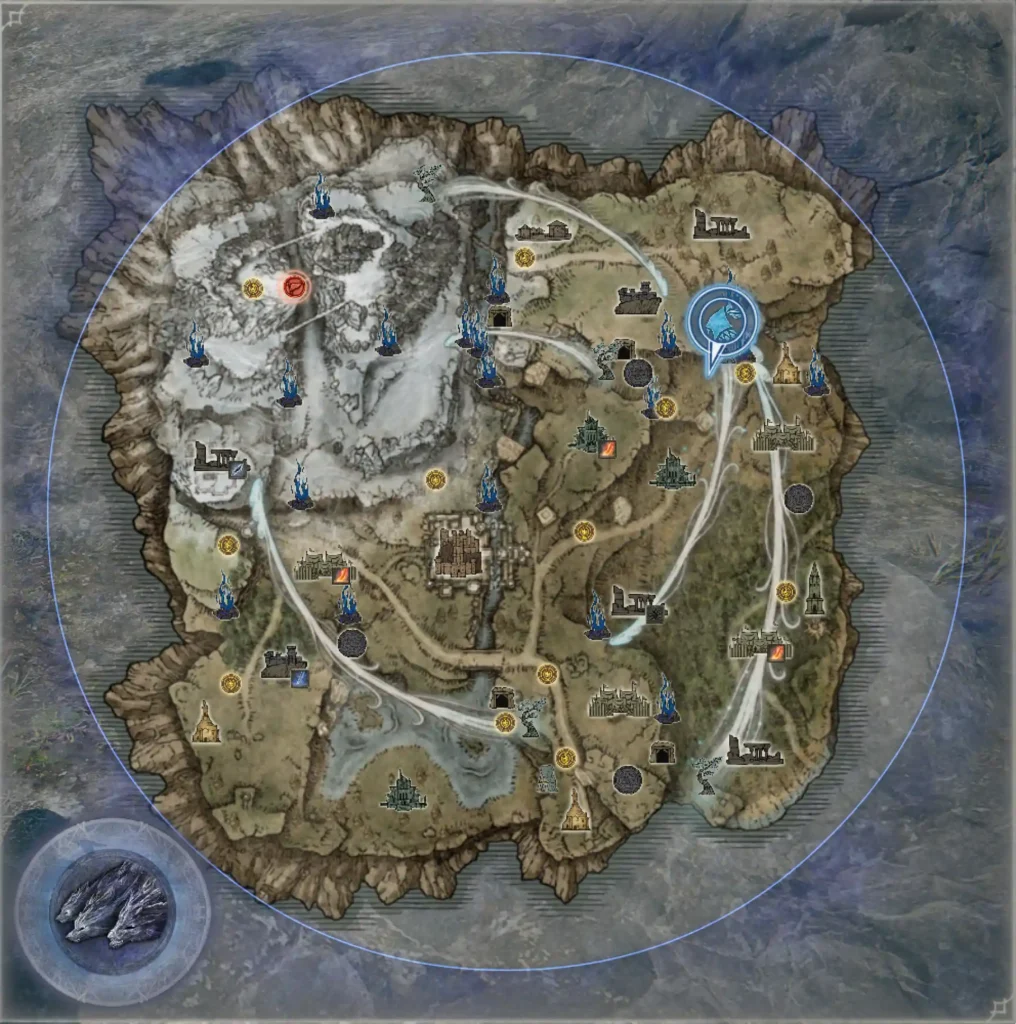
Shifting Earth Events
As you defeat Nightlords, new events crop up that dramatically alter your Expedition Map. These special events are known as Shifting Earth events, and they persist for the entire Expedition. Exploring these newly-created zones provides unique challenges and rewards. Some are generally good, such as The Crater allowing to you upgrade a weapon of any rarity to Legendary. Other perks are particular to taking on specific Nightlords, such as the Mountaintop's defensive trait bonuses against Dragons and Frostbite. For more information, see our Shifting Earth Guide.
Summary
The Map of Limveld is expansive. There are 13 Key Locations marked on the map that offer varying degrees of difficulty and reward, and a whole host of other random events and locations in between! Mastering the Map's layout and presented information is crucial to success. With a better understanding of the available Armaments, Talismans, Consumables, and Passive Character Traits, you're much more likely to forge a path that prevails against the insidious Nightlords. Best of luck!
Credits
Written by: IBoilerUp
Reviewed by: Tenkei