Echo of Andariel
Last Updated:April 25, 2025|Changelog
Welcome to the Echo of Andariel Boss Guide. Here you will find all the information to gather Boss Lair Keys, summon the Boss, and successfully defeat it.
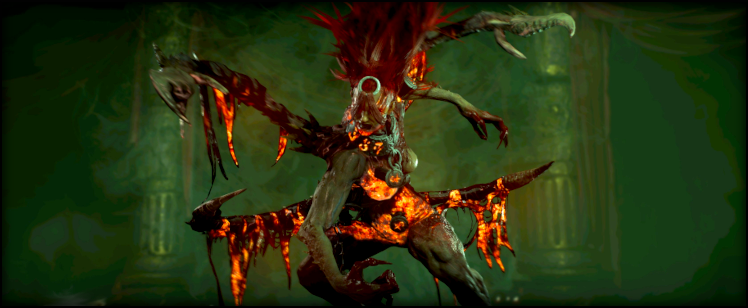
Basic Information
- Location: Hanged Man's Hall, east of Tarsarak
- Requires Torment 1 or higher.
- Element Type: All
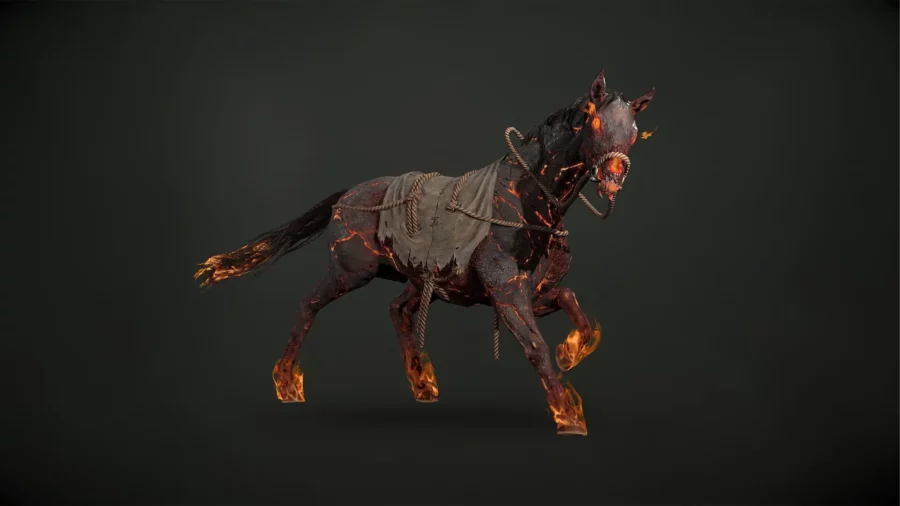
- Cosmetic Reward: Smoldering Brimstone
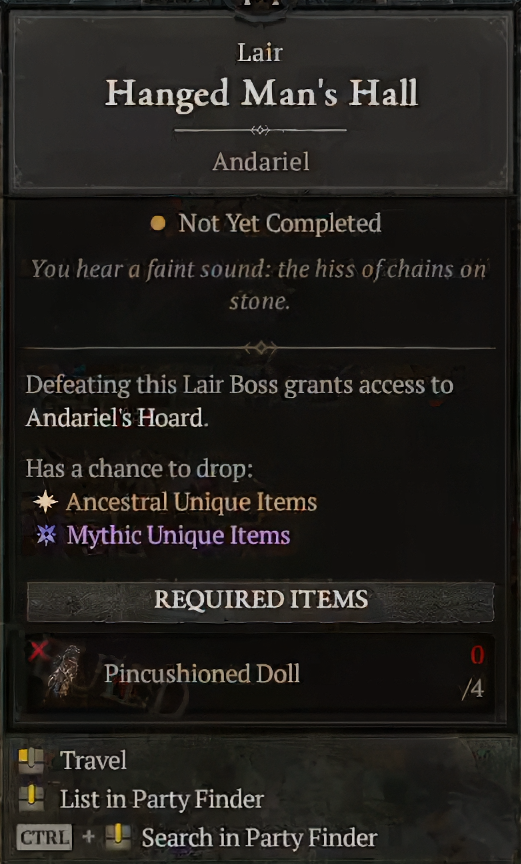
- Boss Lair Key: 3x Pincushioned Doll
- Source: The Beast in the Ice and Lord Zir
Boss Location
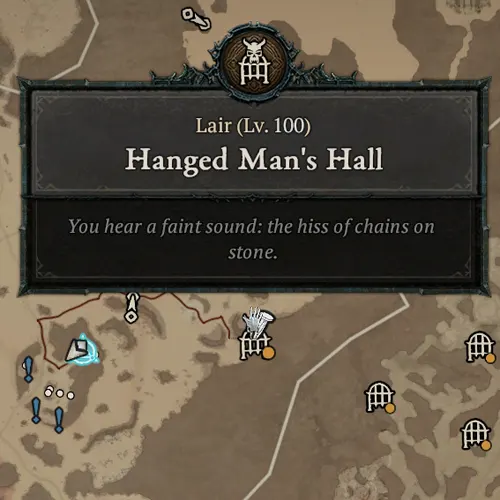
Andariel can be summoned within Hanged Man's Hall in Kehjistan's desert. To challenge her, use the quick travel option by clicking the Hanged Man's Hall, or travel there normally using the Tarsarak Waypoint.
Boss Mechanics and Strategy
Pay attention to each of the attacks used by Echo of Andariel! The following section guides you through the boss's most dangerous abilities.
Andariel's Abilities
Being hit by any of Andariel's abilities gives you a stacking Tormented debuff that increases your damage taken, so avoid them at all costs!
- Basic Attack - Andariel strikes with her arm. After a short delay, 3 blood projectiles shoot from behind her in a cone pattern.
- This is difficult to avoid, but doesn't hit very hard.
- Heavy Attack - Andariel gives a backhand slap to the player, knocking them back. After a short delay, 3 groups of 3 blood projectiles fire towards the player from behind Andariel's position.
- This attack also deals no damage, but the knockback can cause you to get hit by other attacks.
- Stay out of melee range or be mindful of what's behind you.
- Poison Nova - Andariel conjures a Poison orb in her right hand. After a brief delay, she jumps either away or through the player and releases a semicircle of slow-moving Poison projectiles.
- This attack is very easy to avoid by standing in the gap between projectiles if you move a bit further away.
- On the other hand, if you happen to be at the point of its origin, you can be hit by multiple projectiles at once, taking heavy damage!
- Ground Circles - Andariel conjures a large runic circle underneath the player. The circles explode after a short delay, dealing heavy damage and knocking the player back. At the same time, two waves of progressively smaller runic circles are created around the first one, which also detonate one after another.
- Standing just out of range of the initial circle is an easy way to avoid all of them.
- This attack can combo with itself when a bigger circle pushes you into a small one that detonates just a moment later. If you can't completely avoid the attack, at least try to make sure that there's no secondary circle directly behind you.
Intermission Phase
Throughout the fight, Andariel sometimes disappears, summoning 3 Effigies of Anguish. The effigies have a Suppressor field and do not attack you, but they need to be destroyed for the fight to proceed. While you try to destroy the Effigies, you are assaulted by different attacks:
- Dust Storm rages on the edge of the arena, dealing damage over time to everything within, effectively limiting the size of the playable area.
- Lightning Sparks are scattered randomly around the arena and slowly rotate counterclockwise. These deal minor damage on contact.
- Blood Stripes are created on the floor that deal heavy damage over time when you stand on them. (<40% HP)
- Green Phantoms periodically appear and run at the player. They explode when entering melee range, dealing damage and knocking the player back.
- Giant Laser Beam periodically shoots across the entire arena, dealing heavy damage.
The Intermission Phases happen when Andariel goes below 80% HP and 40%. After that, the Intermission Phases will happen periodically if the fight goes on long enough. Dust Storm and Lightning Sparks created during the first Intermission Phase stay on the arena for the rest of the fight. Additionally, after the second Intermission Phase, Andariel summons two floating skulls at the opposite edges of the arena. The skulls are connected by a Fire Beam that splits the entire arena in two and slowly rotates.
To see our best Boss killers, check out our Boss Killer Tier List!
Loot Tables and Rewards
Each Boss has a different loot table of Uniques and cosmetic item(s), with a chance of dropping the highly sought-after Mythic Unique items. How loot is distributed and rewarded has been changed with Season 8, and is now tied to using the Boss Lair Keys.
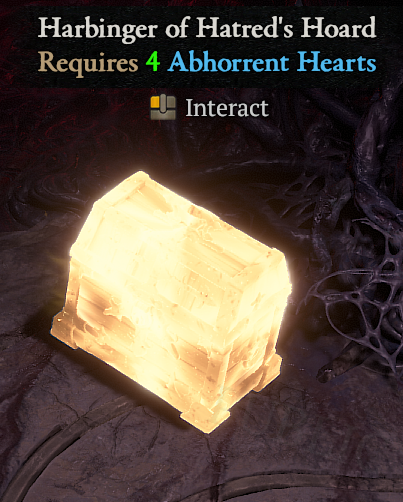
To receive loot, you must use 3x Pincushioned Doll to open the Hoard. The Hoard has 2 Unique items in Torment 1, granting one extra for each Torment difficulty increase, and 2 extra for Torment 4. You are guaranteed one boss-specific Unique when you open a Hoard. You can increase this by 1 for doing Torment 3 or higher, and another 1 for being in a party. While in a party, you have a 33% chance of getting 1 additional class-specific item per party member.
New for Season 8 is the General Unique Pool. On average, 50% of the non-guaranteed drops are now from the General Unique pool, and the other 50% are boss-specific Uniques.
Unique Loot table
The items listed below have an increased chance of dropping from this Boss. You can still find items that aren't on the list, and you are not guaranteed to find a Unique every time you kill the boss.
Barbarian:
- Tuskhelm of Joritz the Mighty
Druid:
- Tempest Roar
- Dolmen Stone
Necromancer:
- Black River
- Blood Moon Breeches
Rogue:
- Cowl of the Nameless
- Scoundrel's Leathers
Sorcerer:
- Flamescar
- Blue Rose
Spiritborn:
- Sepazontec
- Rod of Kepeleke
Multiple Classes:
- Godslayer Crown
- Flickerstep
- Tibault's Will
- X'Fal's Corroded Signet
- Soulbrand
- Banished Lord's Talisman
- Azurewrath
Mythic Uniques
- All bosses have a chance to drop Mythic Unique items.
- These items are very powerful and very rare.
Most endgame builds use one of these items. Thankfully, the Boss ladder encounters have a greater chance of dropping them. This means you can focus on any boss that drops regular Unique items you are looking to obtain or upgrade while still having a chance at a Mythic Unique.
- Check out our Unique and Mythic Unique Guide for more details and more ways to obtain these truly Mythic items.
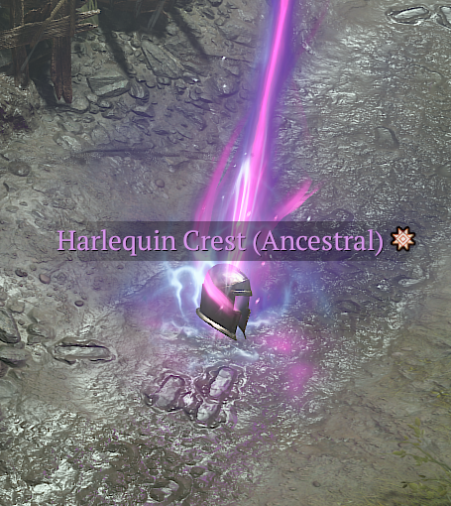
If you want a handy reference for the items you can farm from each of the endgame bosses, check out our Boss Cheat Sheet!
Cosmetic Reward
You can unlock the following exclusive cosmetic reward when you defeat Echo of Andariel.
Video
Echo of Andariel boss fight video guide.
Summary
Echo of Andariel boss guide covers everything you need to know about where to go, and how to complete this encounter.
- Collect 3x Pincushioned Dolls from The Beast in the Ice and Lord Zir.
- Then head to the Hanged Man's Hall East of Tarsarak.
- Make sure your gear is the best it can be with Upgraded Armor and Gems.
- Andariel's attacks deal different forms of elemental damage. Try grabbing Elixirs, which increase your Resistance.
- You can target farm many rare Uniques from Andariel, including Mythic Uniques!
Credits
Maintained by Avarilyn
Written by Northwar