Expedition Progression Guide
Last Updated:June 11, 2025|Changelog
In Elden Ring Nightreign, having a plan in mind is crucial for staying ahead of the curve and powering up your character (and your party's characters) in an efficient manner. Time is of the essence, so playing fast while also being strategic is of the utmost importance. Luckily, there isn't only a single approach to this; in fact, several strategies are viable and there are certainly more to be discovered. In this progression guide, the aim is to showcase one tried-and-true example that has been successful many times, and also share some knowledge that may help you fine-tune your own approach.

Day 1
The strategy for Day 1 involves exploring areas that are close to your spawn point for some initial levels, then making a beeline to the Castle and spending most of the remaining day there farming Runes, weapon upgrades, and passive effects. Start your Expedition by targeting these locations, in order of preference.
Starting Locations (Levels 1 - 3)
Fort
- These are often very close to your spawn point.
- Dense with relatively easy enemies.
- Often has a Chest that rewards a Stonesword Key.
- Small Fort: Chest is straight ahead as you reach the top.
- Large Fort: Chest is in a side room at around the halfway point.
- Has a weapon rack that produces Staves.
- Always has a boss that rewards Dormant Power (weapon/passive effect).
Great Church
- For casters: Seals are found here (instead of Staves).
- Stonesword Key locations:
- Basement Layout: Chest is behind the sarcophagus on the ground floor.
- No basement: Chest is at the very top of the Church; usually better if one person checks.
- Overall, very similar in terms of value as the Fort.
Early Locations (Levels 4 - 5)
Evergaol
- This is the ideal second stop after clearing the above locations. Go here if you got a Stonesword Key from either of them, as it is required to open it.
- Extremely valuable location; with a bit of luck these can grant a large amount of early Runes and useful passives.
- Some encounters are tougher than others, so a tactical retreat may be necessary in some cases.
Main Encampment
- Dense and rewarding, but some layouts can be quite difficult (Banished Knights, for example).
- Has weapon racks that produce Bows.
Ruins
- Same theme as above, most of them are relatively simple to clear but some can be difficult or annoying (Burial Watchdogs, Ancient Heroes of Zamor, etc.)
- When visiting either of these locations, be mindful of the target Nightlord's weakness and prioritize locations that offer equipment pertaining to those affinities.
Optional Detours (Level 4+)
Tunnel Entrance
- Around level 4 or 5 (before heading to the Castle), you can choose to visit one of these for some extra Runes and a Smithing Stone [2] to upgrade your starting weapon (or another weapon you've picked up). This is a great option if you feel like you need some extra character power, though not everyone may find it necessary.
- If there are any nearby Churches, this is also a good time to visit them. Try to avoid going too far out of your way for them if possible.
Castle Farming (Levels 5 - 8/9/10)
Castle
- (Optional): Before starting this area, feel free to visit the Blacksmith outside (usually just above the cliff) for some weapon upgrades, especially if you opted to explore a Tunnel Entrance prior.
- This is where the majority of the action takes place on Day 1. Many challenging enemies reside here, but they are also highly rewarding. The enemy sets come in 3 variants, including:
- Crucible Knights (the best - this is what you want to see).
- Banished Knights (very good, but a bit more difficult).
- Trolls (pretty bad value and also annoying, but they're easy to kill if you can dodge their pot throws). If you get these, leaving at a lower level than if you had gotten either of the other options is likely, but it's still worth the trouble (albeit at the cost of your sanity).
- Aside from enemy sets, there are also 2 bosses that inhabit this area; one in the "basement" area and one at the very top. It's not a bad idea at all to check the basement first to see if there's a non-threatening boss that you think you're capable of taking down, such as Black Knife Assassin or Red Wolf of the King Consort. If you see something like Bell-Bearing Hunter though, it's not wise to engage. Likewise, the rooftop boss is often quite challenging and is better left for later or skipped entirely.
- If you have the Troll enemy set, there's often enough time to visit the basement once you've cleaned them up and have gotten a bit stronger, which makes this fight easier to deal with.
- Depending on how well things went, leaving the castle between levels 8 - 10 is typically a good outcome.
Finishing out the Day (Level 8+)
- After clearing most of the Castle (or even while clearing it), the notification that tells you to head toward the tree inevitably pops up.
- First, cash in all the Runes you've acquired to get a bunch of levels.
- As you head toward the tree, visit any areas on the way that you know you can clear quickly and easily, (usually Ruins or Main Encampments). You can also take this time to unlock a Sorcerer's Rise or visit a Church. There's no particular "wrong" thing to do at this point - if it's in your path and worth your while, it's good to do - don't just run to the tree and wait there doing nothing. As usual, it's a good idea to prioritize areas that produce equipment that correspond to your target Nightlord's weakness.
- Eventually, the Night 1 Boss spawns and is defeated (obviously). Your level is normally between 9 - 11 at this point.
Day 2
The strategy for Day 2 consists of a combination of 2 things: Boss Rushing and, if available, Shifting Earth events.
Boss Rushing (Level 9+)
- Right as Day 2 begins, open your map to reveal that several Field Boss icons have appeared in various locations. These are what we want to target for the majority of Day 2. Why?
- They drop a large amount of Runes, which allows us to reach level cap.
- They drop high quality equipment, often Rare or even Legendary.
- While Boss Rushing, you often naturally pass by useful locations that weren't necessarily prioritized on Day 1 (such as Churches and Townships). Now is a great time to visit them if you think they'd be of use.
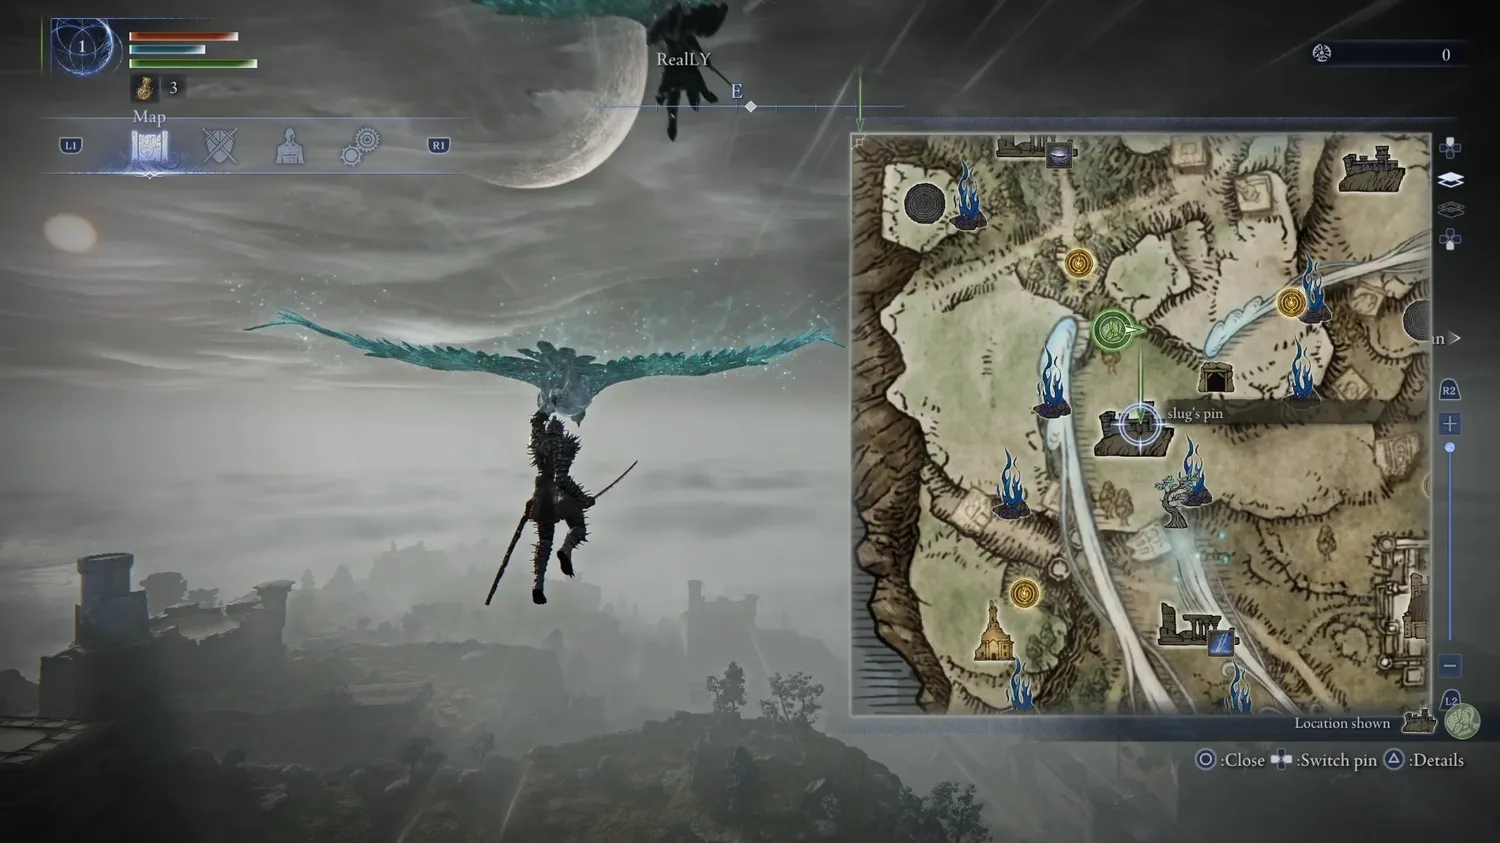
- Field Bosses tend to have distinct spawn patterns, so you often know what to expect once you've done this strategy enough. Use this knowledge to skip unfavorable or annoying fights (cough - flying dragons).
- Don't forget to revisit the Castle if you previously chose not to fight the basement and/or rooftop bosses.
- If there's no Shifting Earth event on the map, this is typically the loop for the entirety of Day 2. Run to bosses, kill them, get their loot, repeat.
- (Optional): Once you're satisfied with your equipment and are around level 14, you can choose to go back to farming areas like Ruins, Great Churches, etc. for passive effect rewards from Dormant Power drops. You won't get much in the way of Runes by doing this, but combined with what you receive from defeating the Night 2 boss, you should still be in good shape.
Shifting Earth
- Shifting Earth events are best saved for Day 2, as they can be quite challenging at low levels and very time-intensive. They can be identified by a Mission Objective on the map.
- Generally, if you plan on doing a Shifting Earth event, it's best to head there immediately as the day begins to ensure you have ample time to complete it thoroughly.
- Some events are worse than others and can be skipped completely if desired. It's generally recommended to at least do the following events when they appear:
- Rotted Woods - This is the best of them and it should be made a priority when it appears. The great thing about this event is it naturally aligns with the Boss Rushing strategy, since many Field Bosses automatically appear when it is active. Be sure to also pick up the Power of the Scarlet Rot by completing the marked objective here.
- Crater - Great event to do for Runes since there are many enemies to kill on the way, as well as mini-bosses that are relatively easy to defeat (Fire Prelates, Demi-Human Queens, etc.) The end reward is also pretty decent since it lets you upgrade one of your weapons to Legendary. Even when you leave the bottom of the Crater, there's still plenty to do should you have time to spare, including Field Boss fights with a Gargoyle (kind of scary) and a Fallingstar Beast.
- Noklateo, the Shrouded City - This is a special mention since it's the only event that throws a wrench in the Day 1 strategy of farming the Castle. That's because... it doesn't exist while this event is active, meaning your Day 1 instead consists of farming additional Ruins, Main Encampments, etc. and potentially Field Boss hunting toward the end of it. Use this extra time to also visit Churches so you can head straight to Noklateo when Day 2 starts and spend the remaining time there.
- Be aware that you can pass time in the Waiting Room of the Roundtable Hold to skip Shifting Earth events as needed. For information on all Shifting Earth events, check out our article here.
Walkthrough
This is a step-by-step walkthrough of a successful run using the strategy described above.
Day 1
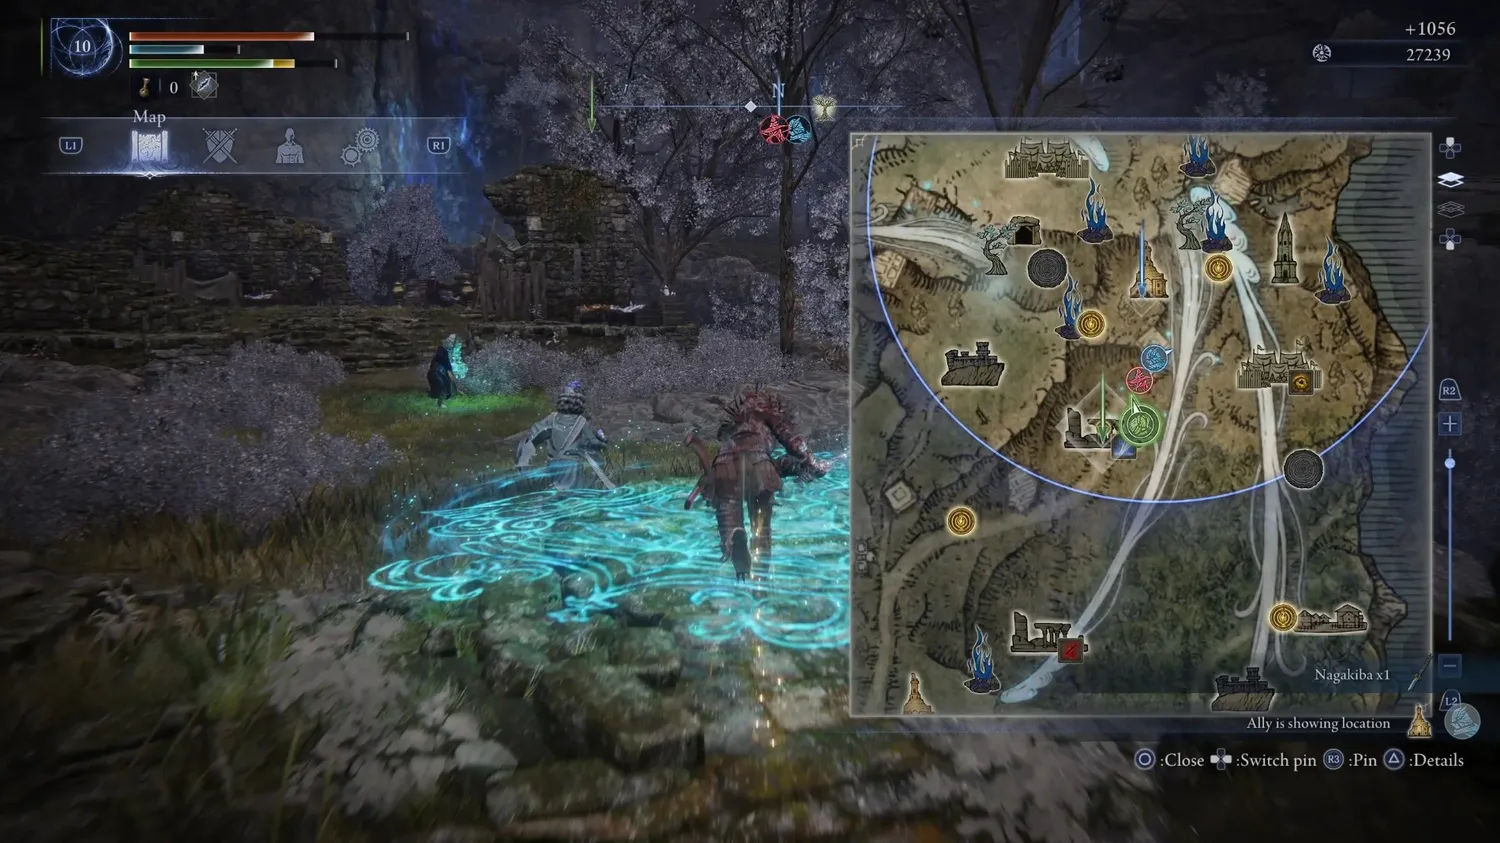
- The Expedition begins! To start, mark the nearby Fort and head toward it.
- Marking a target on the map is a good habit to form, as it helps keep the party cohesive.
- Do this every time an area has been cleared and before moving on to the next.
- Inside the Fort, kill enemies on the way to Lordsworn Captain (or whoever else occupies it) and defeat them.
- Grab the Dormant Power.
- Check the Chest nearby for a Stonesword Key.
- Visit the Grace to level up (3).
- (Optional): Check the tower to reveal nearby Scarabs or other notables on the map.
- Travel to the nearby Ruins.
- Defeat the enemies to clear the area (Battlemages in this example).
- Collect the Dormant Power.
- (Optional): If a Grace spawned nearby, use it to heal and level up if possible.
- Travel to the nearby Evergaol and use the previously obtained Stonesword Key.
- Defeat the enemy (or enemies) that appear.
- Collect the Dormant Power.
- Visit the Grace to level up (5).
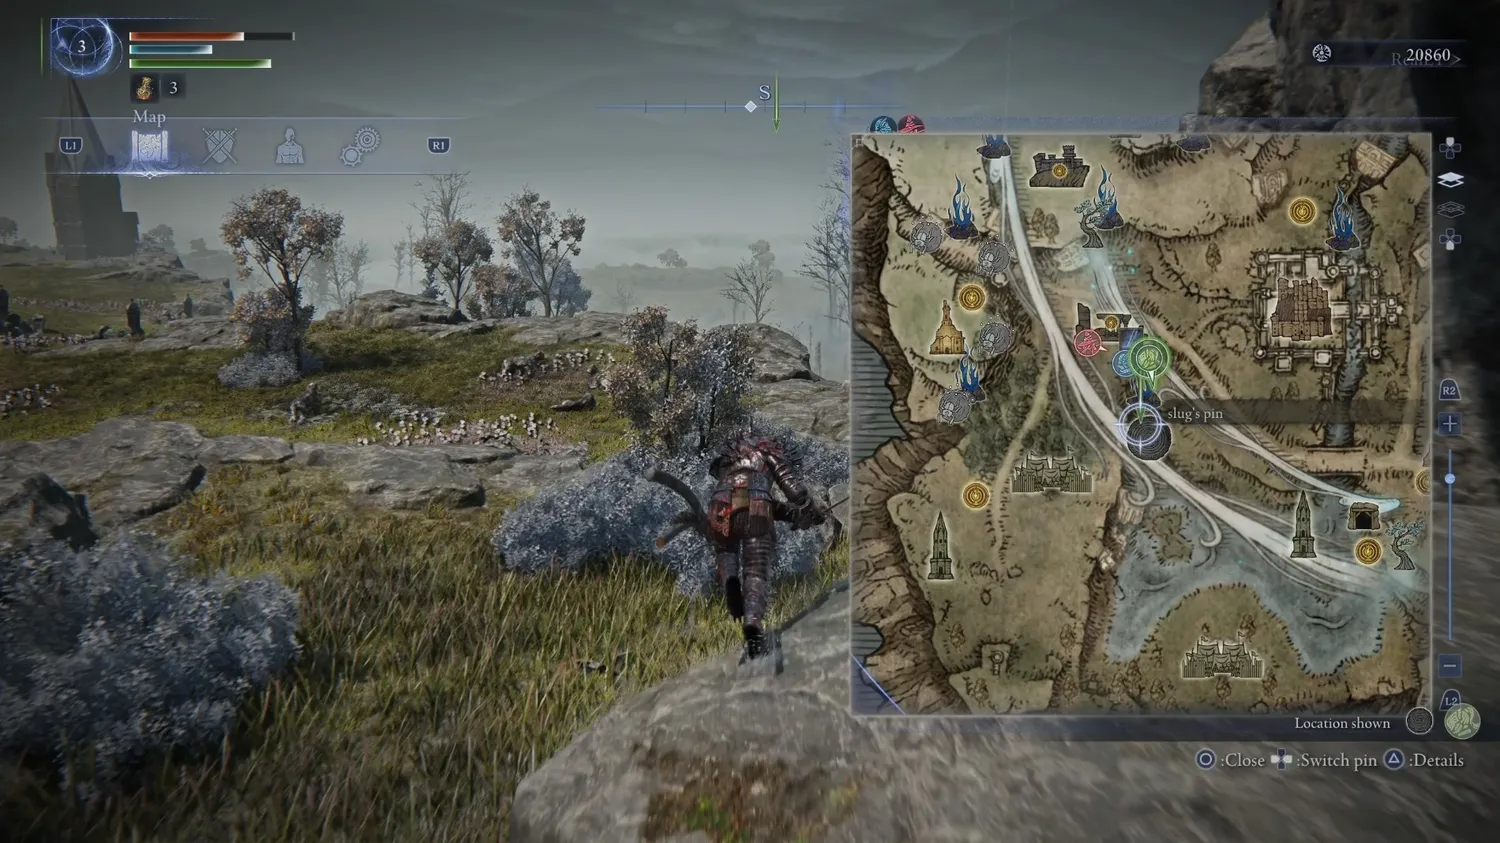
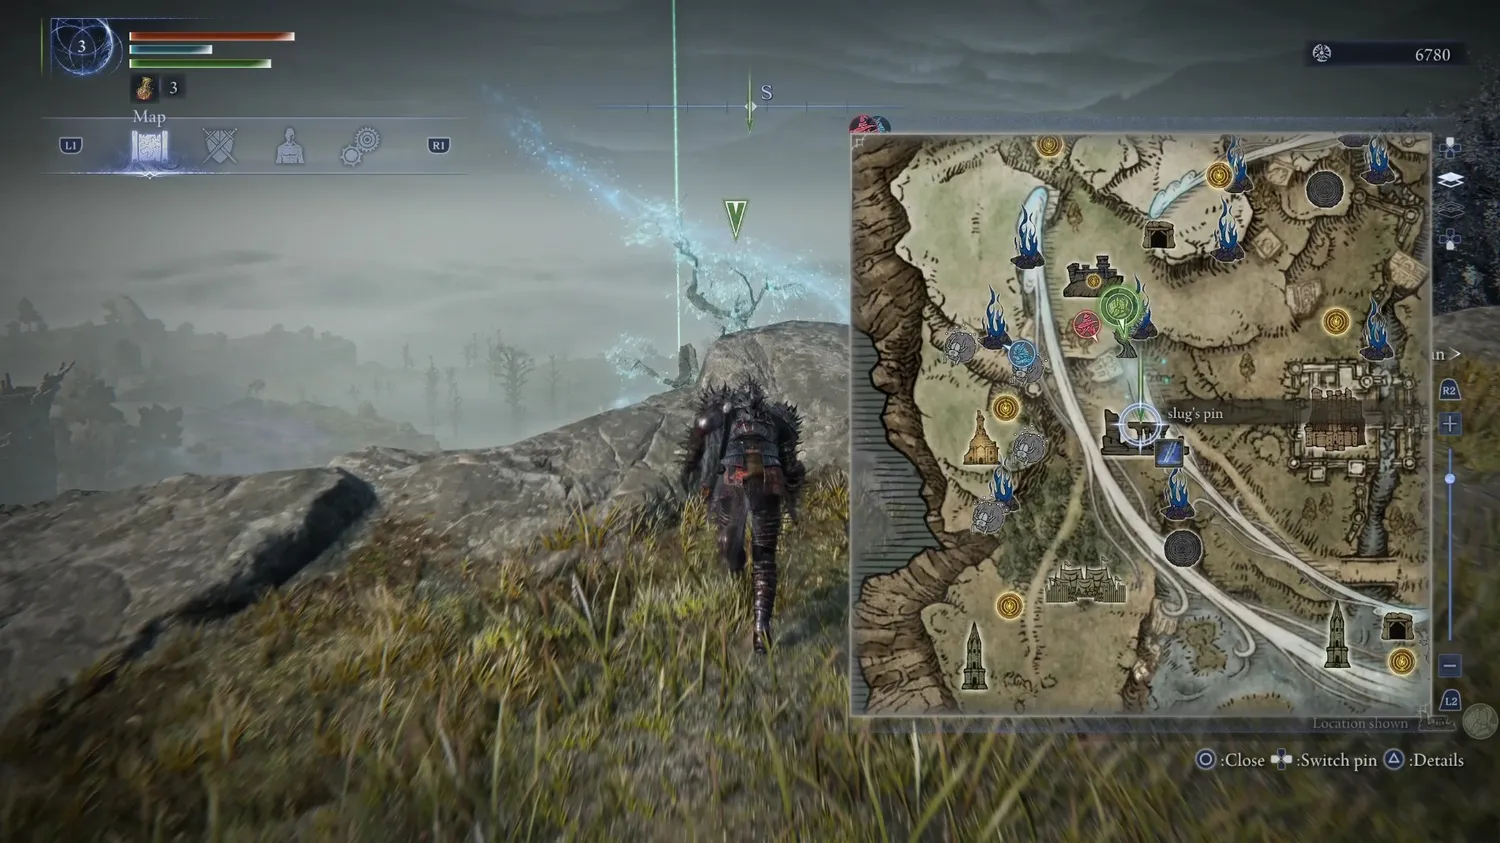
- Head toward the Castle near the center of the map once you've reached at least level 5.
- (Optional): Visit the Blacksmith outside to upgrade weapons as needed. You may also opt to explore a Tunnel Entrance before arriving for even better upgrades, though it does cost some extra time. Only consider this if it isn't too far out of the way.
- Defeat the high value targets; in this example, that means the Crucible Knights.
- Farm here until the circle closes in to amass Runes. Crucible Knights, for example, award as much as 30,000 Runes per kill depending on their variant.
- (Optional): In the event that all normal high value enemies have been cleared out, explore the basement for a boss fight. This can also be done first if the target is not too threatening.
- Don't overcommit - you can always come back here later to finish clearing.
- When it's time to move out, head toward a nearby Grace to cash in Runes for a bunch of levels.
- Depending on how much has been cleared, Level 8-10 is the expected outcome here.
- On your way to the tree, prioritize visiting Churches and areas that have fast win conditions such as Ruins or Great Churches, especially if they also have rewards that pertain to your target Nightlord's weakness.
- If nothing interesting is on the way, kill smaller enemies and Scarabs or just look for items to loot. Doing something productive is always better than just waiting for the circle to fully close.
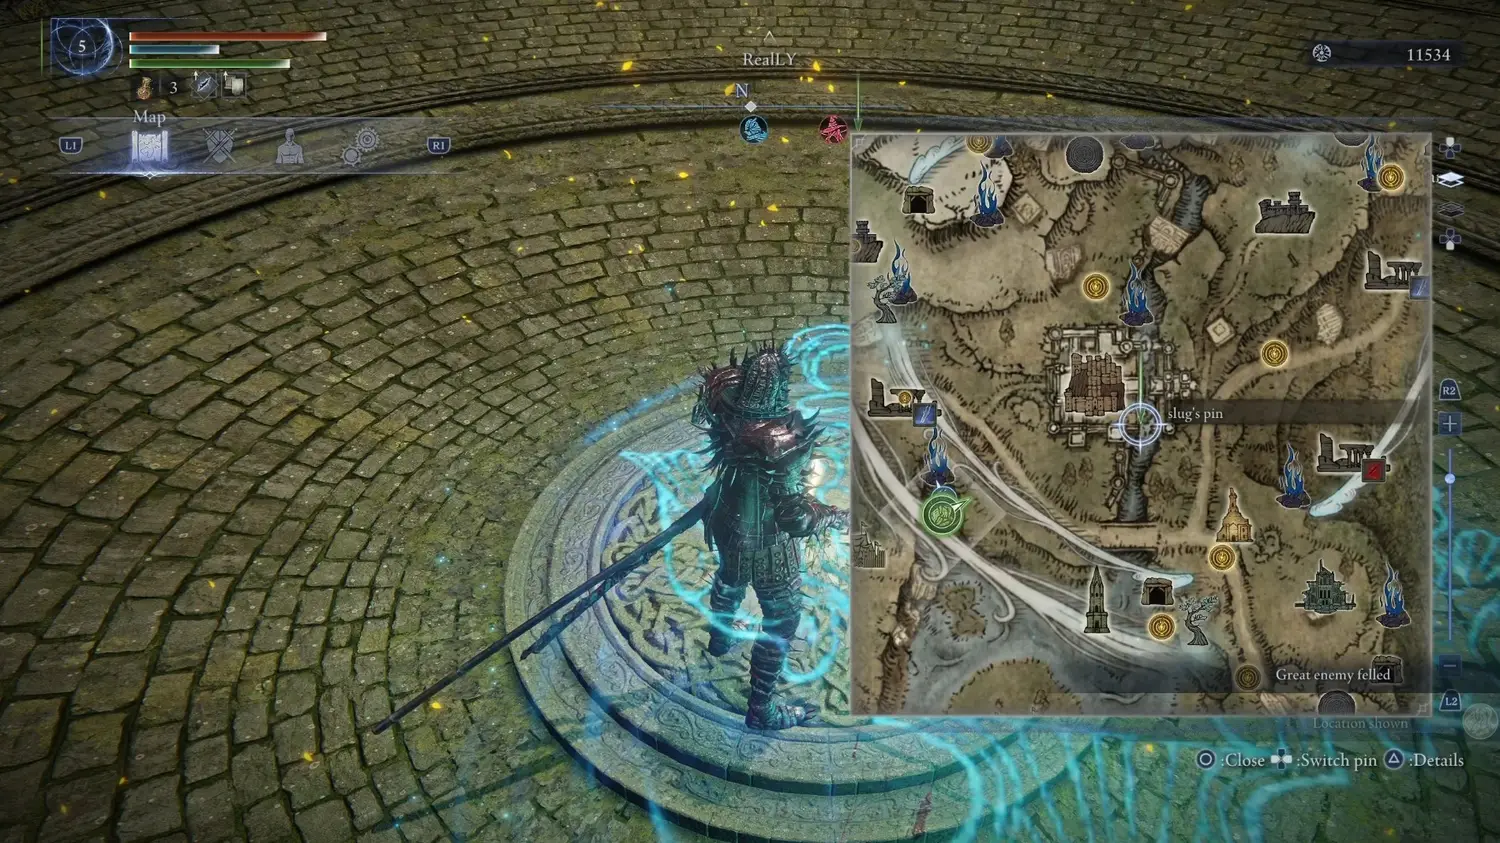
- Once it has closed, clear the enemies that appear in order to spawn the Night 1 Boss.
- Defeat it and collect its Dormant Power.
- Visit the Grace and level up. Then, open the map and start planning for Day 2.
- (Optional): You don't have to wait for the circle to dissipate before running toward your next objective; endure and heal through it if you feel comfortable.
Day 2
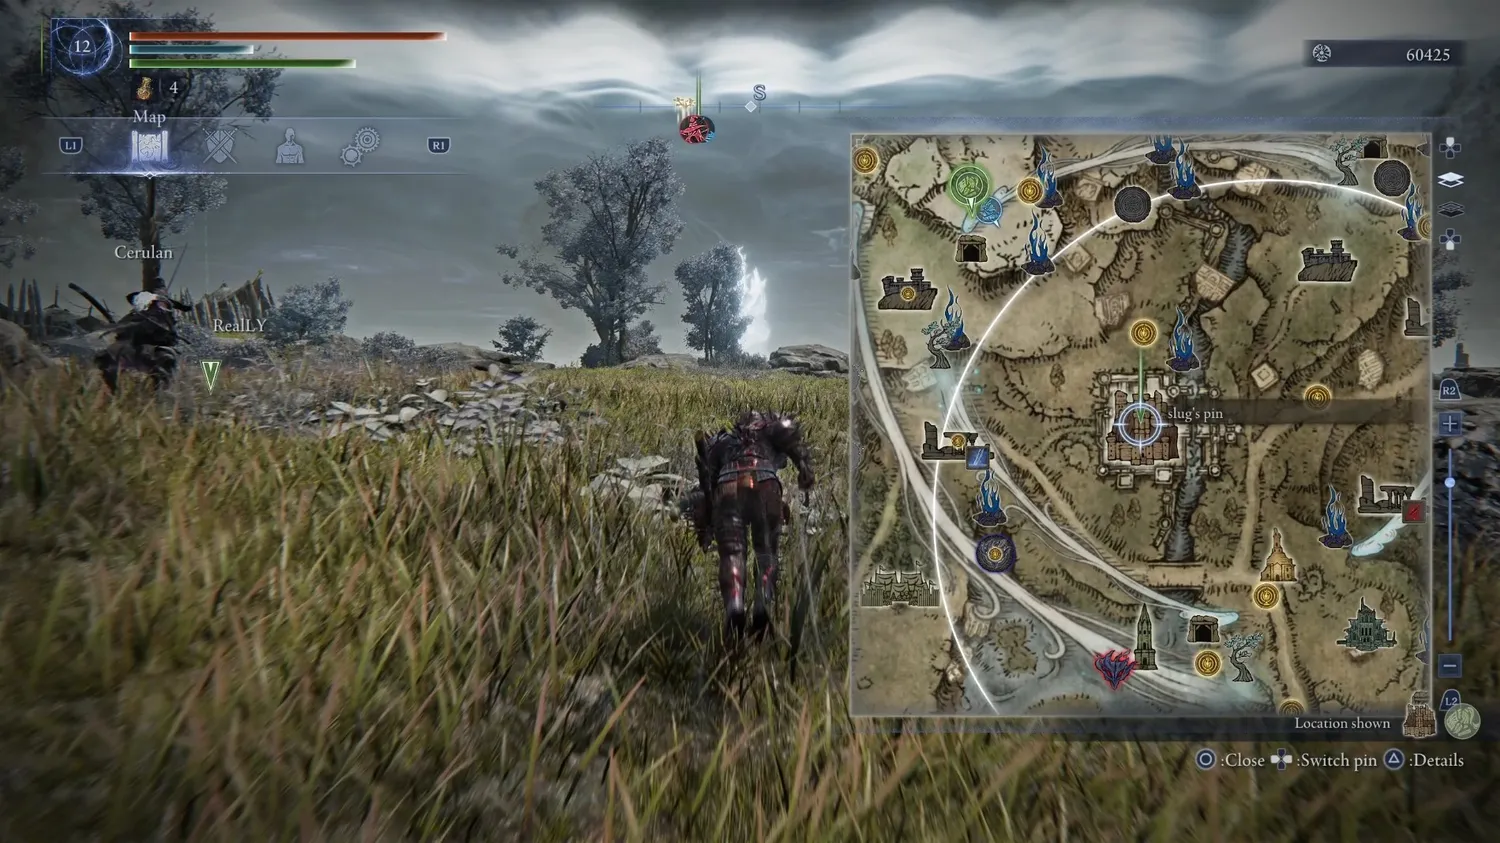
- When Day 2 begins, Field Bosses are marked on your map. Defeating these is the priority for most of Day 2.
- As previously mentioned, clearing Ruins or Great Churches that are in the direct path of your target is typically a good idea if they are quick.
- Defeat the marked Field Boss.
- Collect Dormant Power and visit the Grace that spawns to refill health and flasks; level up if possible.
- This loop of defeating Field Bosses is a great way to power up with passive effects and weapon upgrades. In the example below, Executor finds Eleonora's Poleblade on the first kill, which is one of his best weapons.

- Mark the next Field Boss and head to it.
- As usual, keep an eye on your surroundings en route for anything interesting - Buried Treasure, Scarabs, etc.
- Defeat the Field Boss (again).
- Loot Dormant Power (again).
- As shown below, Legendary equipment is almost certain to appear while doing this. Remember to share with your party if something isn't useful to you.

- In this example run, the Castle that was previously unfinished still holds a lot of value since it has a Boss remaining in the basement, as well as another one at the very top.
- If both remain, you may opt to first visit the basement in order to path toward a chest with a Talisman, located between the inner gates.
- It's business as usual here - defeat the bosses, grab their loot, and level up. If all has gone well up to this point, you should be nearing level cap or even already have reached it.
- As night falls, finish out the same way you did the previous day - visit Churches and other easily clearable areas that cross your path on the way to the tree.
- If there are any Field Bosses remaining, take them out as well if time allows for it.
- Defeat the Boss(es) of Night 2.
- Grab your last Dormant Power and move on to Day 3.

Day 3
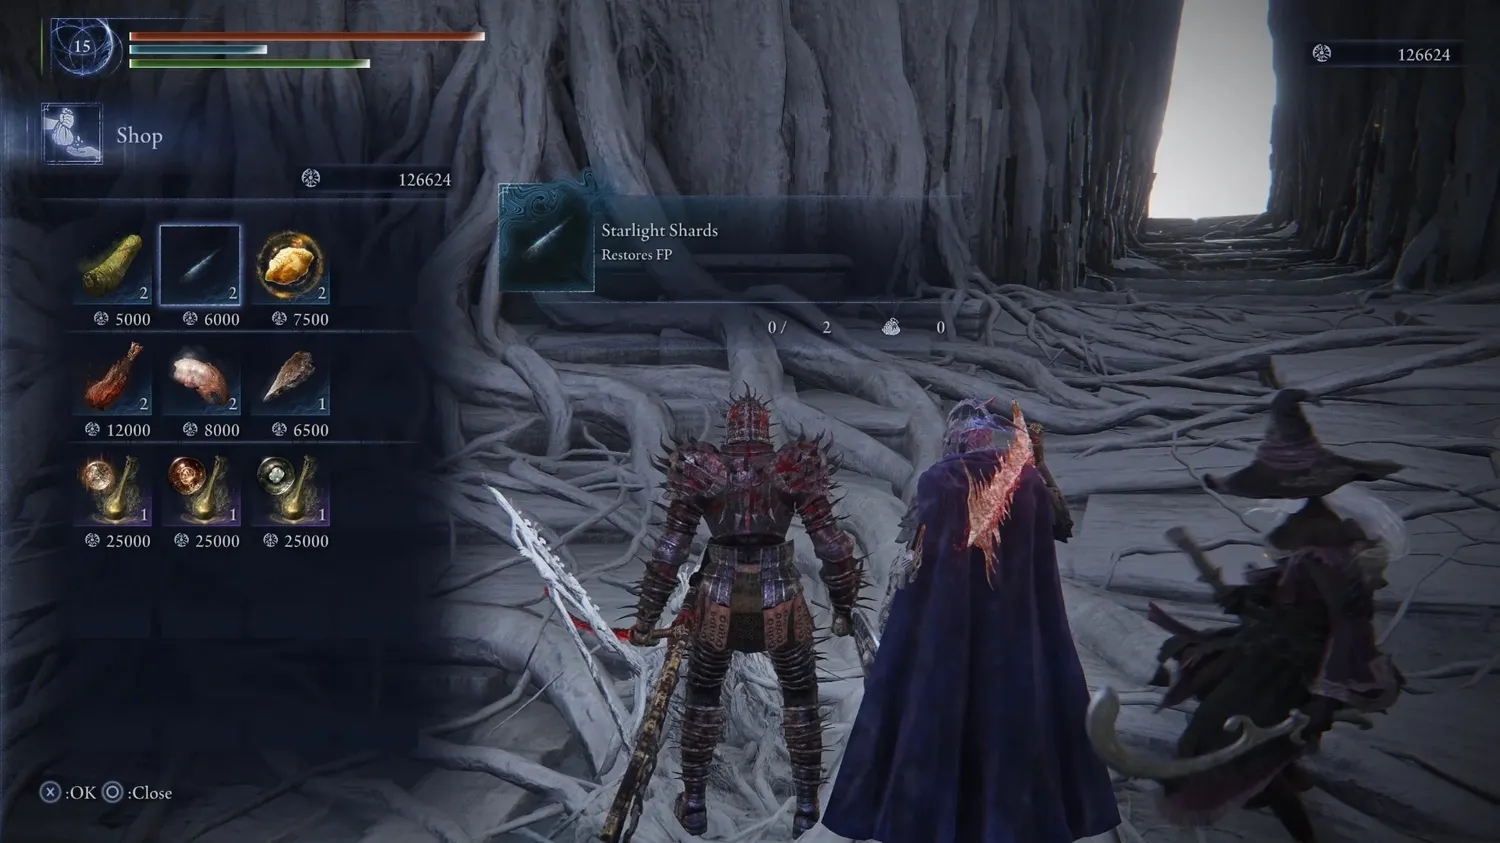
- Well, there's not much to say here, as the only thing left to do is defeat your target Nightlord. If the previous days went according to plan, you should be level capped (or at least very close) with potentially extra Runes to spend in the Shop.
- If you are a caster class (or have one in your party), purchase Starlight Shards for either yourself or your teammate(s).
- Warming Stones should be prioritized next to help recoup damage and perhaps save you some flask usage.
- The rest is preference - take Boiled Crab for some good physical damage mitigation or Exalted Flesh to boost your own physical damage. Crystal Tears all have their own special use cases and can be helpful, but they are quite expensive.
- Do your best with what you've been given against your chosen Nightlord; with a little bit of skill (or maybe a little bit of luck!), a result screen similar to this is the predicted outcome of the route described in this guide.
Summary
- Having a plan is important for a successful Expedition in Elden Ring Nightreign.
- Early on, farm easy areas like Forts, Ruins, and Great Churches for quick levels.
- When your character has leveled up a bit, head to the Castle and defeat high value enemies to stay ahead of the power curve.
- Once you feel comfortable, hunt Field Bosses for more levels and weapon upgrades. Visit Churches and other useful areas if they are on the way.
- Continue Boss Rushing or explore Shifting Earth events to efficiently reach level cap and increase your odds of getting the best possible equipment.
Credits
Written by: snail
Reviewed by: IBoilerUp