How to Beat Yellowbrow
Last Updated:October 1, 2024|Changelog
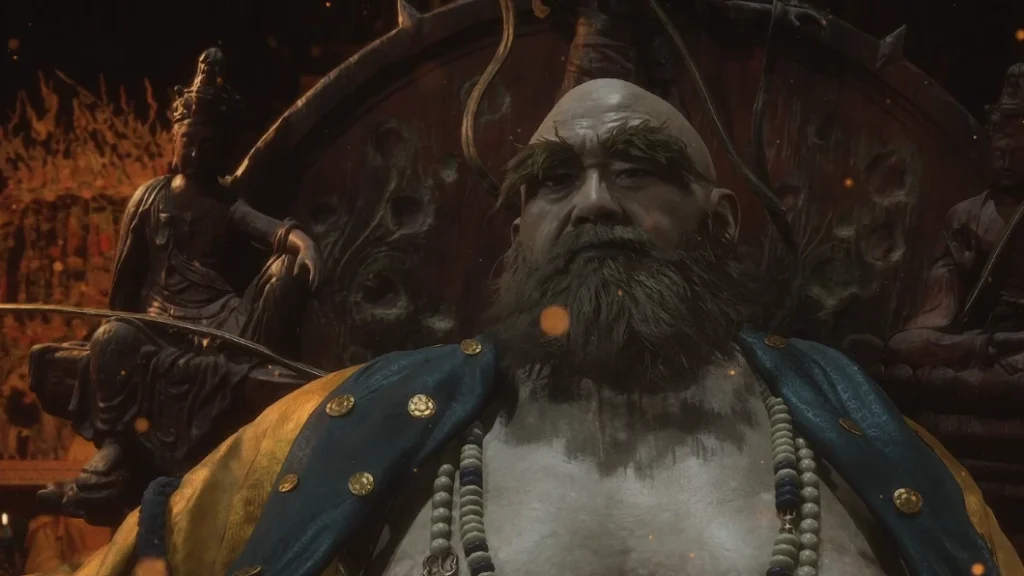
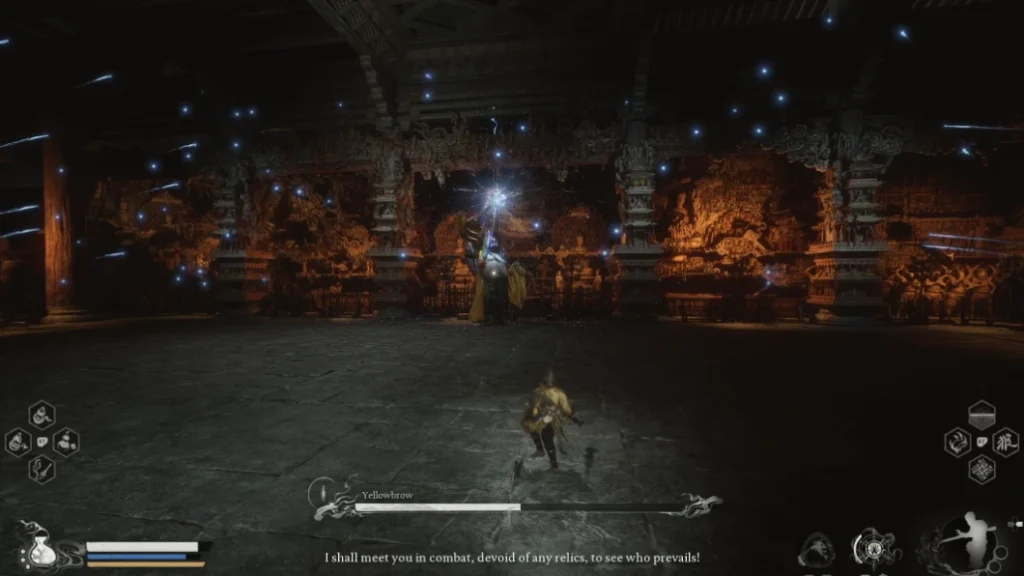
The Yellowbrow is the final boss of Chapter 3 found in the main pagoda of New Thunderclap Temple. This fight is broken down into 3 distinct sections, each of which functions as their own boss fight. First, you fight Yellowbrow, then the Macaque Chief before doing battle against Yellowbrow one final time to conclude the fight.
You can save resources for the final fight if you want to do all 3 in one go, but don't worry about it too much! If you die, you only have to redo the fight you're currently on, not the previous encounters. You can even change up your build between parts 1 and 2. You do get a checkpoint between parts 2 and 3 as well, but there is no shrine so you don't get to respec or switch Spells.
Preparation
- You don't need to do much to prepare for Parts 1 or 2, but Part 3 is significantly more difficult so keep the following in mind.
- During Part 3 Yellowbrow gains defenses when you use the Immobilize Spell! You can swap this spell out for Ring of Fire, or simply be careful to only cast it right after breaking his hardened skin, but before the ability comes off cooldown. Cloud Step is a great defensive spell on this fight and makes it much easier to cover distance and deal with some of the boss moves in the later phases. If you want even more defensive options use the Non-Void Spirit, he grants a backstep with iframes on activation and recharges after a couple of hits.
- WARNING: Yellowbrow can cause your A Pluck of Many clones to turn against you! It's safest to avoid using this spell entirely, though there are a few windows where you can use it without the boss countering.
- Alternatively, you can try a Spell Binder build, completely eschewing Spells, Vessels, and Spirits in exchange for more damage on your attacks. Just keep in mind doing this means you don't get to use Cloud Step!
- Because the boss uses a lot of thunder-based attacks, Shock Quelling Powder is helpful, just be careful when you use this to avoid taking extra damage during the animation.
Yellowbrow Move Set
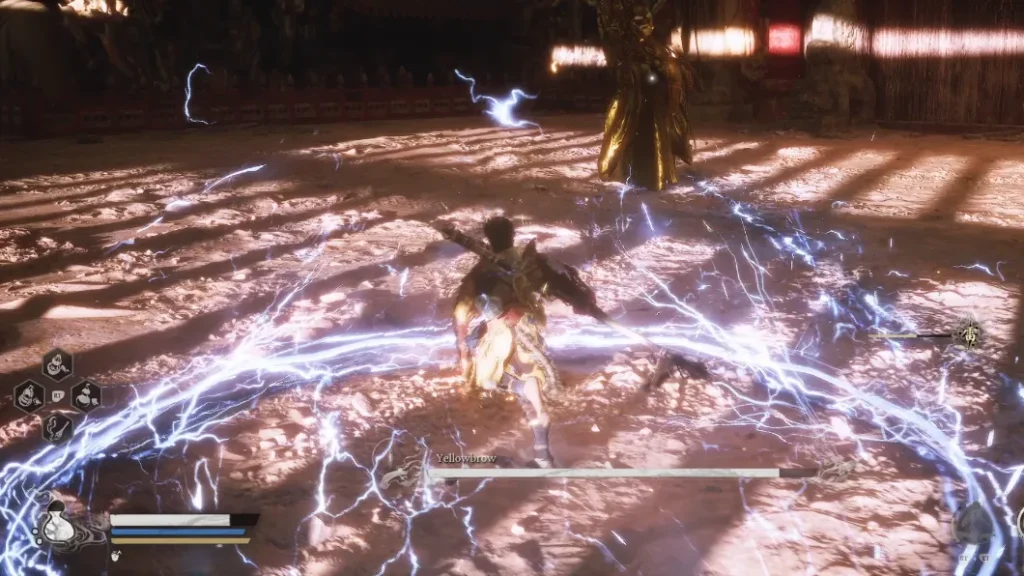
During the first encounter, Yellowbrow primarily attacks with his mace. Most of his attacks are slow and methodical which makes them fairly easy to avoid. However, his mace automatically extends as he attacks making the range of some attacks deceptive.
Crawling Charge
- When the boss raises his mace into the air and swings it, he's about to fire two projectiles which crawl along the ground. These are easy to avoid from a distance by dodging left or right, but if you're close to the boss you need to time your dodge to avoid damage.
Mace Explosion
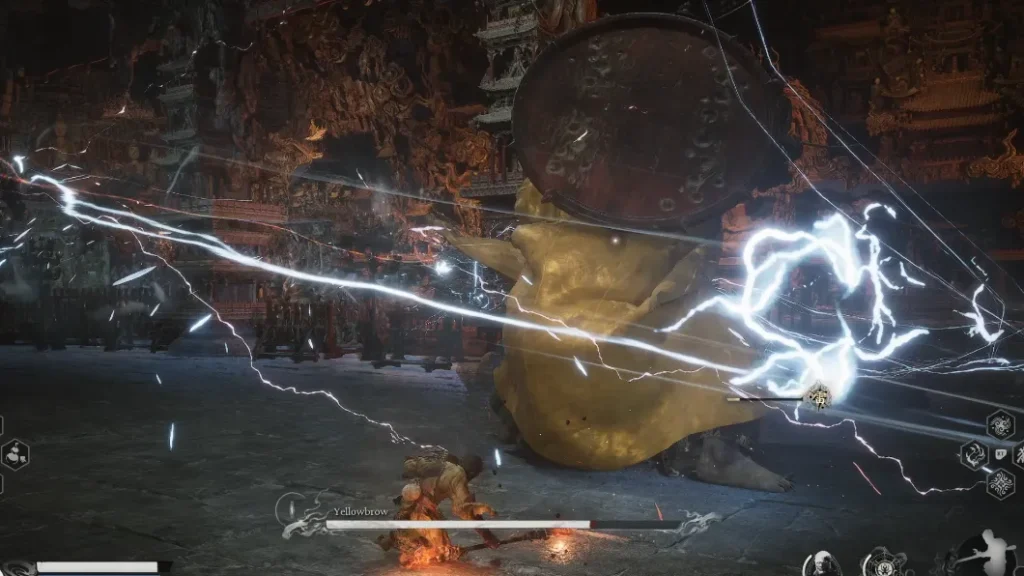
- When Yellowbrow embeds his mace into the floor, he's about to create an explosion of electrical energy. The easiest thing to do is dodge the initial strike and then move away to avoid the explosion.
Shockwave Strike
- The boss slams his charged mace into the ground, then spins it to create a shockwave that ripples out from the point of impact. Avoid the strike, if you're close to the boss you need to time your second dodge carefully to avoid damage from the aftershock. At a distance, you can either dodge through the shockwave or jump over it as it passes.

Transition
- At 50% Health Yellowbrow does a transtion. He teleports to the middle of the room before summoning dozens of bolts of energy and drawing them to himself. Then he slams his mace into the ground causing a massive explosion. The boss always moves to a fixed location for this move making it extremely trivial to avoid, just stand back and watch the fireworks!
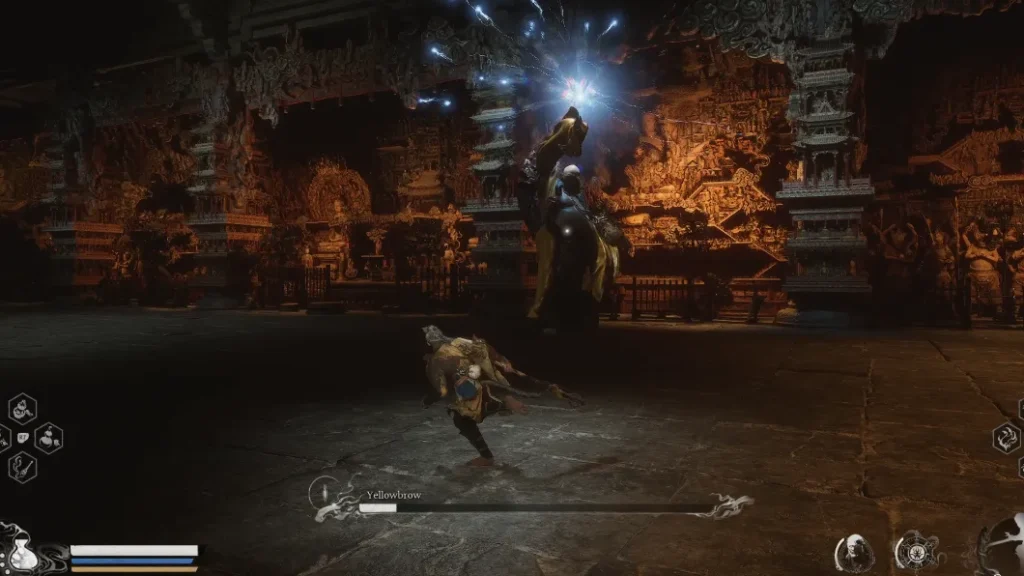
- After the transition, he again attacks you with his mace. But this time the handle becomes flexible, causing it to behave more like a flail. It's easier to dodge this attack sequence if you focus on the head of the mace. Yellowbrow uses similar sequences a lot in the third encounter.
Projectiles
- After his transition, Yellowbrow sometimes summons projectiles that fly toward the Destined One in volleys. Like with many of his other attacks, these are fairly easy to avoid at a distance. However, if he uses this attack while you're near his feet you can use Staff Spin to deflect the projectiles while rapidly building Focus on the boss.
Thunderstorm
- At low health, Yellowbrow summons a thunderstorm causing bolts to strike all around the room. Sprint to avoid damage, or time your dodges to move out of nearby strikes. He doesn't use this attack frequently, and if you have enough damage he might not get a chance to use it at all.
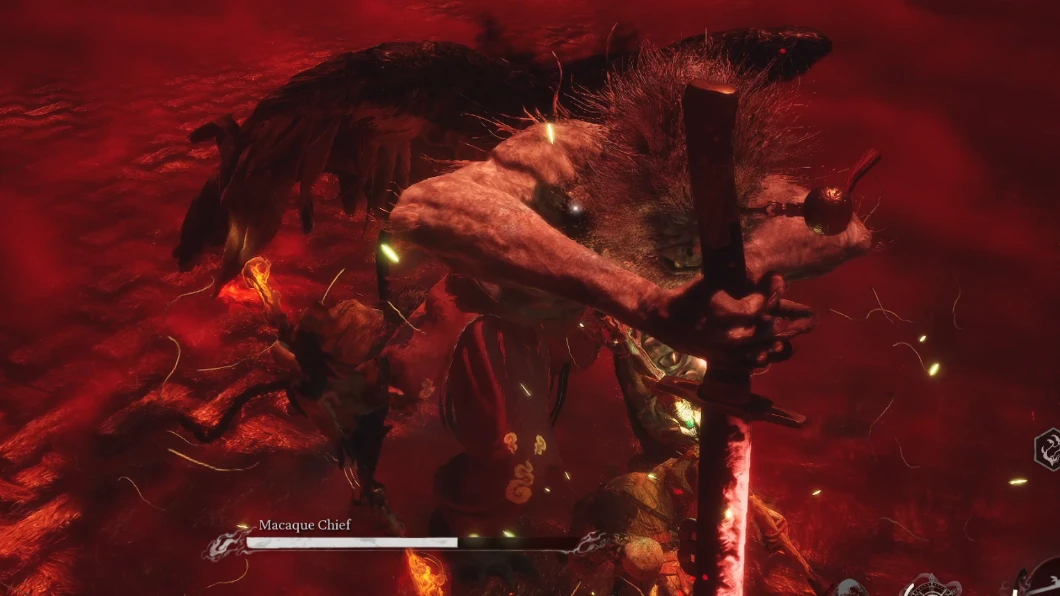
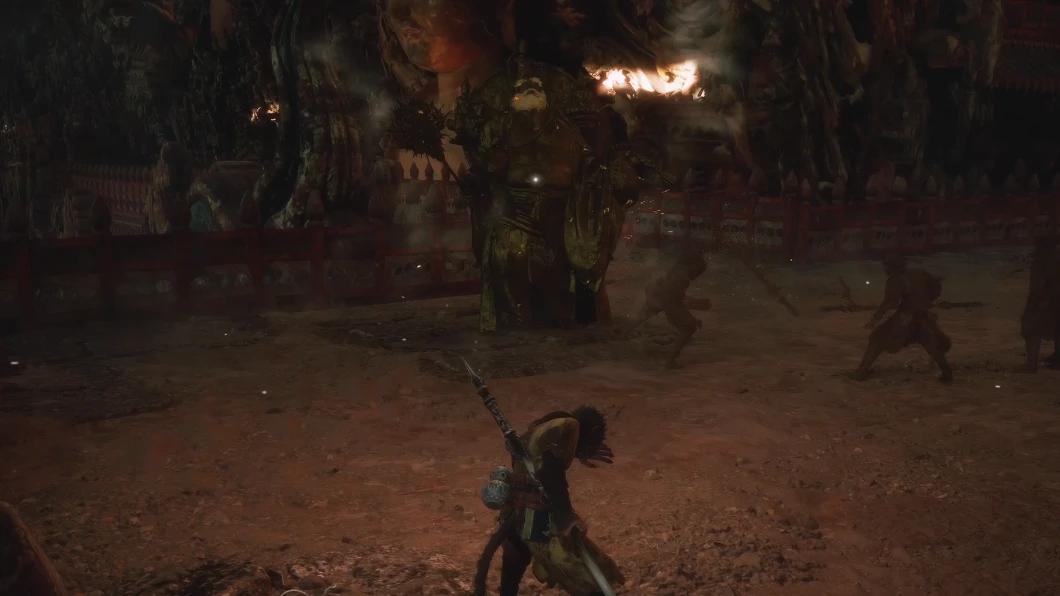
After his Health reaches 0, he pulls you into his sack. Here you team up with Zhu Bajie to defeat the Macaque Chief. If you die at any point during the Macaque Chief encounter you respawn at the Mahavira Hall Shrine. This means you can intentionally die during the second fight to respec and prepare for part 3 by removing points from A Pluck of Many and Immobilize, swap to Cloud Step, specialize Spell Binder, or swap your Transformation and Spirit.
Macaque Chief Move Set
- The Macaque Chief attacks you with a variety of sword swings and a few special moves. Most of these are accompanied by vicious waves of red energy which extend his attack range. During the battle, he switches between using his hands and feet to wield the weapon. These swings are wild and hard to follow so be careful to not take consecutive hits.
- Zhi Bajie appears as an ally during the fight, distracting the boss and healing the Destined One.
- During his combo attack, the Macaque Chief has a window where he takes his hands off his sword. When he does this you have a window you can take advantage of to get in some damage. He plants his blade into the floor, then begins clawing wildly in a direction. If you dodge to the side to avoid the initial attack you can safely hit him until he grabs the blade to execute the final move in the sequence. Alternatively, if you need some time to heal this is a good time to retreat and use your Gourd.
Projectile Jump
- The boss leaps into the air to unleash a volley of projectiles while charging down toward the Destined One. Dodge forward, if you time this correctly you can avoid the charge and the projectiles with a single dodge.
Afterimage Strike
- When the Macaque Chief hovers in place holding a midair pose, he's about to use his afterimage attack. During this, he summons a mirage which zips towards your location and exeuctes an attack. He summons 3 total mirages and follows the third with a charge. Dodging left or right makes it easier to avoid damage from this.
Dodge left or right to avoid the after images.
Summon Clones
- During the battle, the boss summons clones to attack both you and Zhu Bajie. If both clones decide to attack Zhu Bajie you can focus on damaging the boss to end the battle more quickly. Alternatively, if you want to deal with them quickly, pop a transformation then burn the clones down before returning to focus on the boss.
Second Yellowbrow Encounter
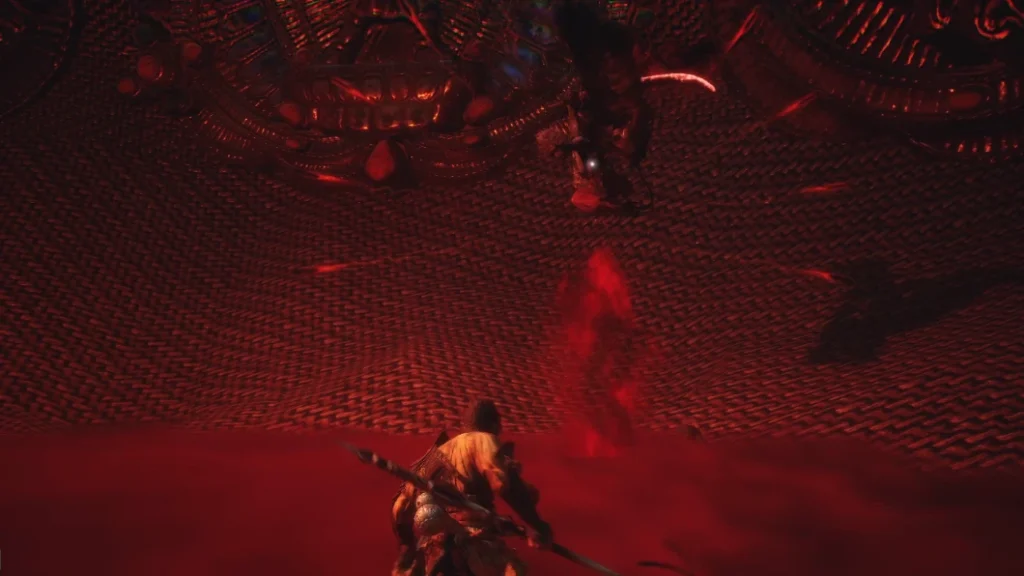
After you beat the Macaque Chief, you're pulled in a gauntlet. Run through this area to reach the platform where Yellowbrow resides. If you die, you respawn right before so you don't need to go through the gauntlet again. This version of the fight is significantly more challenging than the first encounter. At two points within the fight, the boss damages you as part of a cutscene so you need to be extra careful to keep your health topped off! Throughout this encounter, his weapon behaves more like a flail, spinning wildly around a flexible handle. This makes his basic attack sequences very similar to what he used after his original transition.
Yellowbrow can turn many of your spells like Immobilize and A Pluck of Many against you so be extremely careful when using these!
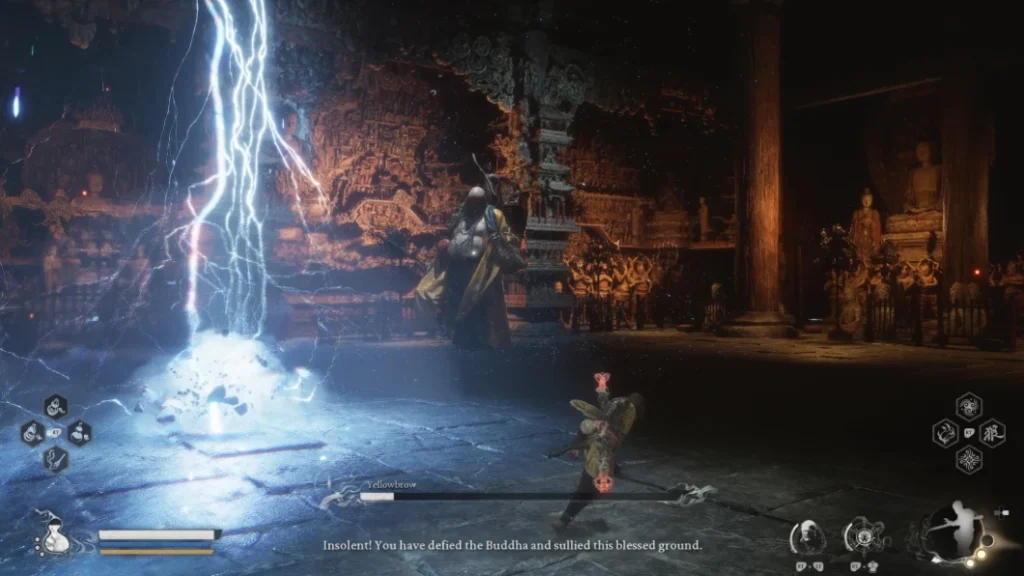
- He likes to open by charging his weapon with electricity and then, slamming it down to create a charged line on the ground. This line persists and continues to deal damage if you walk over it. Dodge the initial attack then position yourself on the opposite side of the line so you minimize your chances of stepping on it by accident.
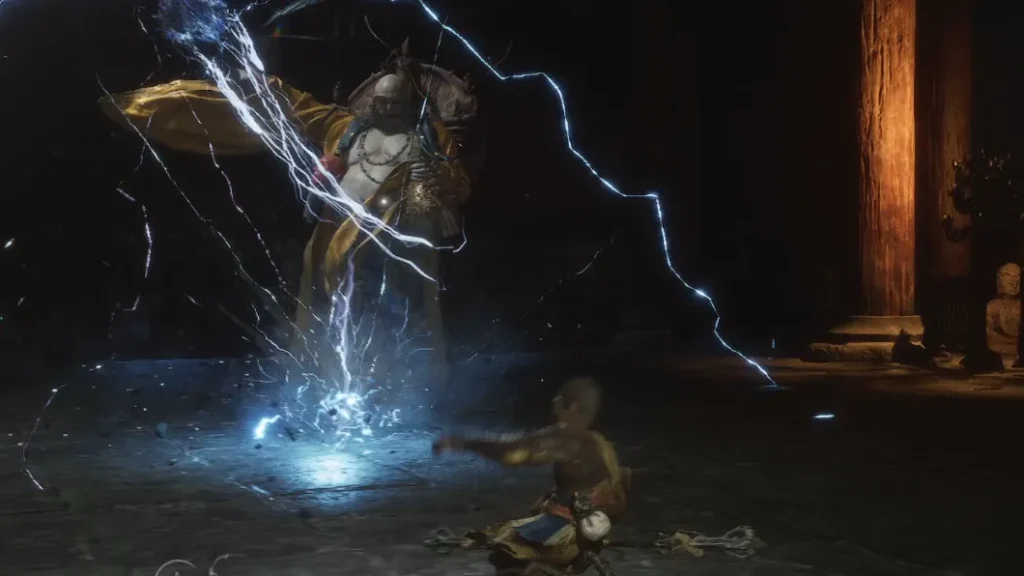
Lightning Cage
- Yellowbrow traps you within a cage of lightning and then fires several waves of projectiles. If you time Cloud Step well you can avoid the cage. If you get trapped, dodge the projectiles or use Staff Spin to deflect them then wait for the effect to end.
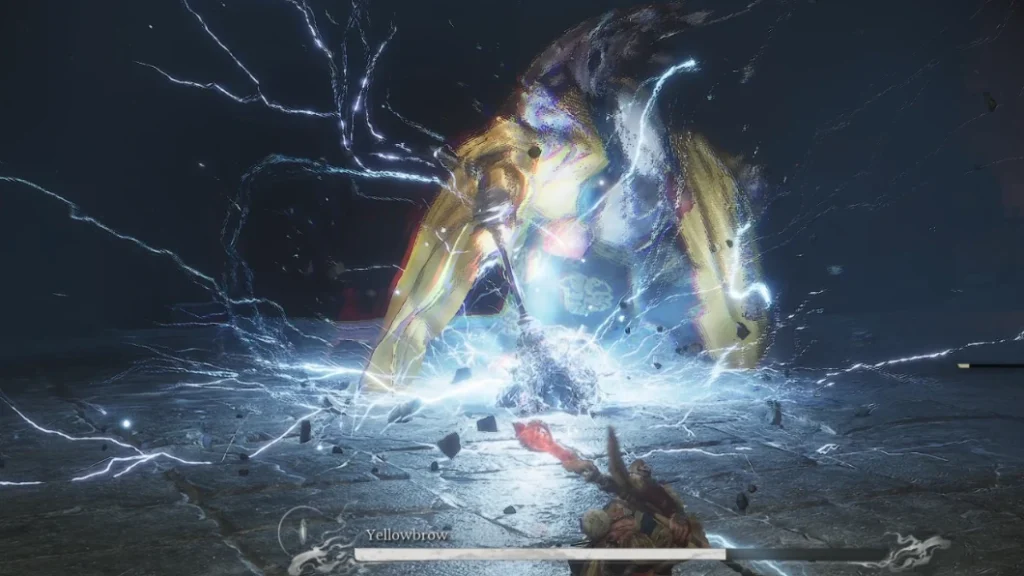
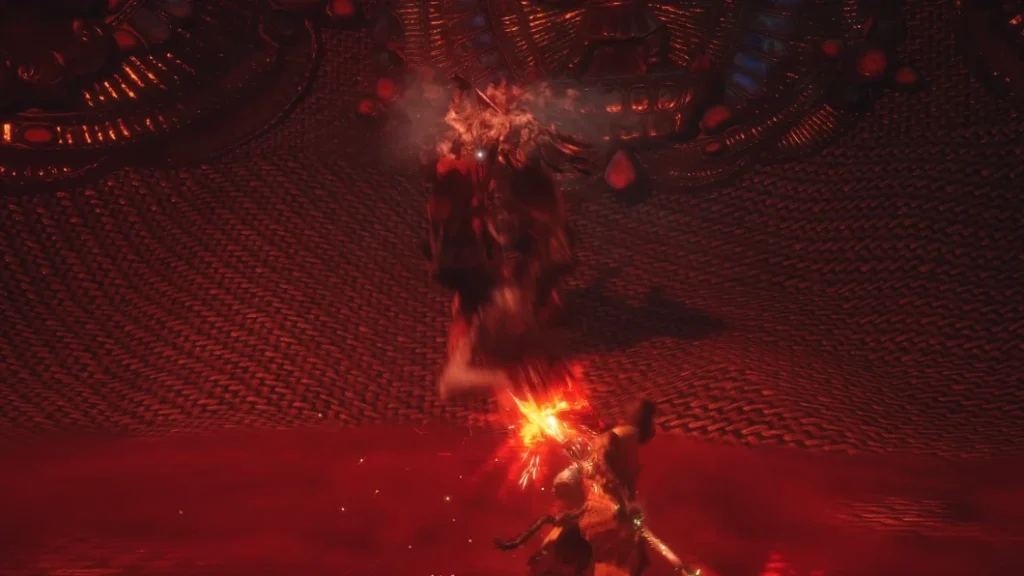
Covered in Gold
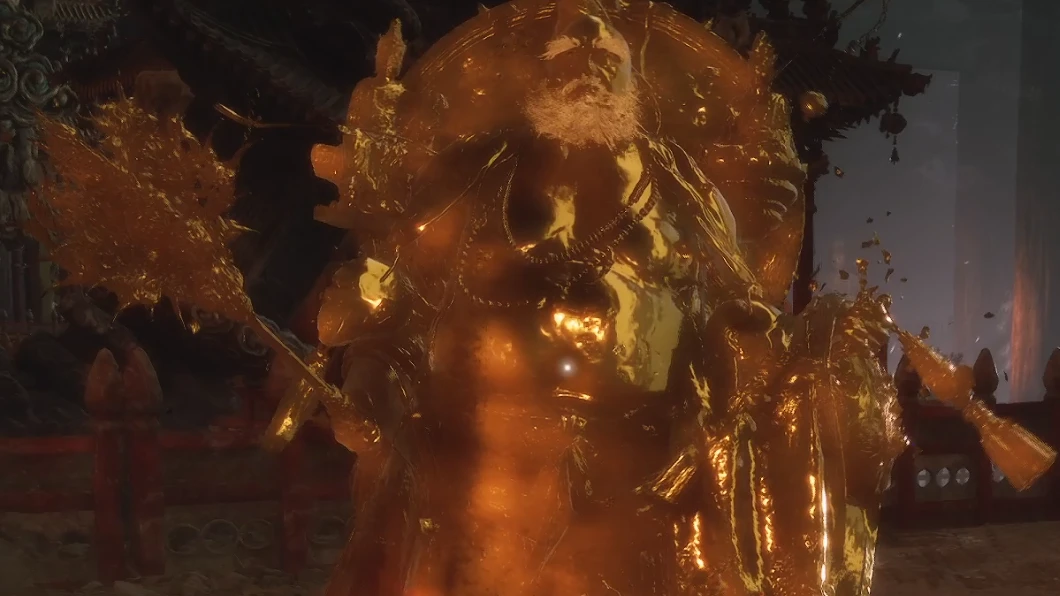
- Yellowbrow covers himself in gold several times during the fight. This enhances his defenses, causing your regular attacks to rebound. You can break this gold coating by using charged Heavy Attacks. If you fail to break the shell in time he does a massive lightning explosion.
- Successfully breaking his shell gives you a good opportunity to deal damage when the boss is staggered.
- If you fail to break the shell in time, run far away from the boss to avoid the explosion.
- He also casts this in response to your Immobilize spell! Avoid using Immobilize, or wait for him to cast the shell, then quickly break it and Immobilize his ability is still on cooldown.
Transitions
- At ~66% and ~40% Health Yellowbrow goes into a cutscene where he attacks the Destined One. These attacks do a significant amount of damage, so you need to keep your health topped off throughout the fight.
- Then use your Gourd to heal up immediately upon regaining control.
- If you have good timing, you can use Cloud Step right before the cutscene starts to avoid the entire thing, however this is difficult to execute and may be patched out in the future!
Key Rewards
Defeating Yellowbrow grants you your third Relic, Hubris Nose, the Umbral Abyss Transformation Spell, a wealth of crafting materials and entry into Chapter 4.
Video Guide
If you want to see Yellowbrow's move set in more detail or see what the full fight looks like check out this video guide by Tenkiei.
Summary
Do battle with Yellowbrow across 3 encounters, first by defeating him within his temple, then taking down the Macaque Chief to escape his sack before finally getting your revenge to bring Chapter 3 to a close and obtain your next Relic.
- In your first encounter with Yellowbrow, feel free to run away from the boss to dodge his explosions.
- After you defeat Yellowbrow for the first time, he pulls you into his pouch where you fight the Macaque Chief.
- Zhu Bajie aids you in this part of the fight.
- The second encounter with Yellowbrow is much more difficult.
- If you die during any of the fights, you begin again from the start of that encounter, without having to redo previous ones. In addition, you can freely respec or change your build if you die on encounters 1 or 2.
Written by: Tenkiei