How to Beat Yellow Loong
Last Updated:September 10, 2024|Changelog
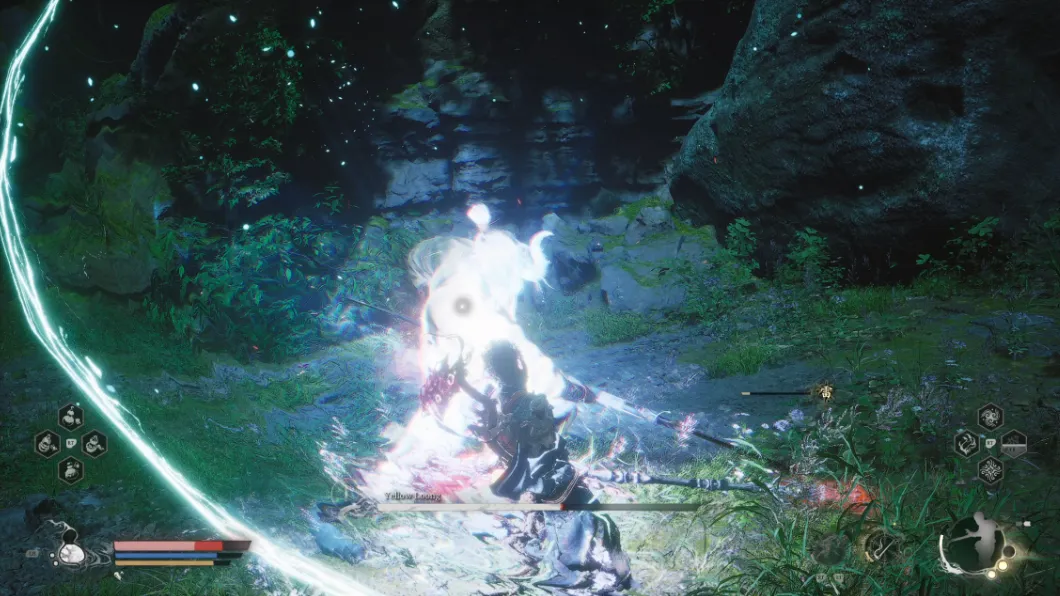
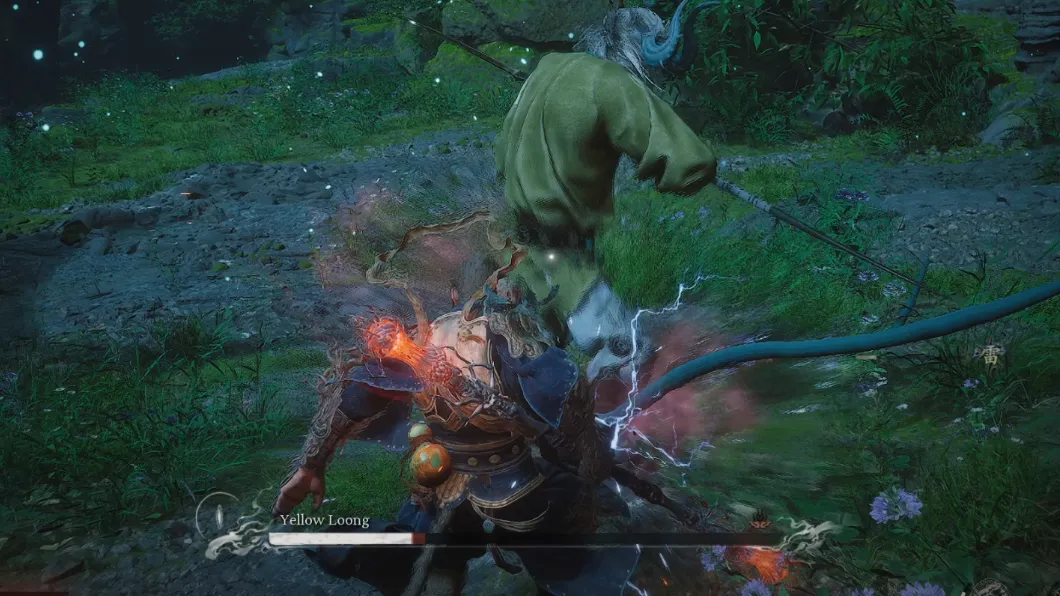
The final boss of the 4 Loongs Quest, Yellow Loong is located in chapter 4. This secret boss is extremely difficult ranking among the most challenging bosses in the entire game! He attacks relentlessly at close range and as his health lowers his combinations flow into each other, gaining complexity. This fight is very much about getting good, learning his patterns, and building up muscle memory. Knowing how each attack works, and how they change as his health gets low is key to knowing when it's safe to attack and when you need to focus on dodging. If you die on this fight, don't get discouraged, and consider experimenting with different Stances, Builds, Spirits, and Spells.
Preparation
- To take on the Yellow Loong you need a build you are comfortable with, a majority of the fight involves learning his tells and knowing which tool you have to respond. In a lot of cases, that means dodging, but sometimes it pays to have a way to disrupt his patterns.
- The Spirit, Non-Able is particularly effective in this regard. He has a low Qi cost meaning you can recharge him by hitting the boss a few times. If you use a Light Attack, followed by Non-Able while hitting your Light Attack keybind you can inflict a small stagger on Yellow Loong, disrupting his pattern.
- Cloud Step is another great tool as it trivializes his transitional move, max out the clone duration to make it easier to deal with the mechanic.
- The only downside is that you have less Mana to work with, making it difficult to utilize A Pluck of Many.
You need to obtain the Loong Scales and beat the first 3 Loong bosses before challenging Yellow Loong, for more information on how to do this check out our dedicated guide!
Location
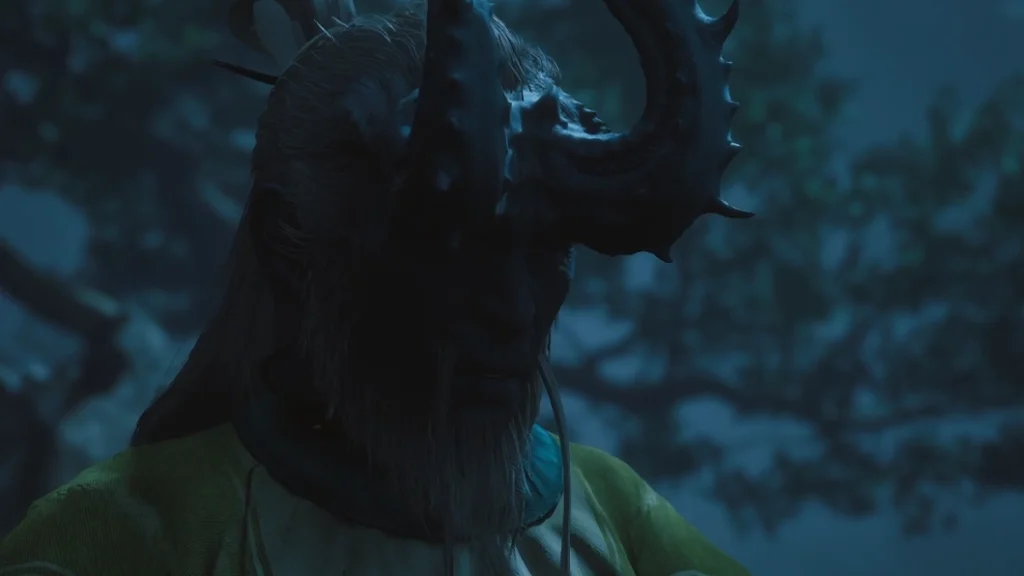
To access Yellow Loong you need to defeat Red Loong, Black Loong, and Cyan Loong first. He is located at the Webbed Hollow, near the Relief of the Fallen Loong Shrine. This is a secret area you can only access after defeating the Buddha's Hand. While Yellow Loong's initial move set is simple, the lower his health gets the more he adds on to each move increasing the fight's complexity exponentially. This boss is one of the most challenging encounters as you need to pay close attention to the subtle differences between his moves to properly counter them!
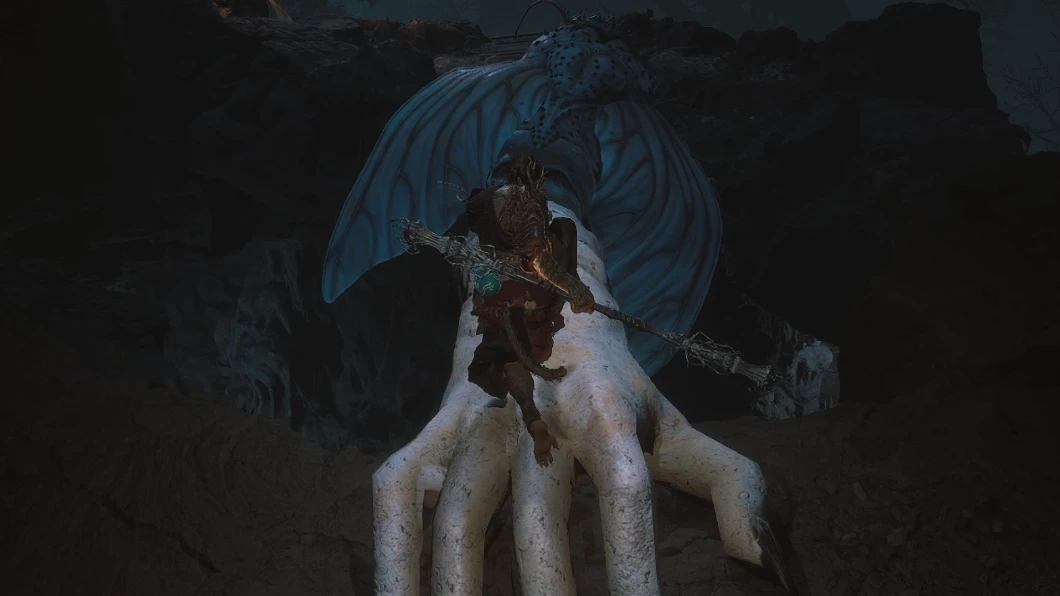
- Starting from the Cliff of Oblivion Shrine, head down the path and over the bridge created by the Buddha's Hand.
- Jump down and head right until you reach the lower platform, from here turn left towards the rickety bridge.
- Cross the bridge and continue until you find a narrow webbed path guarded by several hanging sacks.
- If you attempt to cross, these come alive and attempt to knock you off the bridge.
- The easiest way to deal with this is by using Cloud Step to stealth past, they won't become aggressive and if you time it right you can even ignore the archer at the end of the bridge.
- Alternatively, you can clear a few of them out using the charged Heavy Attack with Thrust stance. If you have the Golden Needle this is an effective way to clear the rest so that you can pass safely. Otherwise, you can clear out the ones in front, then Immobilize the sack on the right to give yourself time to pass safely.
- WARNING: There's quite a bit of movement on your charged heavy, don't accidentally hurl yourself off the cliff!
- From there, proceed through the linear area until you encounter the Shrine.
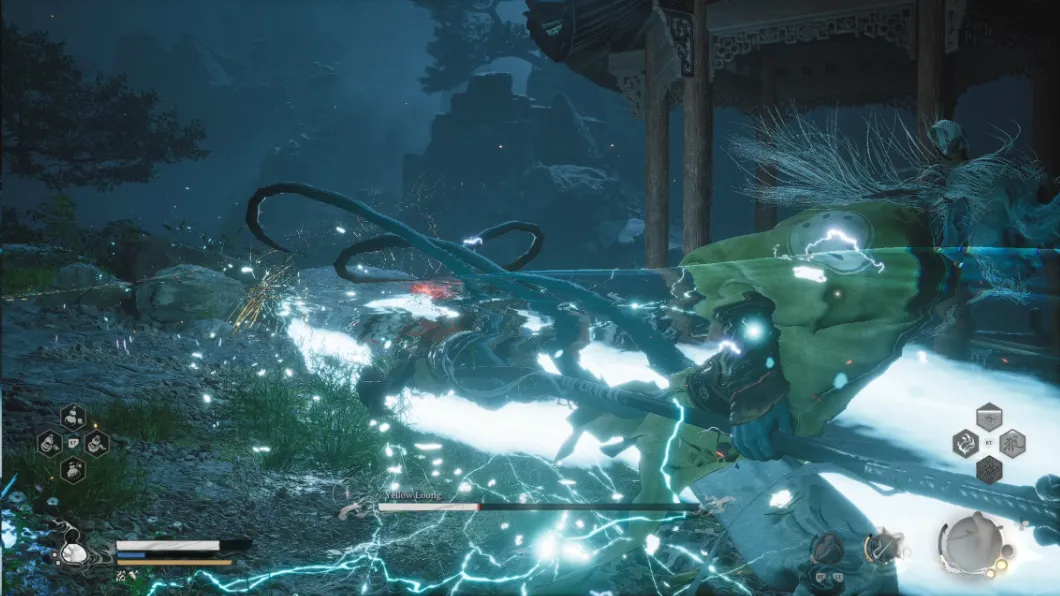
Yellow Loong Move Set
The battle against Yellow Loong is a war of attrition. He has a lot of health, so you need to avoid unnecessary damage to avoid running out of Gourd charges. Cloud Step is a very effective counter for his aerial combo, but as the fight is long so you might not have enough Mana toward the end. Remember, he gets more dangerous as his health gets lower, so if you have spare Mana you can use it towards the end of the fight.
- Yellow Loong usually opens with a charging thrust, dodge forward or to the side to avoid damage.
- After this, he follows up with a slice. The purpose of this attack is to punish you for running back in, so hang back to avoid it.
- Once Yellow Loong's Health gets lower, he adds a new sequence, this happens at around 70% Health.
- He whirls back towards you, again dodge to the side.
- Then Yellow Loong executes a spinning jump attack, dodge to the side.
- Below ~50% Health he adds an additional attack.
- Yellow Loong quickly uses an overhead slice, then repeats the attack, dodge two more times then get some damage in on the boss.
Vertical Whirling Combo
- When the boss shifts to holding his weapon vertically, he's about to unleash a dangerous attack. This is a great time to use Non-Able to disrupt his attack pattern.
- He quickly executes two attacks where he whirls forward, twirling his weapon as he does.
- Then Yellow Loong follows this with a larger slash, covering more distance and dealing higher damage.
- When avoiding this combo, dodge to the side, not backward as the attack is capable of significant forward momentum.
- At low health, he continues the sequence with a jump attack. Dodge the jump attack after the sequence.
Horizontal Whirling Combo
- Yellow Loong also has a horizontal whirling combo, this one covers less distance and does not have an obvious tell at the start. Because it involves wide sweeping strikes your timing is more important than the direction in which you dodge.
- The first attack is a wide diagonal slash, time your dodge to avoid damage.
- Then, he continues his momentum to execute another slice.
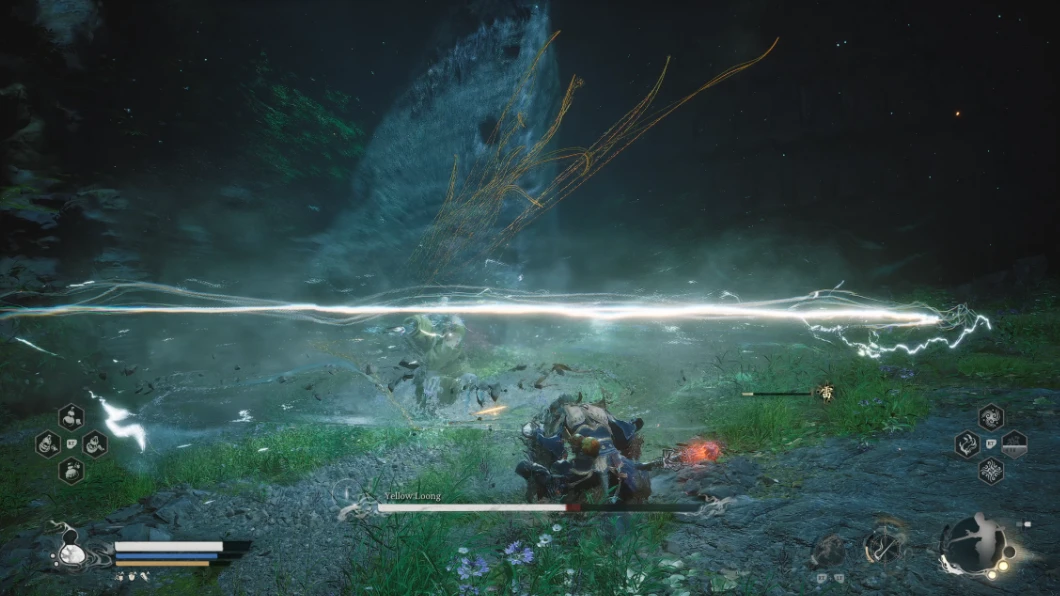
- The third attack is a wider slash that's fully horizontal accompanied by a trail of electricity. Sometimes if you dodge backward to avoid the earlier strikes you can avoid this, but you should prepare to dodge just in case.
- At low health, he adds a new attack at the end of the sequence where he plants his weapon in the ground and vaults forward, causing an explosion of lightning as he does. Prepare to dodge after the third slice as this does significant damage.
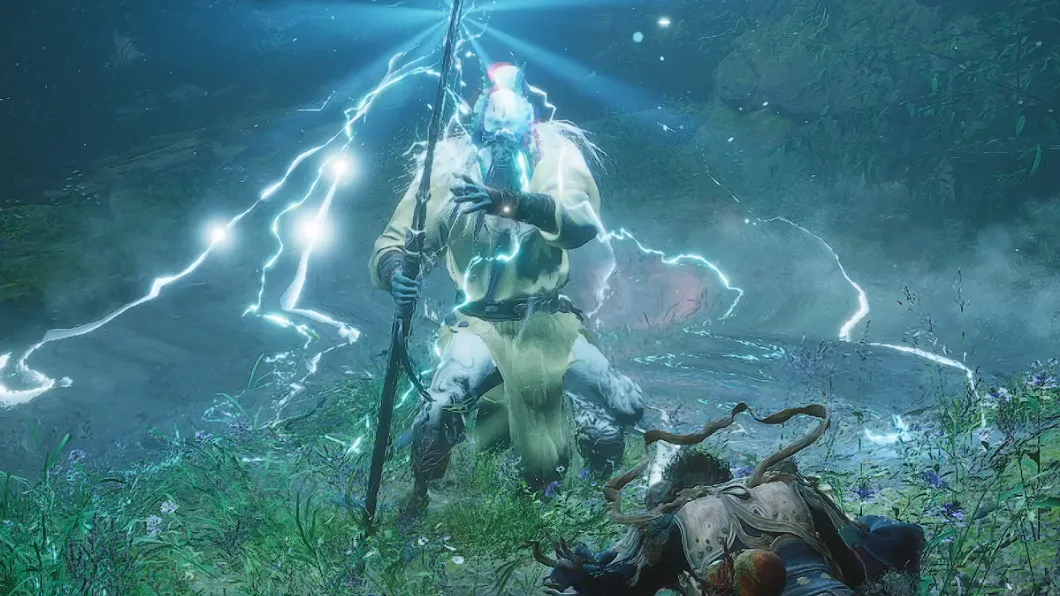
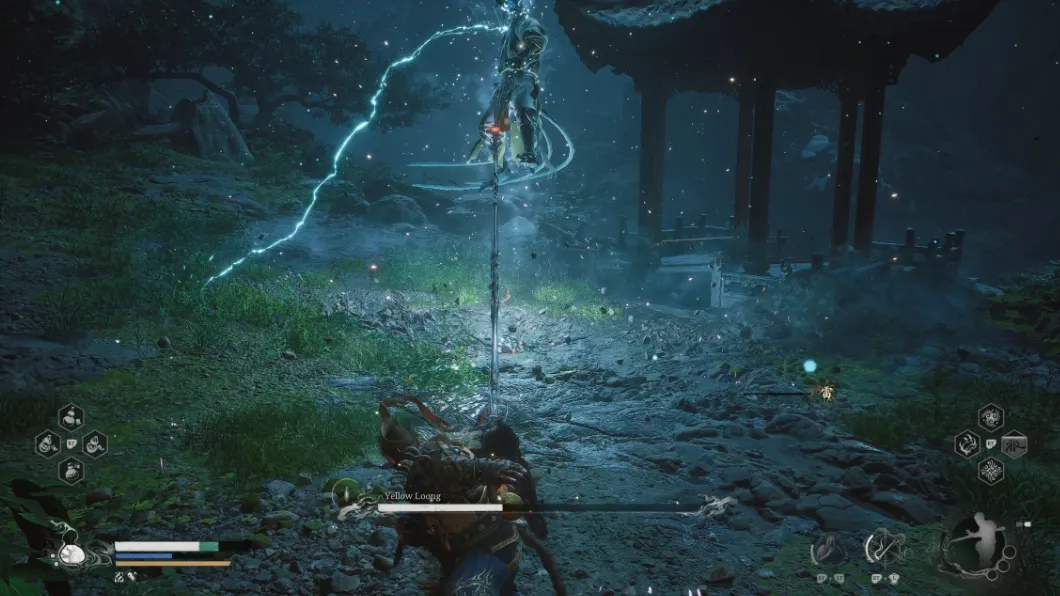
Empowered Aerial Assault
- When Yellow Loong begins channeling electricity in his weapon you need to get away, he's about to use his empowered aerial combo. This lasts several attacks and doesn't give you much room to heal, however you can make this entire sequence trivial by using the Cloud Step when he uses the first attack!
- Use Cloud Step as soon as he finishes charging his weapon and executes the first charge.
- After that he dashes back and forth attacking 3 times, if you used Cloud Step correctly he wastes these attacks on the decoy.
- Initially, he ends the sequence by rising into the air before slamming down creating a large lightning explosion. If you timed your Cloud Step perfectly, this targets the clone. If your timing is off, it targets you.
- If you master the timing on this and spec out the right nodes in Cloud Step you can fully charge a Heavy Attack while he's distracted by the clone. This only works before his Health gets low.
- At low Health he extends the sequence by rising up and then slamming down additional times, the sequence is extended by 1-3 attacks so don't stop dodging until you see him straighten up after landing.
Short Thrust
- Throughout the fight, Yellow Loong uses a short thrust that resembles his initial charge attack. This is faster, and doesn't cover much distance but begins a unique attack sequence.
- Yellow Loong begins the sequence by quickly thrusting with his spear, dodge to the side or forward to avoid it.
- After that he uses two quick slashes, these are difficult to avoid but don't hit very hard.
- He continues the sequence with a large horizontal slash with a big AoE, time your dodge to avoid damage.
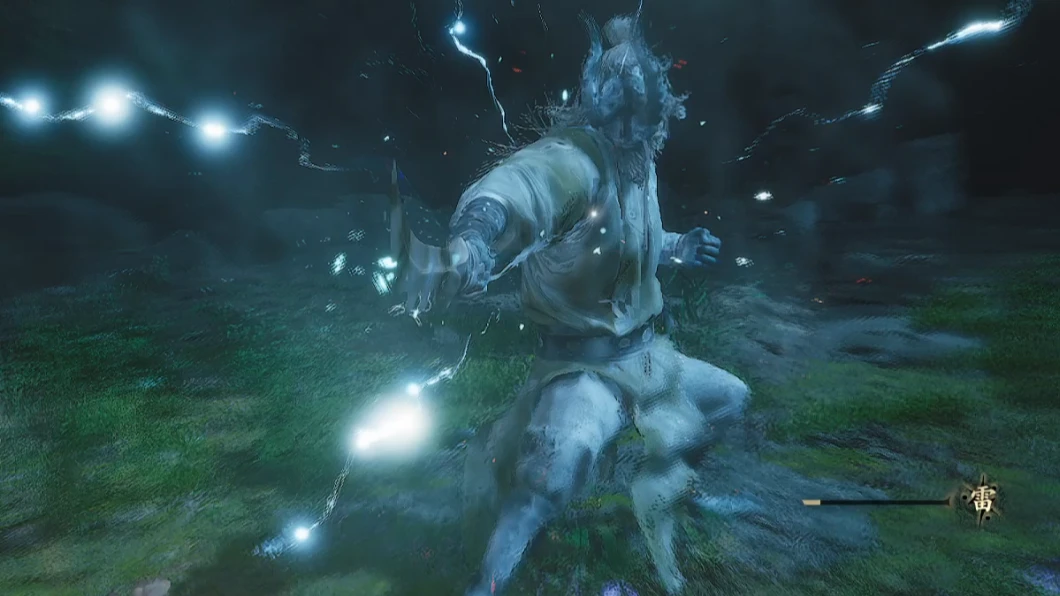
- At low health he turns blue, charging himself with electricity before adding another attack to the sequence. This usually resembles the "Vault Attack" from the horizontal whirling combo mentioned above.
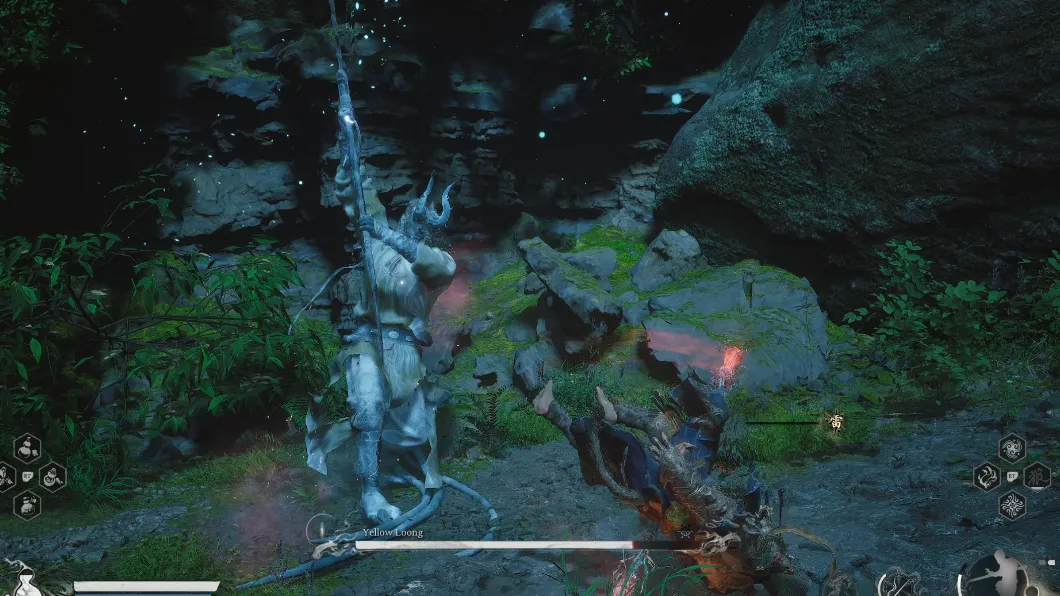
Grab Move
- While rare, Yellow Loong has a grab move. This does massive damage and is likely to be lethal if you aren't topped off. When you see him reverse his weapon, use Non-Able to disrupt his pattern.
- You can use Cloud Step to avoid this as well, but then you might not have it for his aerial sequence.
Interrupt Combo
- This begins with a tell similar to his grab, where he reverses his weapon and jabs at the Destined One.
- The initial attack does low damage but interrupts whatever you're doing. He follows it with a slash, dodge to avoid damage.
See Through
- As his health gets lower, Yellow Loong gains the ability to See Through your attacks, flying into the air and avoiding all damage from the strike.
- After avoiding your attack, he jumps down dealing some damage. This isn't particularly dangerous, but it's very annoying when you lose a fully charged heavy to this move.
- Try to time your Heavy Attacks until right after you see him use this, but it's better to take the chance than sit on 3-4 Focus for more than a few seconds.
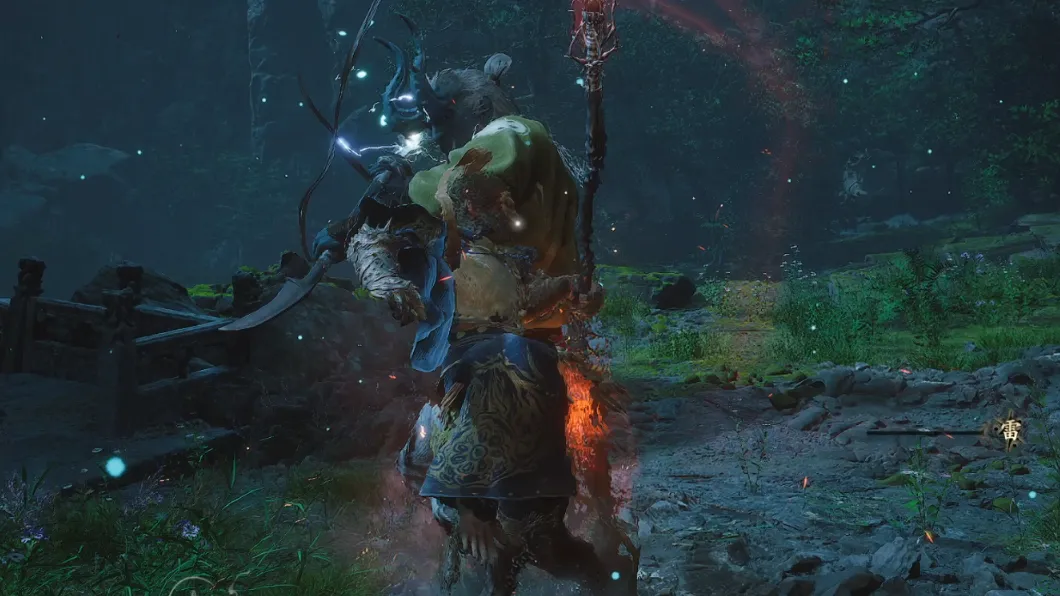
Explosive Slash
- Sometimes Yellow Loong uses a series of slashes somewhat similar to his horizontal whirling combo sequence, but at the end, he continues the spin on his attack. This carves a line of lightning into the air that explodes after a short duration.
- After the explosion, he is likely to start another attack sequence. The explosion is bright and makes it difficult to identify what the boss is about to do. Deal with this sequence by dodging forward toward the boss, that way the explosion occurs behind you and you're free to deal damage or dodge the Yellow Loong's next attack.
Key Rewards
After defeating Yellow Loong you gain access to the Golden Lining Transformation Spell. Take Yellow Loong's form and gain the ability to parry enemy attacks with your Varied Combo. In addition, he rewards you with the last component needed to craft the powerful Golden Loong Staff which enhances Pillar Stance moves.
Video Guide
If you want to see Yellow Loong's move set in more detail check out this video guide by Tenkiei.
Summary
Yellow Loong is an extremely challenging secret boss found in Chapter 4 of Black Myth Wukong. Learn each of his attack sequences and how they change as his Health gets lower. If you defeat this encounter you gain a new Transformaton and unique crafting materials.
- Find the Yellow Loong at the hidden shrine in the Webbed Hollow.
- Practice dodging each of his different attack sequences.
- Use your Cloud Step to cheese his aerial assault.
- The Spirit Non-Able is effective at disrupting his attack pattern, you can also use a charged Heavy Attack.
- As his Health gets lower, he adds new moves to each sequence, making them significantly more dangerous.
- Be prepared to die, a lot.
Written by: Tenkiei