Secret Loong Quest Guide
Last Updated:September 10, 2024|Changelog
The Secret Loong Quest begins in Chapter 2 but takes place across chapters 1-4. You need to obtain the Loong Scales then defeat the Red Loong in Chapter 1, Black Loong in Chapter 2, Cyan Loong in Chapter 3, and Yellow Loong in Chapter 4. These bosses are extremely challenging compared to the enemies you encounter throughout the rest of their respective chapters. If you're struggling, feel free to come back later and challenge them after leveling up and gaining new tools.

Preparation
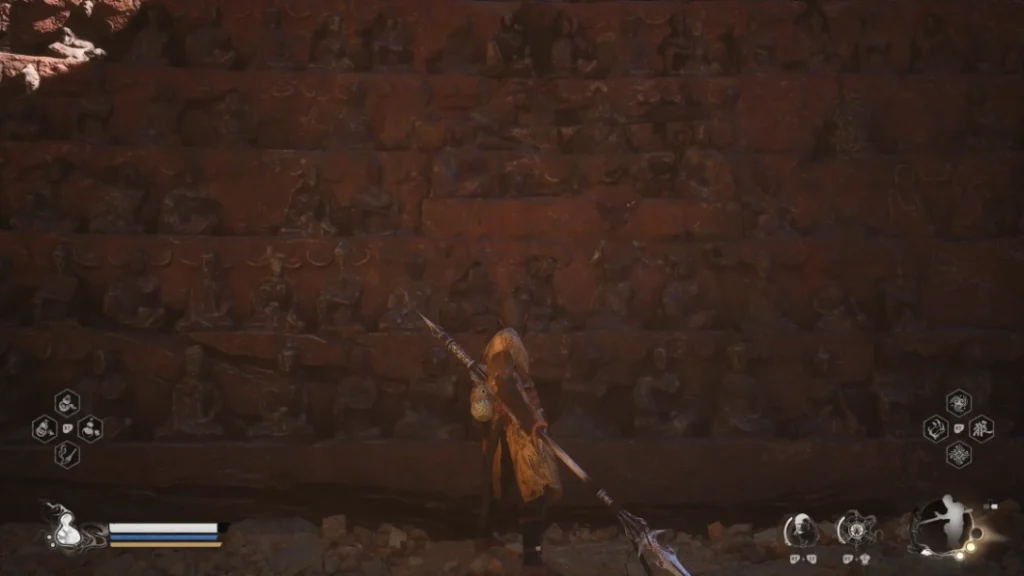
- You need the Loong Scales from the Valley of Despair to properly begin this quest. They are obtained by breaking this clay wall in the room where you do battle with the First Prince of the Flowing Sands. If you haven't completed this encounter yet, you can lure the boss over near the wall and use one of his attacks to break it. Alternatively, you can use the Wandering Wight spirit or Azure Dust Transformation to smash the wall if you already defeated the First Prince of the Flowing Sands, or failed to break the wall during his encounter.


- All 4 of the Loong Fights involve a lot of lightning damage so you can prepare by having Shock Quelling Powder, raising your Four Banes resistance, using Loongscale Armor (after beating Kang-Jin Star), or adding the Thunderbolt Horn soak to your Gourd after purchasing it in Chapter 3.
- Here are a few tips for each boss:
- Red Loong, you don't need to do much to prepare for this boss, but if you're struggling to break the contraption on his back, try using Pillar Stance for the extra AoE on your charged heavy.
- Black Loong has a lot of health, so before facing him upgrade your weapon by defeating Shigandang or the Yellow Wind Sage. Even with the upgrade he is extremely difficult so you may want to explore Chapter 3 and return when you're more powerful.
- Cyan Loong, having Cloud Step makes it easier to deal with some of his more powerful attacks.
- Yellow Loong, again Cloud Step is very effective at countering some of his abilities, the Non-Able Spirit from Chapter 3 is great for this fight as you can use him after a Light Attack to stagger the boss for a short duration.
Red Loong
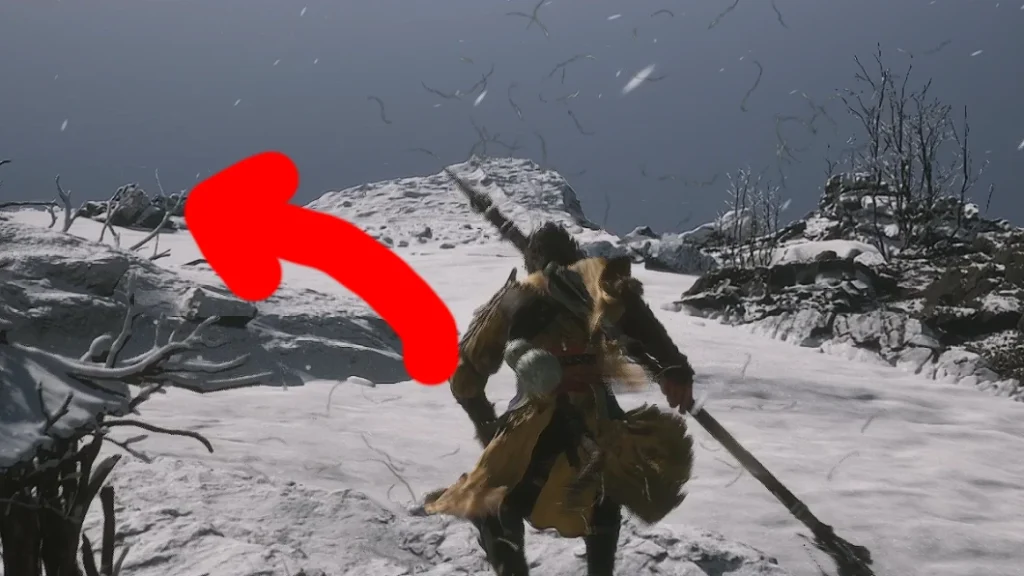
You find Red Loong behind the waterfall in the Forest of Wolves. Start from the Outside the Forest Shrine, ahead of you are two Yaoguai guarding a fork in the road, defeat them then follow the instructions below to locate the shrine and the boss.

- Follow the path defeating any Yaoguai you encounter until you reach the bridge with a treasure chest on the left.
- Turn left again, and continue following the path along the ridge.
- At the next fork, turn right and continue towards the waterfall.
- Use the Loong Scales to dispel the waterfall and enter the hidden area behind it to engage the boss.
Red Loong Boss Tips

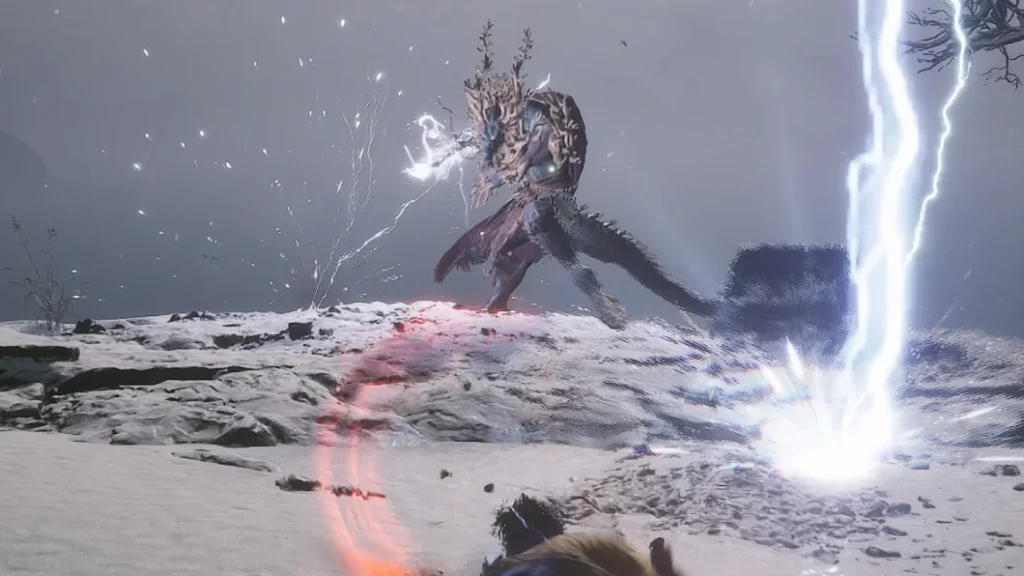
- Red Loong has a lot of health, but after staggering him, you're able to damage the contraption on his back to deal massive bonus damage. For his basic attack sequences, he swipes at you with his claws or flies into the air and then does a strafing run, clawing at you as he rushes past. When he charges his claws with electricity, his attacks leave behind a cloud of energy that explodes shortly after his initial strike. Don't run into the aftershock after avoiding his attacks!
Tail Swipes

- In addition to attacking with his claws, Red Loong frequently attacks with his tail. When you see him start to flick his tail, use your dodge, Cloud Step away from the attack, or deflect it with Stone Form.
- His tail swipe has a couple of variations, he swipes it in a wide arc and lashes you with the electrified blade he holds. This does a lot of damage so avoid it or use your Gourd to heal up after getting hit.
Roar Attack

- If you see the contraption on his back start to glow, charging the air with particles then run away immediately!
- After charging, Red Loong lets out a roar and emits a powerful burst of electricity. This attack has a short animation making it difficult to avoid.
Stagger and Explosion

- Deal damage to Red Loong to stagger him. After you do, he crashes to the ground exposing the contraption on his back. This is your chance to deal massive damage to the boss! Attack the contraption directly, for each pot you destroy the boss loses a large chunk of health. Try to save your Focus for a charged Heavy Attack on the contraption.
- You should always target these pots after staggering the boss, this can be a little tricky as you aren't able to lock on to them individually. Run to the correct side of the boss, if you're still struggling to target them consider using Pillar Stance as it has a bit more AoE on its Heavy Attack.
- If you don't destroy one of the pots quickly enough, run away to avoid the large lightning explosion.
Black Loong
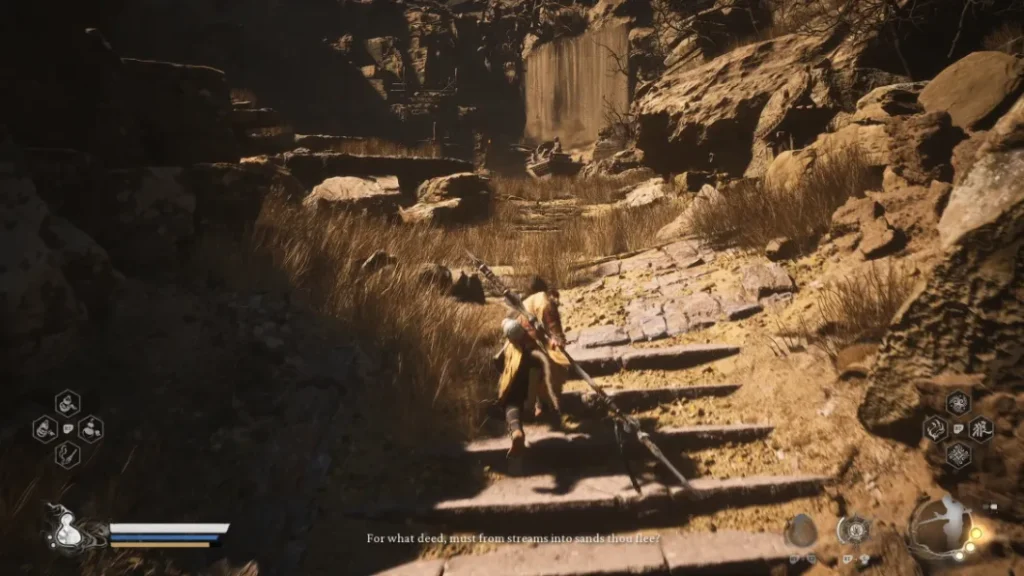
You find Black Loong behind the sandfall in the Fright Cliff. Start from the Rockcrest Flat Shrine, go up the stairs, and use the Loong Scales to dispel the sandfall and enter the hidden area.
Black Loong Boss Tips
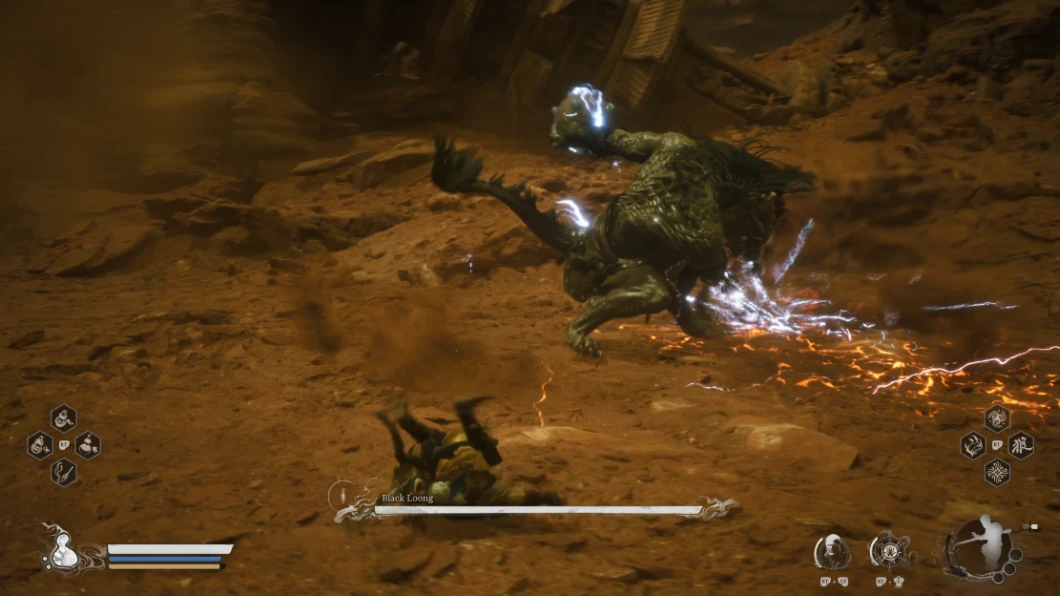
- Black Loong wields 2 maces, his attacks are slower and more methodical but do incredible damage. Throughout the encounter, he empowers his attacks with electricity causing them to inflict Shock, create explosions, or generate a wave of electricity that expands out from the point of impact.
- For example, he uses a move very similar to Yellowbrow where he twirls his right mace above his head before slamming it down releasing a projectile, and then does the same with his left mace. He follows this by clapping the weapons together causing an explosion which releases a shockwave. This is easier to deal with if you temporarily retreat, avoid both projectiles, and then dodge or jump over the shockwave.
Note: his arena contains several destructible rocks, if you position well throughout the fight you can keep one intact and hop on top of it to completely negate the shockwave mechanic.
Sandstorm
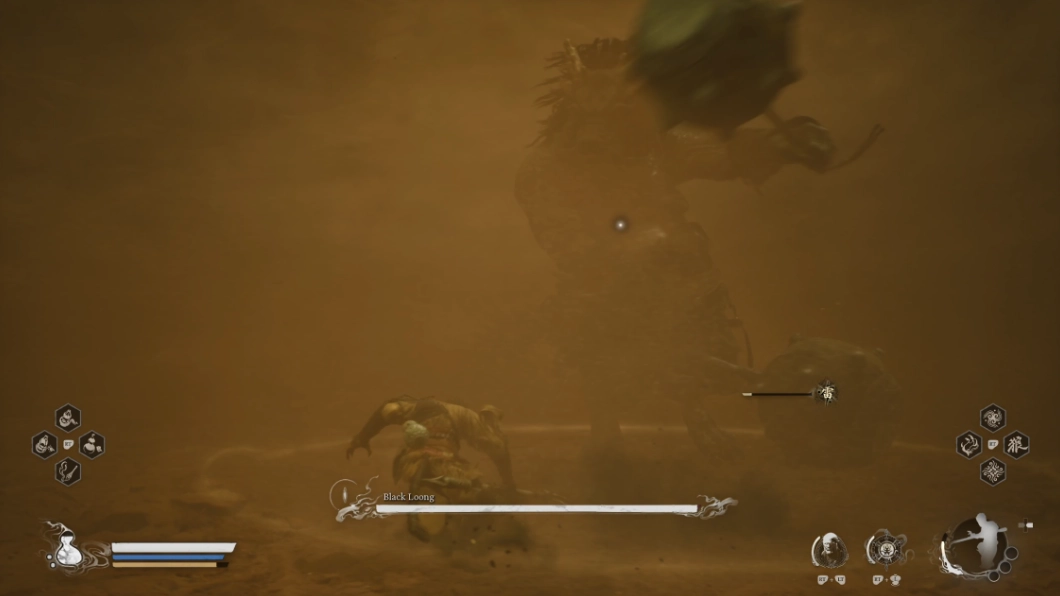
- Black Loong rapidly whirls his weapons generating a sandstorm that expands outward. This slows the Destined One and makes it difficult to see. Then the boss releases an explosion of electricity. You can use Cloud Step to counter this and prevent the explosion at the end. Alternatively, you can run out of range, but if you do be careful, the final part of the attack sometimes releases a fast-moving aftershock that is difficult to avoid.
- He has a second, somewhat similar attack where the boss clashes his weapons together staggering the Destined One and releasing lightning explosions that deal damage in a small area around the boss.
Transition

- At around 60% and 20% Health, Black Loong charges himself with electricity and does his extremely dangerous transition! After you master this, the rest of the fight is much easier to deal with. He begins rhythmically pounding the ground with his weapons, each attack releases an aftershock that expands out. Move away from the boss to avoid the strikes, then jump over or dodge each aftershock.
- He alternates the timing, which sometimes causes multiple aftershocks to come out close together. So if you try to jump over the first and then jump again you usually get hit by the second. The best way to deal with this is by jumping over the first close aftershock and then dodging the second.
- After releasing the aftershocks, he pauses for a moment before pulling his weapon out of the ground creating a fast-moving aftershock. The tell for this attack is the energy imploding back into his weapon right before he releases the shockwave. If you got hit by any of the previous aftershocks, use your Gourd to heal up as the last aftershock is difficult to avoid! You can also use a transformation here to tank the hit and protect your health.
- Check out the video below for more on how to minimize your damage taken during this sequence.
Cyan Loong
You find Cyan Loong right behind the Turtle Island Shrine. Head down the slope and to the left to encounter Cyan Loong frozen in place with a fishing pole. His attacks are highly damaging, but he doesn't have a diverse arsenal of moves. Furthermore, he is vulnerable to interruption, so use your heavier attacks to give yourself an opening or stop one of his basic combos.
Cyan Loong Boss Tips

- Cyan Loong is a martial artist who attacks with a sword. He often follows his combos with a small lightning explosion. This does high damage and should be avoided at all costs. If you dodge through the boss this provides a good opportunity to deal damage.
- You can use your Finisher and charged Heavy Attack to interrupt some of his combos, so it pays to be aggressive when fighting Cyan Loong.
Aerial Attacks

- His Aerial Attacks are a bit harder to avoid. You need to dodge when he begins the attack, rather than when he first rises into the air.
- Cyan Loong's charge attack is particularly difficult to avoid because it has a short animation. When you see him switch his sword to a reverse grip, get ready to dodge! The charge itself has short animation so you're likely to get hit if you aren't paying attention.
Empowered Blade

- As his health gets lower, Cyan Loong begins empowering his blade. This causes a massive electrical explosion which deals lethal damage so run away when you see him begin the animation!
- If you're struggling with this phase, save your transformation so that you have extra health to tank the damage. Depending on your damage, the boss may go through this phase multiple times.
- While empowered his attacks do extra Shock damage, have some Shock Quelling Powder handy to counter the status. His empowered attacks also have additional AoE components, so you need to be careful about timing your dodges.
Charged Empowered Strike
- While his weapon is charged, he sometimes assumes a stance, holding his blade horizontally before unleashing a massive explosive strike. When you see the boss ready this attack, get away as it does massive damage!
Yellow Loong
To access Yellow Loong you need to defeat Red Loong, Black Loong, and Cyan Loong first. He is located at the Webbed Hollow, near the Relief of the Fallen Loong Shrine. This is a secret area you can only access after defeating the Buddha's Hand. While Yellow Loong's initial move set is simple, the lower his health gets the more he adds on to each move increasing the fight's complexity exponentially. This boss is one of the most challenging encounters as you need to pay close attention to the subtle differences between his moves to properly counter them!
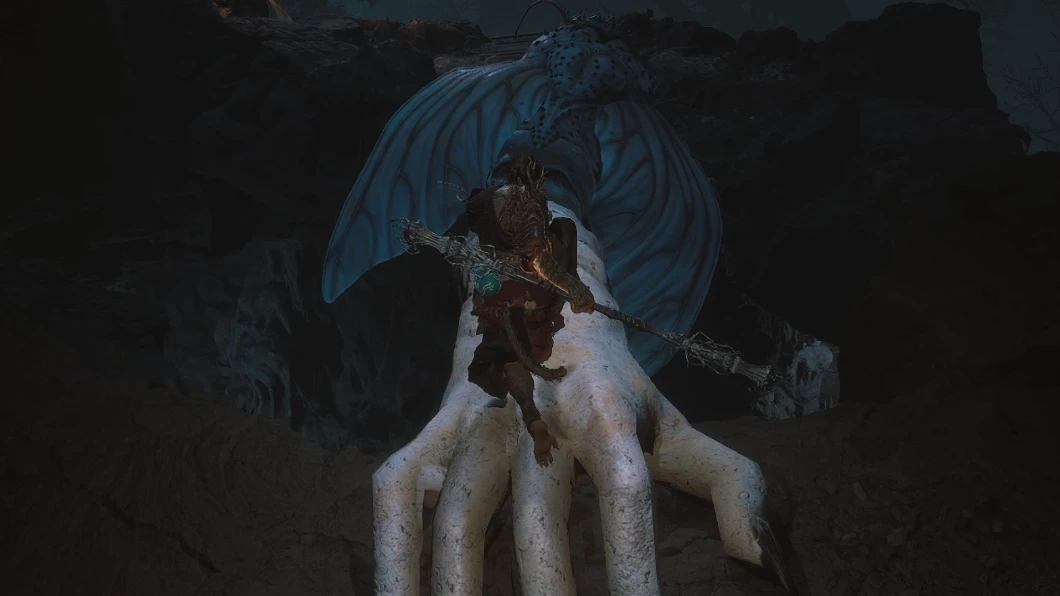
- Starting from the Cliff of Oblivion Shrine, head down the path and over the bridge created by the Buddha's Hand.
- Jump down and head right until you reach the lower platform, from here turn left towards the rickety bridge.
- Cross the bridge and continue until you find a narrow webbed path guarded by several hanging sacks.
- If you attempt to cross, these come alive and attempt to knock you off the bridge.
- The easiest way to deal with this is by using Cloud Step to stealth past, they won't become aggressive and if you time it right you can even ignore the archer at the end of the bridge.
- Alternatively, you can clear a few of them out using the charged Heavy Attack with Thrust stance. If you have the Golden Needle this is an effective way to clear the rest so that you can pass safely. Otherwise, you can clear out the ones in front, then Immobilize the sack on the right to give yourself time to pass safely.
- WARNING: There's quite a bit of movement on your charged heavy, don't accidentally hurl yourself off the cliff!
- From there, proceed through the linear area until you encounter the Shrine.
Yellow Loong Boss Tips
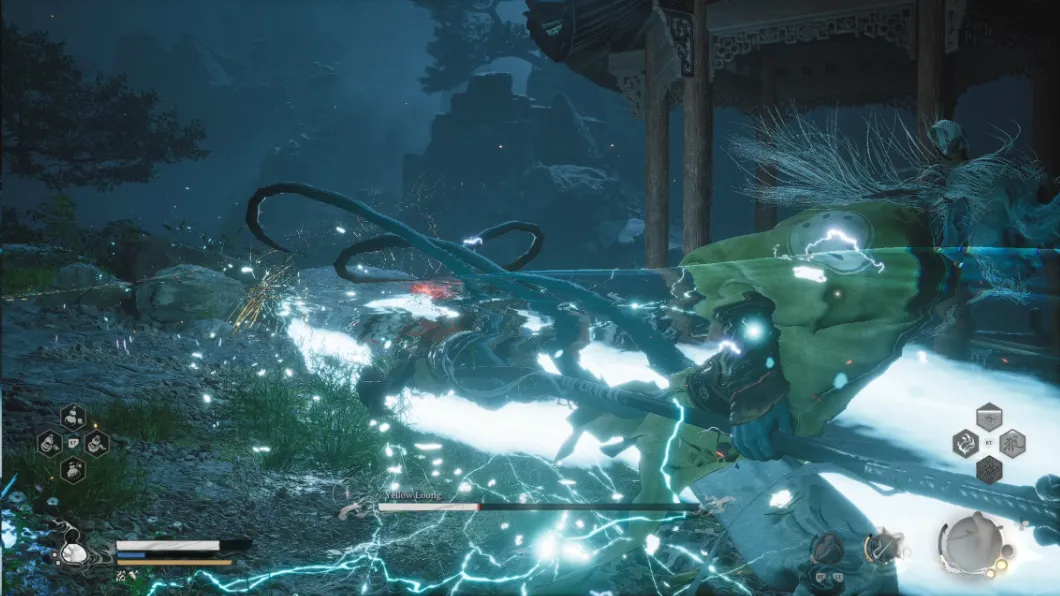
- This is a very challenging encounter! Here are a few quick tips.
- As his health gets lower, Yellow Loong further enhances his combos. For example, he opens the fight with a charge, followed by a slash. Later in the fight he charges, slashes, then whirls back before leaping down to strike the Destined One, taking this from a 2 hit combo to a 4 hit combo. Later on, he begins adding another 2 quick strikes extending the combo to a total of 6 hits. The additional complexity makes the boss increasingly lethal the lower his health gets.
- He can See Through your attacks, glowing blue and teleporting in the air as your strike phases through him harmlessly before crashing down to attack again.
- The Spirit Non-Able is an effective tool for staggering the boss and giving you more damage uptime.
Check out our dedicated guide on how to beat Yellow Loong to learn more!
Empowered Aerial Sequence

- Yellow Loong charges his weapon with lightning before rising into the air and executing a series of swoop attacks. He charges back and forth several times before rising higher to slam down and deal massive damage.
- Cloud Step is a highly effective counter to this move. The boss is distracted and wastes most of his time attacking the clone. However, he is likely to target the Destined One with the slam attack so be prepared to dodge right at the end!
- At low Health Yellow Loong extends this combo by vaulting back into the air to execute the slam several more times. Watch the boss closely and continue dodging these attacks as they do lethal damage!
Key Rewards
- Red Loong rewards you with a key component of the Loongwreathe Staff.
- To craft the weapon you need a second key component after defeating Black Loong.
- Cyan Loong gives you the Breath of Fire soak and a key component used to upgrade the Loonwreathe Staff into the Golden Loong Staff.
- Yellow Loong gives you the second component in addition to a powerful transformation spell. The Golden Loong Staff is a powerful endgame weapon which summons a Loong when you execute a Heavy Attack by spending 3 or 4 Focus while in Pillar Stance.
Video Guide
Check out this video guide by Tenkiei to learn how to find the Loong Scales and beat Red Loong, Black Loong, and Cyan Loong.
Summary
Obtain the Loong Scales in Chapter 2 then embark on an epic journey to defeat these optional bosses, use the boss tips in this guide to defeat Red Loong, Black Loong, Cyan Loong, and Yellow Loong!
- Obtain the Loong Scales from the boss arena where you fight the First Prince of the Flowing Sands.
- Find Red Loong in the Forest of Wolves and defeat him by targeting the contraption on his back.
- Black Loong is located in the Fright Cliffs, learn how to dodge the shockwaves during his transitions to beat him.
- Cyan Loong is found behind the Shrine on Turtle Island, beware when he charges his weapon with electricity!
- After beating the first 3 Loongs, challenge Yellow Loong at the hidden Shrine in the Webbed Hollow. This boss is extremely dangerous because he adds new moves to his combos, or chains additional attacks as his health gets lower.
- Check out our dedicated guide to learn more about how to beat Yellow Loong!
Written by: Tenkiei