How to Beat the Yellow Wind Sage
Last Updated:September 10, 2024|Changelog
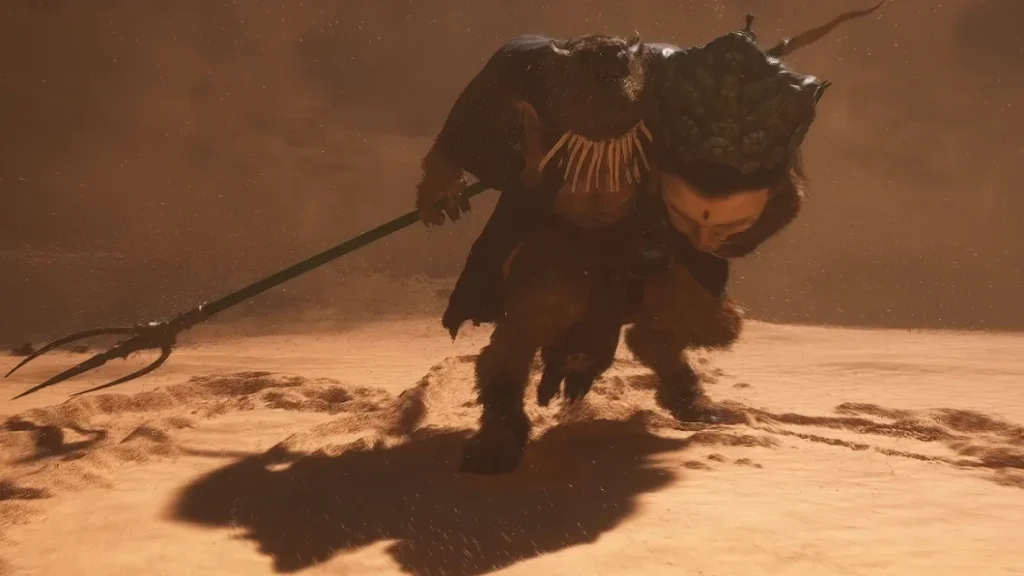
The Yellow Wind Sage is the final boss of Chapter 2, found after defeating the Tiger Vanguard or Stone Vanguard. This challenging battle unfolds over three distinct phases, the lower the Yellow Wind Sage's health gets, the more desperate and dangerous his attacks become. He harnesses the winds of Sahali to enhance his attacks making him particularly vulnerable to the Wind Tamer Vessel.
Preparation
- To give yourself an advantage in the fight, obtain the Wind Tamer Vessel by completing the Yellow-Robed Squire's quest and defeating Fuban. Use this to temporarily stagger the boss and dispel his sandstorm. This makes the fight much easier, especially when used in the final phases of the fight!
- Having a good weapon helps you burst down the boss when his health is low. You can get a Staff upgrade by beating Black Loong or Shigandang, two optional bosses in Chapter 2.
- If you're struggling to land Heavy Attacks and interrupt the boss, use Thrust Stance to give yourself more range.
Learn more about how to get the Wind Tamer Vessel with our Yellow-Robed Squire Quest Guide!
Yellow Wind Sage Move Set
The Yellow Wind Sage is highly mobile and tends to chain multiple attack sequences together. This is another fight where fighting aggressively pays off. Don't blindly spam your attacks, but stay close to the boss and dodge left, right, or forward to keep the pressure up and punish recovery animations. Because the boss becomes more dangerous as his health lowers, you should save your Mana and other resources until the later phases. Here are some of his most common moves and how to counter them.
Basic Moves
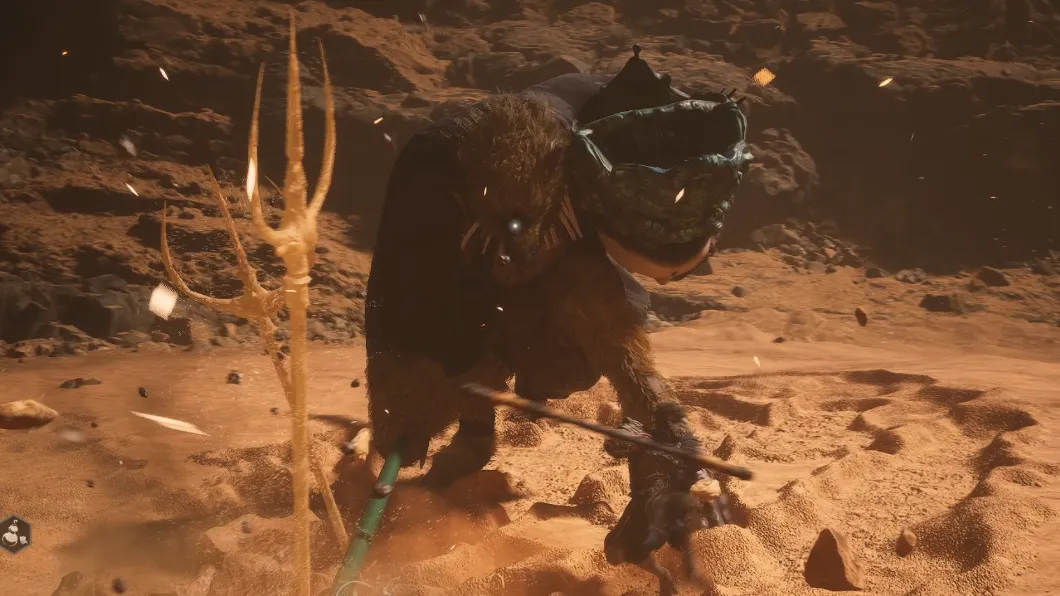
- The Yellow Wind Sage frequently uses a basic combo where he chains several sweeping strikes from his spear, ending by slamming his weapon into the sand causing blades to erupt. Dodge to the side, or roll through the boss to avoid the sequence. His recovery on the final attack is pretty long which gives you a generous window to punish the boss.
- Note: Sometimes he uses the final attack in the sequence on its own. Unfortunately, the timing on this is such that if you are in the middle of your Light Attack combo, you usually get hit during your Finisher. To avoid this, watch the boss closely as you start your attacks, then dodge before executing the Finisher.
- In addition, the Yellow Wind Sage uses a variety of jump attacks, slashes, and stomps. Stick close to him and dodge left or right to keep pressure up on the boss. Pay special attention any time his weapon or body starts glowing as these attacks cause a shockwave or end with blades erupting from the sand to impale you.
- If you allow him to fight from a distance the Yellow Wind Sage enhances his attacks with blades of wind, making them significantly harder to avoid.
Phase 2
- Upon reaching 66% health, the Yellow Wind Sage begins his first transition, spinning his weapon to summon a sandstorm before fading into the storm as he summons mirages to attack the Destined One. You need to avoid the attacks from two separate mirages before the boss reappears and gains some dangerous new moves.
- The first mirage summons a line of spears and then attacks you with its weapon. Time your dodge to avoid damage, you can't kill the mirage so just focus on avoiding damage.
- The second mirage leaps towards you striking the ground, and then returns to strike again. Dodge both strikes as the mirage approaches.
- Sometimes the boss jumps outside of the arena, you can either run away to coax him back or try using the Wind Tamer Vessel to dispel the sandstorm and get to the boss. Be warned, if you use the Vessel it probably won't be up in the last phase!
New Moves
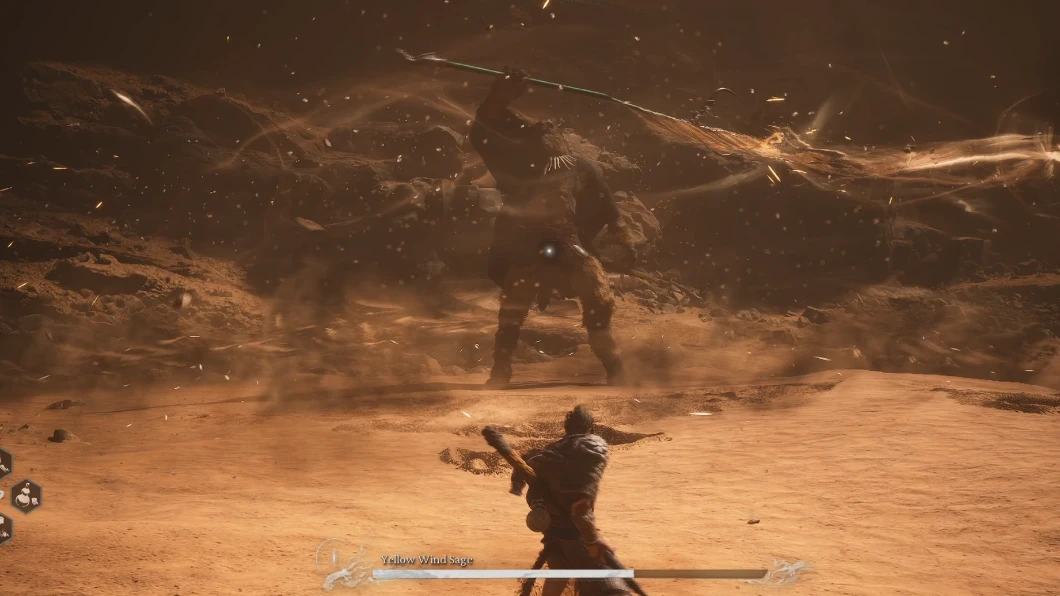
- He begins using the same attack as the second mirage, whirling towards the Destined One with a sweeping strike before turning to dive back and attack again. Dodge both strikes, don't worry about damage while he's doing this.
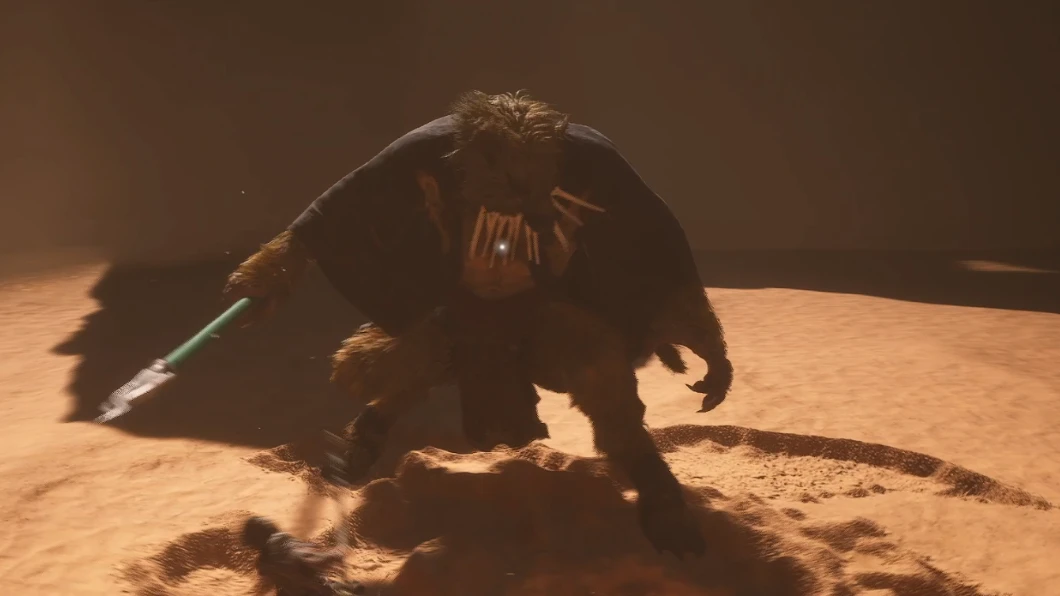
- The Yellow Wind Sage's grab attack is difficult to avoid and does significant damage. Keep your health topped off using your Gourd and pay close attention to his stance. He lowers his stance before kicking the Destined One. If the kick connects you are punted into the air before being impaled by his spear and stomped on.
- If you are spamming attacks it can be difficult to catch this move, especially if he starts the grab when standing still. The most reliable tell here is when he lowers his stance crouching down a bit, he's about to execute this attack. Keep your health topped off to avoid dying to this.

- During this phase, the boss begins summoning sand mirages of Fuban. This gigantic beetle Guai crashes down dealing damage on impact. It hangs in the air for a bit, so make sure to dodge right before impact. While this attack certainly looks intimidating it's not as dangerous as many of his other moves.
Phase 3
The Boss has another transition around ~33-25% health. He channels wind and summons a tornado which wanders around the arena making the fight even more dangerous. You can use the Wind Tamer Vessel to stun the boss here and disrupt his sandstorm making this phase much easier! If you're struggling with this phase, save your Mana to cast Pluck of Many or use a Transformation to give yourself extra health.
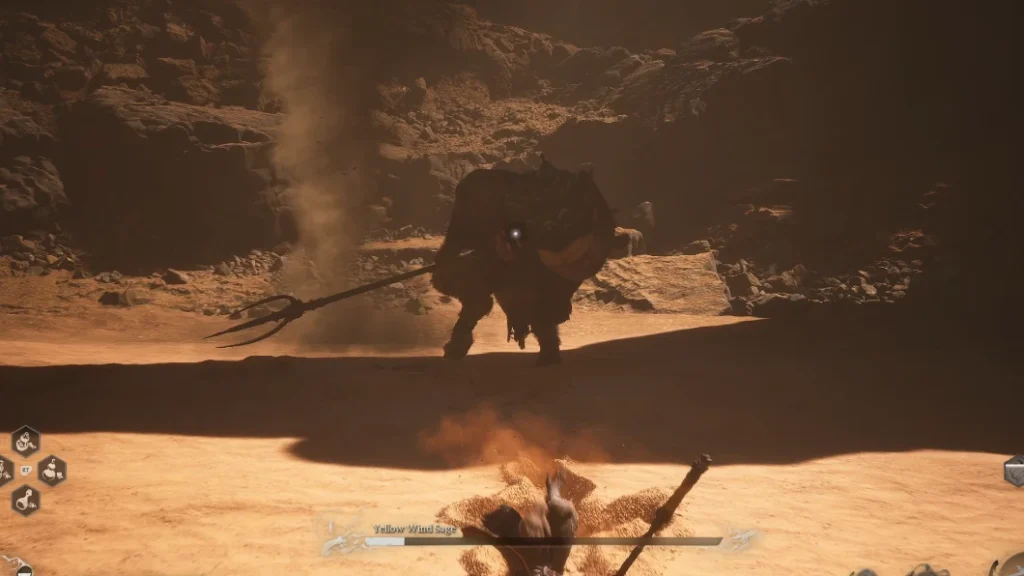
- Your goal is to maximize damage to make this phase as short as possible. Do your best to avoid fighting near the tornado as if you get knocked into it you can be juggled by the boss and die without having a chance to recover.
- If you use the Wind Tamer Vessel to stun the boss, this is a good time to cast Pluck of Many. Follow up with a charged Heavy Attack to give your clones more damage uptime.
- Use a transformation like Red Tides to protect your health bar and gain extra mobility. Alternatively, you can use something like Azure Dust to tank a lot of damage.
- While rare, he may disappear into the sandstorm summon mirages in this phase. Be careful as they're significantly harder to avoid, countering him with the Wind Tamer Vessel seems to prevent this.
Key Rewards
Defeating the Yellow Wind Sage grants you your second Relic, Fuming Ears, materials to make a new weapon, and entry into Chapter 3.
Video Guide
If you want to see the Yellow Wind Sage's move set in more detail check out this video guide by Tenkiei.
Summary
The Yellow Wind Sage is your final challenge in Chapter 2 of Black Myth Wukong. He is a powerful combatant who bends the winds of Sahali to his will, use your Wind Tamer Vessel to dispel his sandstorm making the fight much easier.
- Stick close to the Yellow Wind Sage and dodge left, right, or forward to deal damage while avoiding his attacks.
- If you dodge backward you are likely to get hit by the blades which erupt from the sand following several of his moves.
- At 66% Health the boss transitions fading into the sandstorm and summoning mirages to attack you, dodge these strikes.
- After the transition, he becomes more aggressive and begins using new moves.
- Watch for when he lowers his stance to dodge his grab attack, or alternatively top your health off to survive if you get hit.
- When he summons a mirage of Fuban, dodge right before it impacts with the ground to avoid damage.
- At ~33-25% Health the Yellow Wind Sage summons a tornado and begins actively using sand mirages. Use Pluck of Many, along with your Transformation and other spells to deal damage and end the phase quickly!
- The Wind Tamer Vessel dispels his sandstorm and temporarily stuns the boss! Use it to get through the dangerous last phases!
Written by: Tenkiei
