How to Beat the Stone Monkey and Great Sage’s Broken Shell
Last Updated:October 1, 2024|Changelog
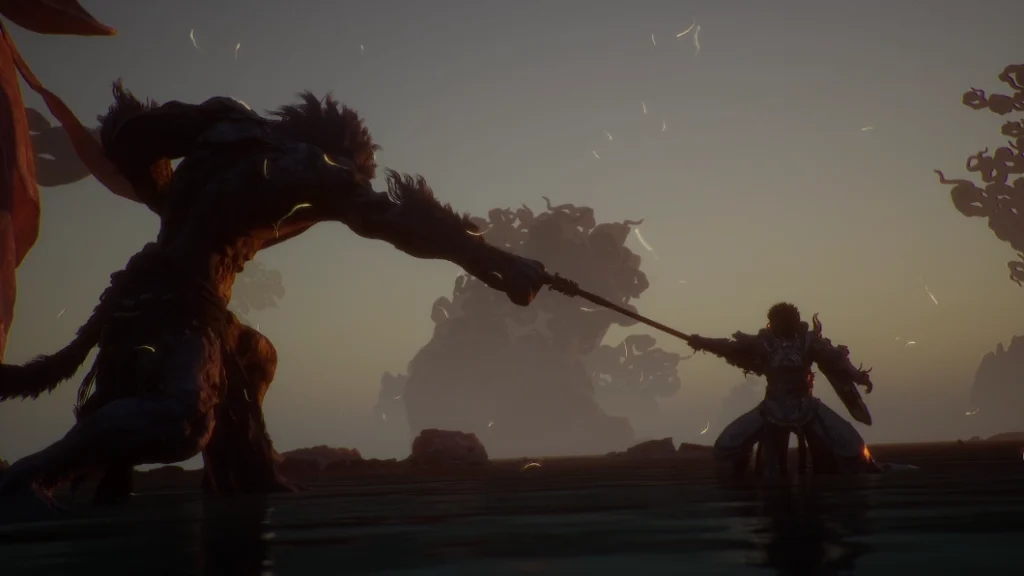
Before you complete your journey, your final challenge is beating the Stone Monkey and Great Sage's Broken Shell. These boss battles are a culmination of everything you've experienced so far. The Stone Monkey has slow and methodical attacks many of which create a shockwave that ripples out from the point of impact. On the other hand, the Great Sage's Broken Shell is what remains of Wukong, therefore his move set mirrors your own making him an especially difficult foe to defeat!
Pro Tip: The Plantain Fan is highly effective against both bosses!
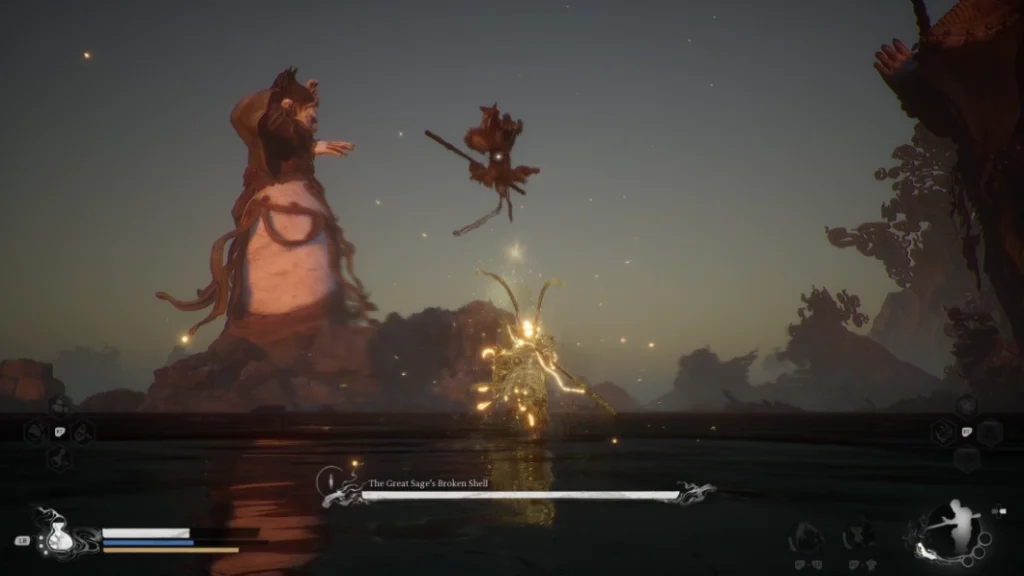
The Stone Monkey
Your fight with the Stone Monkey takes place over two phases. At the start of the fight, he imbues his attacks with ice, chilling the Destined One whenever a hit connects. When you get his Health to 0%, he heals to full, infuses himself with both ice and fire then gains a few new moves. While the Stone Monkey doesn't have many moves they do hit quite hard and there's a lot of AoE you need to avoid. He's most dangerous below 60% Health in the second phase so try to have most of your resources up for that portion of the fight. The following sections go over the most dangerous moves from both his phases.
You should bring whichever build you're most comfortable with into the fight, but if you're looking for ideas, Pillar Stance is an effective way to counter a lot of his shockwaves. With Pillar Stance, you can use Churning Gale to get a good amount of damage on the boss since he attacks slowly. In addition, the Azure Dome transformation obtained from Erlang is a great way to deal damage to the boss.
Immobilize is ineffective but you can use Ring of Fire to heal yourself and build Focus for your Varied Combos. Since these fights go on for a while you can use the Gilded Radiance set to generate Qi allowing for more uses of your Spirit and Plantain Fan. After you beat the Stone Monkey you are taken directly into the Broken Sage fight, but if you die there's a Shrine where you can switch up your build to optimize for that encounter later.
Phase 1, Ice
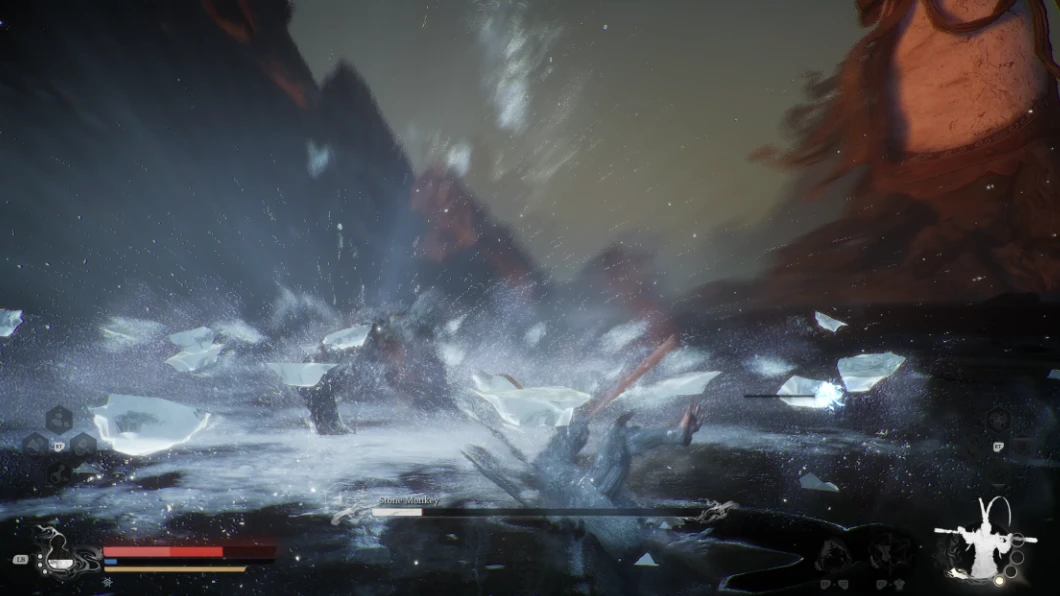
- Most of the Stone Monkey's basic attacks are slow which makes them easy to avoid. However, even if you dodge the initial attack you often need to dodge again to avoid the shockwave it generates.
- He has a particularly nasty ground pound attack that causes shockwaves to ripple out, dodge through, or jump over each wave. Alternatively, use the Pillar Stance Heavy Attack to sit atop your staff and avoid them entirely.
- Sometimes his attack sequences have a double AoE.
Heavy Attack Counter
- When you use a Heavy Attack there's a chance the Stone Monkey counters it using a move similar to Cloud Step. He leaves behind a decoy which fades away, then attempts to strike at the Destined One.
- This means it's better to spend most of your Focus on Varied Combos as opposed to Charged Heavy Attacks.
- Alternatively, if you stagger him or use the Plantain Fan this presents an opening where he can't counter.
Rock Solid Deflection
- The Stone Monkey can use Rock Solid, he turns his skin to stone deflecting your next attack. You can counter this by not attacking him when he hardens.
- If you attack, he retaliates and if the counterattack lands this results in a long highly damaging grab sequence. When you hit the boss by accident get away immediately to avoid the grab!
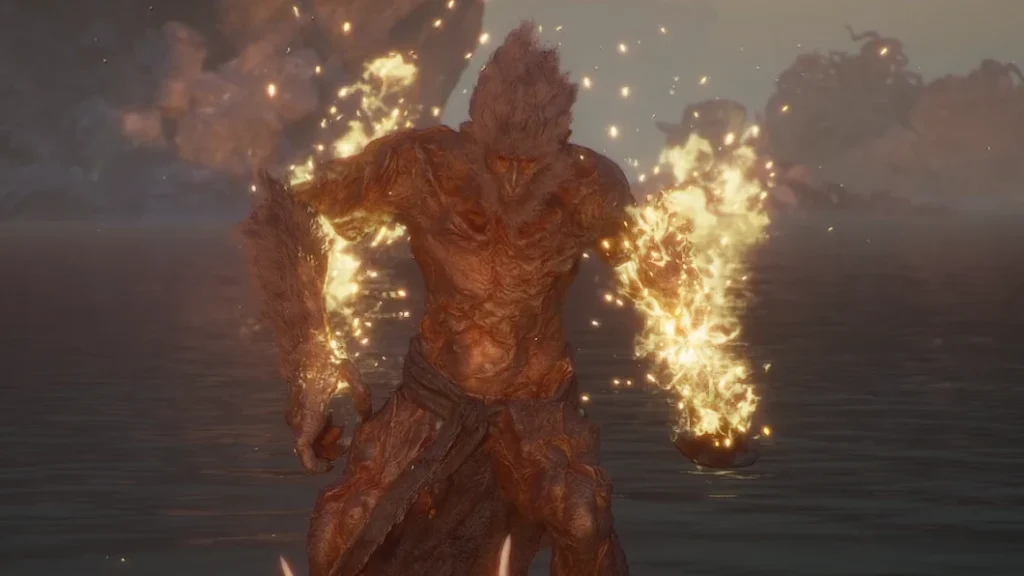
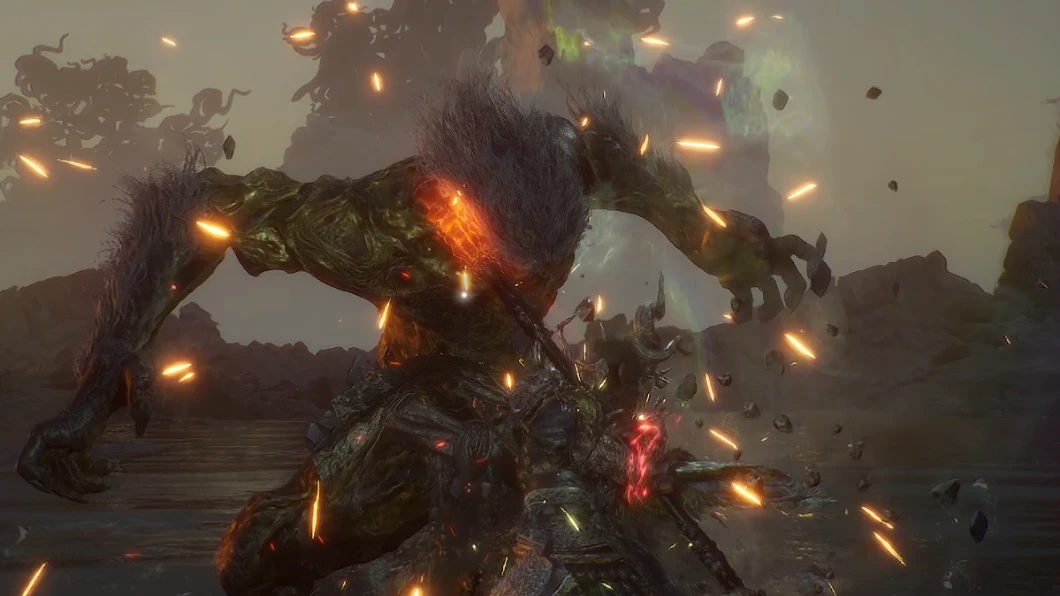
Phase 2, Fire and Ice
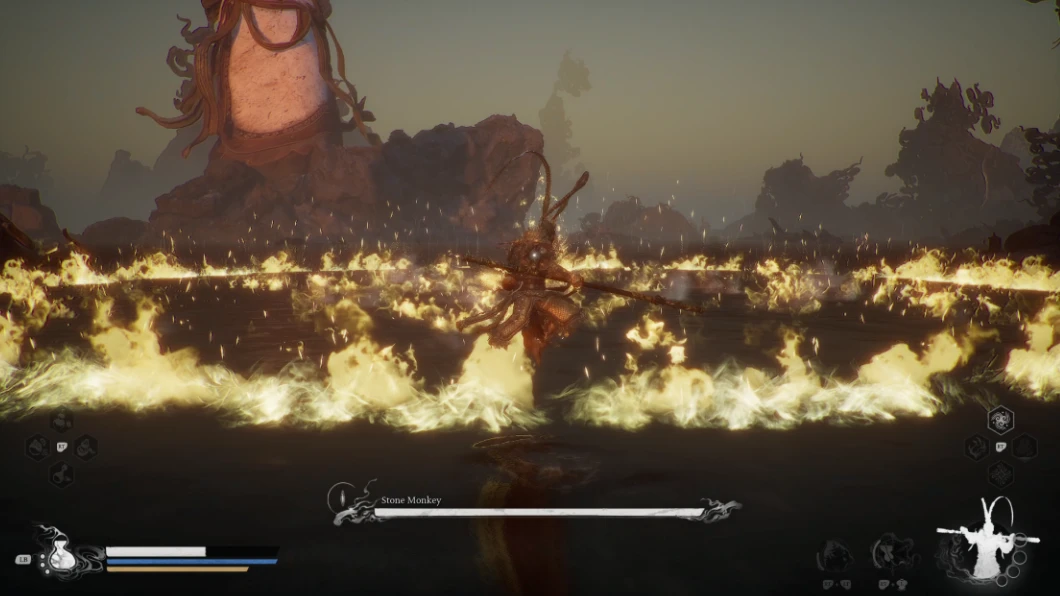
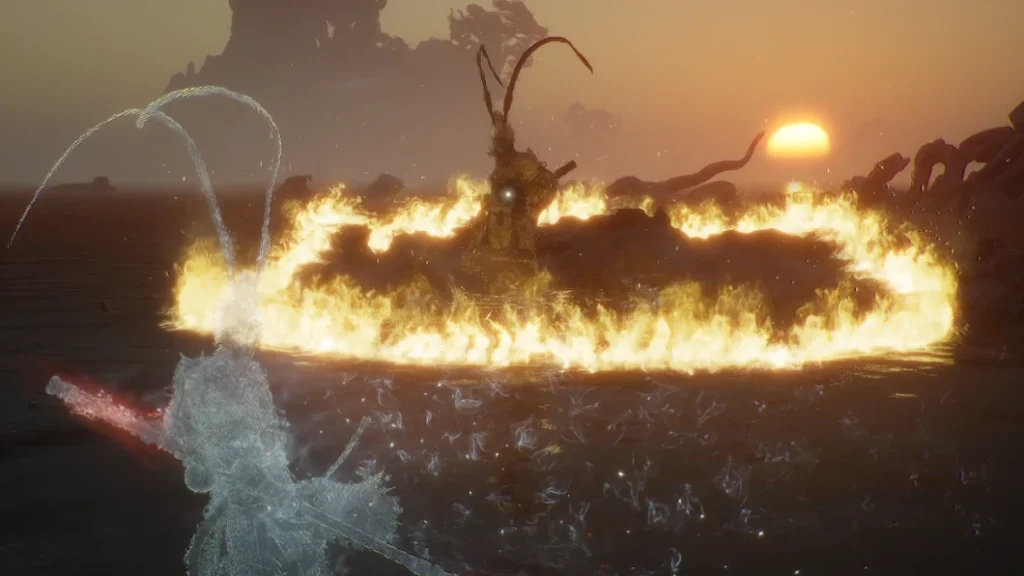
- At this point, the Stone Monkey continues using all of his ice moves and in addition, begins using their fiery counterparts. These cause rings of fire to expand outwards from his attacks, dodge through the rings, jump over them, or use Pillar Stance to avoid damage.
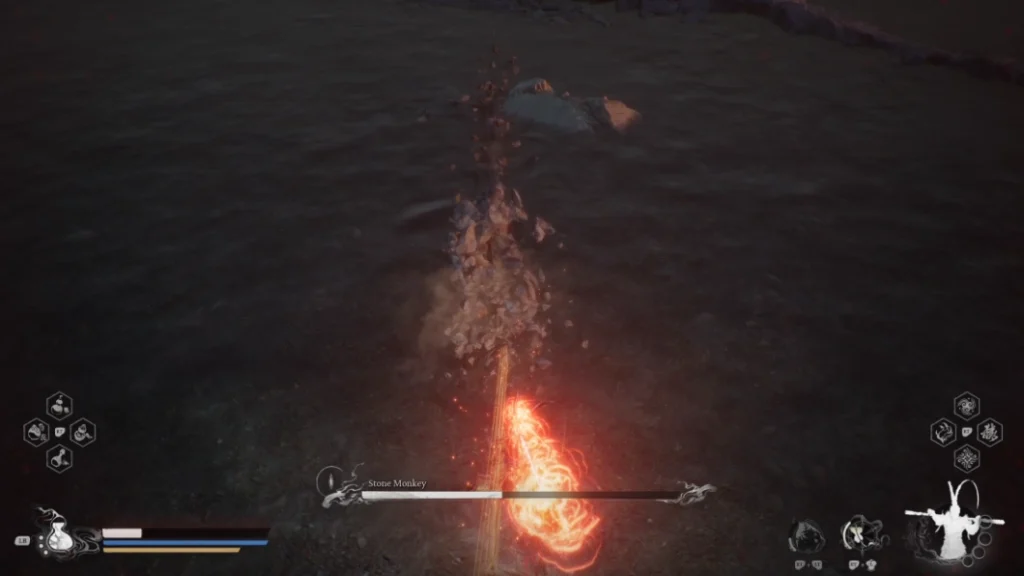
Fiery Heavy Attack Counter
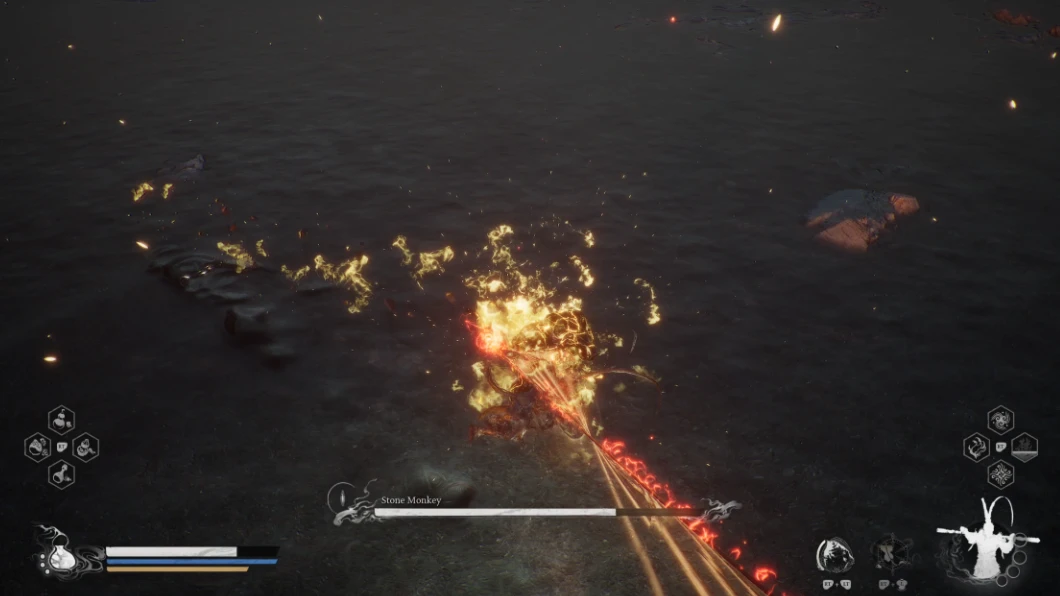
- The fire version of his Heavy Attack counter is more difficult to deal with than the ice version. This time he strikes the ground creating an expanding ring of fire which you need to avoid.
- However, after a short duration, the ring collapses towards the Stone Monkey dealing damage a second time as it passes. This means you need to keep an eye out for the ring as it returns then avoid it again!
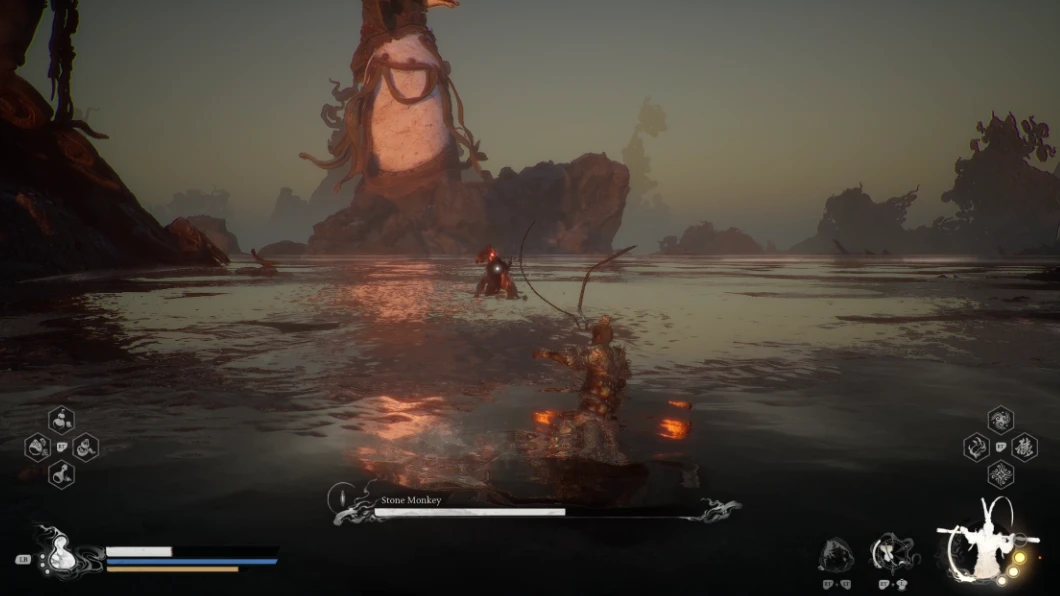
Summon Duplicate
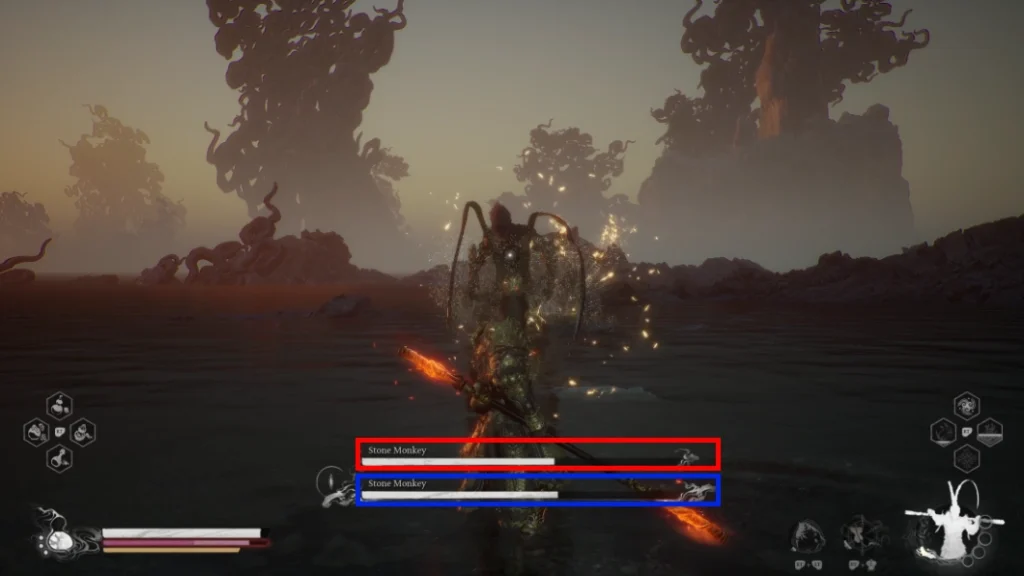
- At 60% Health, the Stone Monkey pulls some of his hair to summon a duplicate. This makes the fight very chaotic as both the boss and his duplicate attack!
- To tell which is which simply attack them.
- If you see the upper health bar depleting (marked in red), that's the duplicate.
- On the other hand, if you see the lower health bar (marked in blue) move, that's the real boss!
- You can either focus down whichever lets you, or specifically target the main boss to end the fight earlier.
Jump Attack Combo
- During phase 2 the Stone Monkey uses a jump attack combo. He begins this with an icy leap, then pounds the ground twice releasing a fiery shockwave each time. Do your best to avoid being frozen by the initial leap as that makes it much harder to avoid the 2 waves of fire that expand from his next attacks.
After defeating the Stone Monkey for a second time, you're immediately taken into the Great Sage encounter. You heal, and your resources are replenished. Luckily if you die you do not have to redo the entire thing, instead, you get a Shrine where you can redo your build.
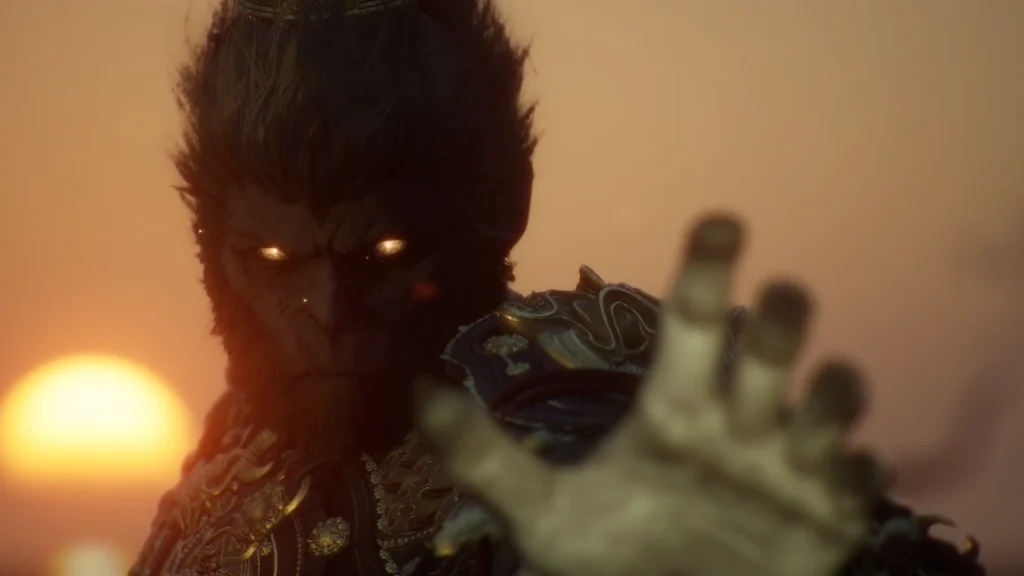
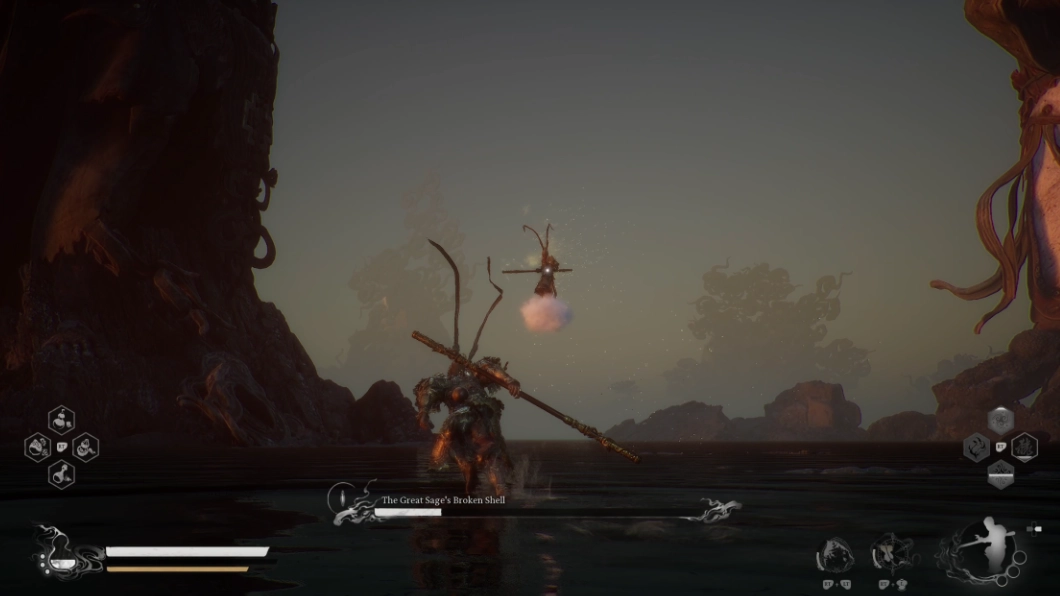
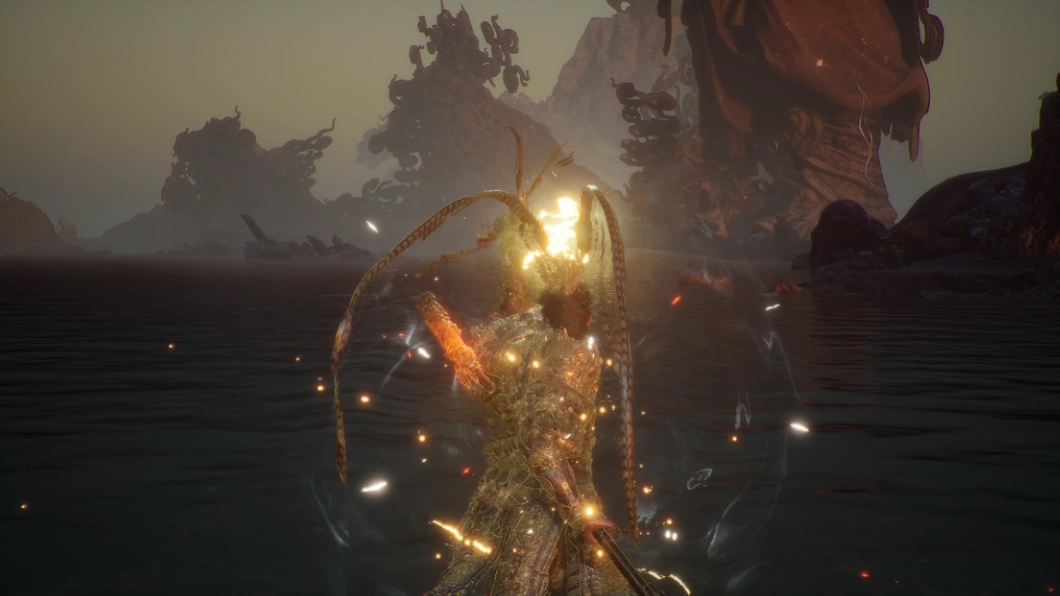
The Great Sage's Broken Shell
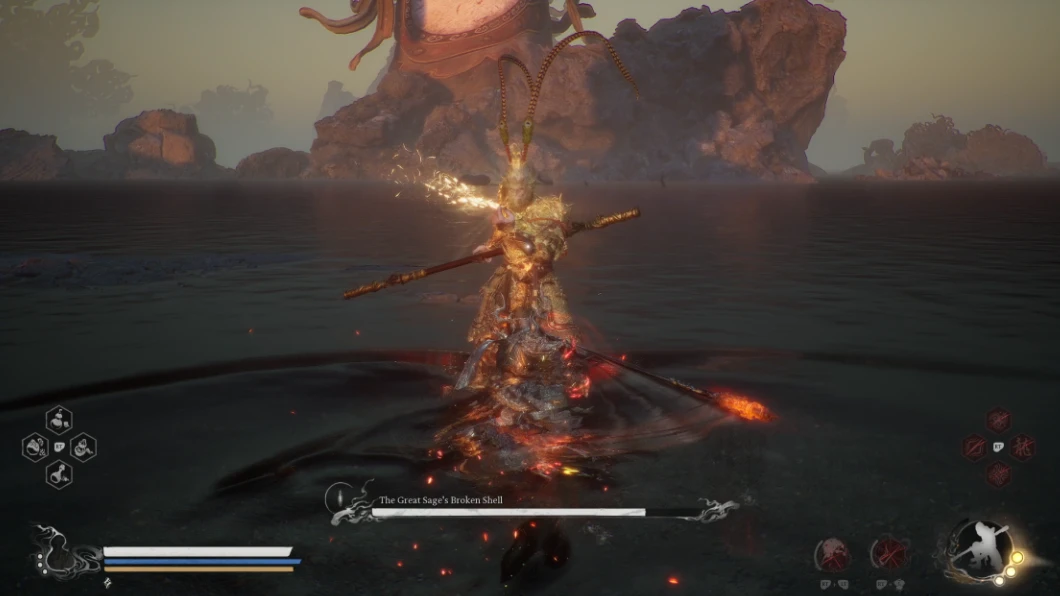
This is another two phase encounter. In the first phase, the Great Sage attacks you using various stance moves that mirror your own. After he reaches 0% Health, he empowers himself by drawing upon your relics, fully heals, and the fight enters its dangerous second phase. At this point, the boss augments his attacks with more abilities making him a formidable challenge. For the most part, he uses the same attacks in both phases, but there are a few attacks that are exclusive to phase 2.
Like with the Stone Monkey, Ring of Fire and the Plantain Fan are both effective against the Great Sage. Because his move set mirrors your own, you're already familiar with most of his basic attacks. But the way in which he chains them is nothing short of relentless! He can unleash multiple charged heavy attacks from different stances back to back and they do massive damage.
The Great Sage's Broken Shell is also an extremely evasive boss which makes it difficult to land a blow and he can evade your Charged Heavy Attacks. To counter this, you should use Smash Stance, the Varied Combo Resolute Strike can see through the boss allowing you to get a hit in while he's mid attack! Chain this into a Skyfall Strike to deal more damage and hopefully evade the boss's next attack. If you're comfortable with Spell Binder this is another effective way to take down the boss.
Perfect Dodge
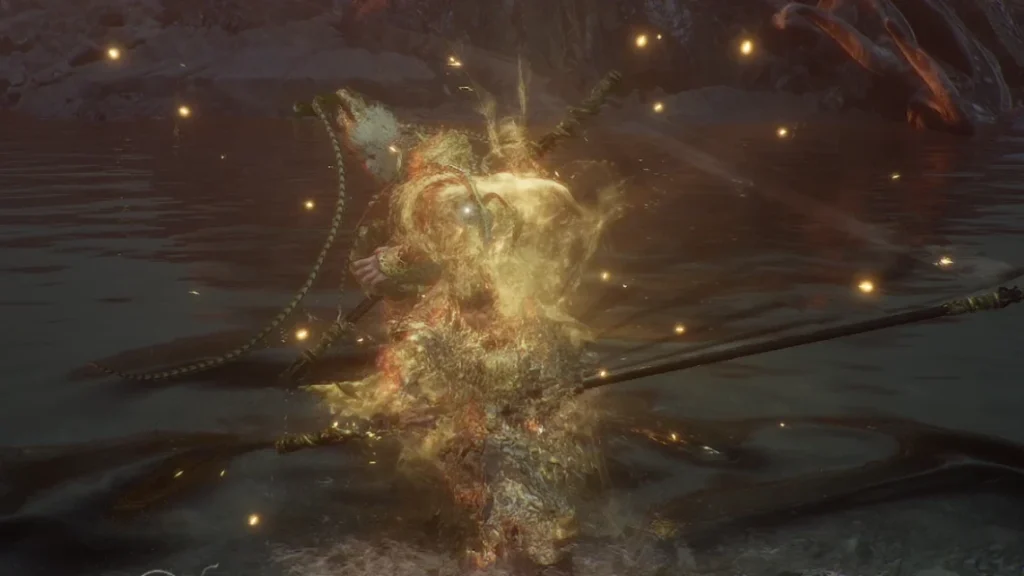
- The Great Sage's Broken Shell frequently dodges your attacks. When he does he leaves behind a golden afterimage that explodes after a short duration. If you attack him twice consecutively while he dodges, he's likely to combo this into his Weapon Throw.
- When you see him dodge, get away and stop attacking for a moment.
Weapon Throw
- Unfortunately, the Destined One doesn't have any ranged attacks, but the same is not true for the Great Sage. He throws his staff which hurtles out to deal damage before returning.
- This is pretty easy to dodge.
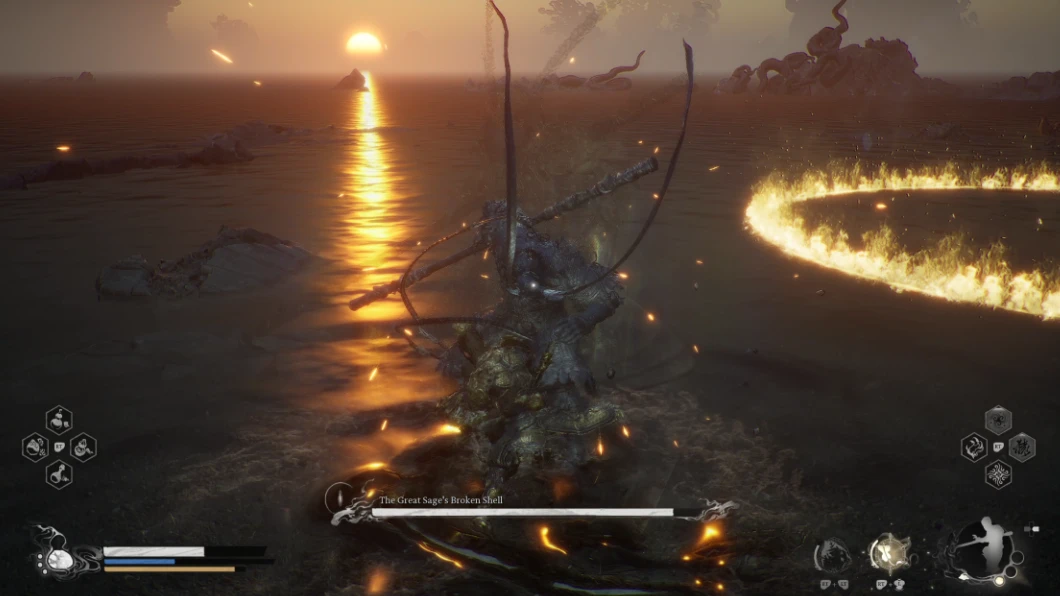
Ring of Fire
- The Great Sage's Broken Shell has access to all your spells and this includes Ring of Fire. When he casts this, he gets a damage reduction from standing within the ring so you should try to move him away.
- However, you can stand within the ring to gain Focus. Ideally, you want to be within the ring while keeping the boss outside of it. But it's not the end of the world if he stands in the ring for a short time.
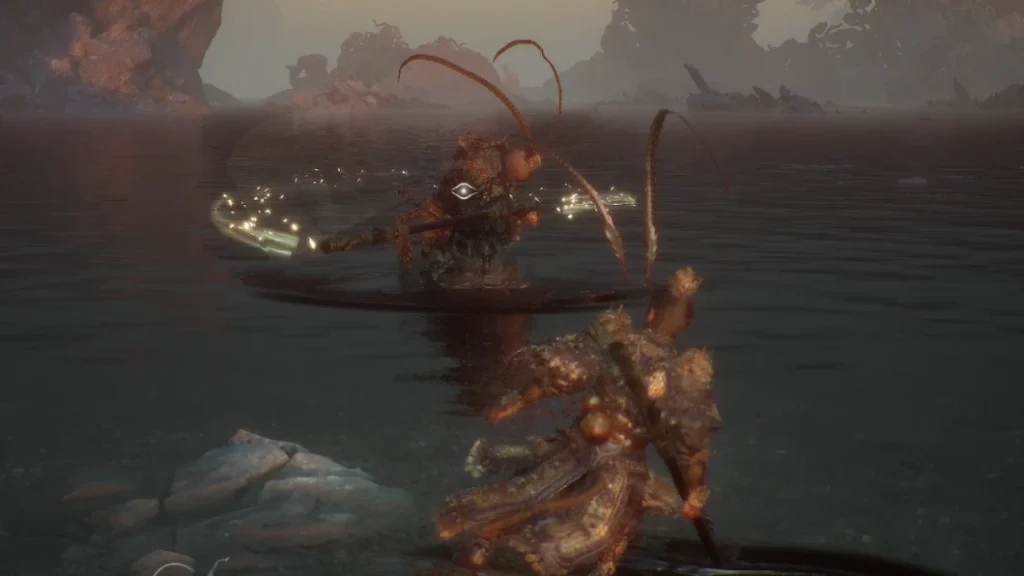
A Pluck of Many
- He also casts A Pluck of Many, which summons a series of duplicates that attack the Destined One in sequence.
- Each duplicate attacks once but they hit pretty hard so you should time your dodges to avoid as many of the strikes as you can.
Staff Hop
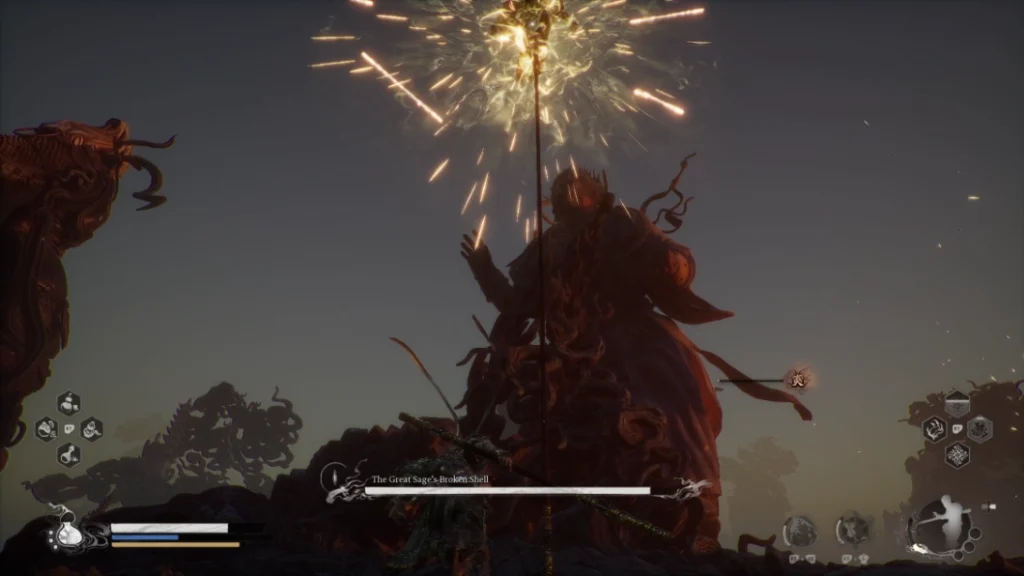
- The Great Sage's Broken Shell frequently uses a Pillar Stance style move where he hops onto the top of his staff and then hurls a series of staff projectiles down at you before landing with a finisher.
- Use Staff Spin to deflect the projectiles then dodge the Finisher. Alternatively, you can Sprint to avoid the projectiles.
Deflect Counter
- Like the Stone Monkey, the Great Sage also uses Rock Hard to deflect your attacks and start a brutal grab sequence. Try to stop attacking when he turns to stone, but if you hit him by mistake dodge away to avoid the grab!
Immobilize
- During phase 2, the Great Sage casts Immobilize. Sometimes he combos this into an attack sequence, but if you're far enough away he just watches you in a bit of a stand-off. You can use Cloud Step to counter this or wait it out depending on how much health you have.
Cloud Strike
- Sometimes in Phase 2, the boss hops onto his Somersault Cloud, resulting in a charge attack where he swoops down to your location and strikes. If you dodge as he gets close, you can avoid the attack.
Low Health Cutscene
- When the boss gets to around 10% Health in Phase 2, be careful of taking a drink. He can use Immobilize to freeze you in place then steal your Gourd, taking a swig for himself in the process.
- You can use Cloud Step to safely drink when the boss is low.
Video Guide
If you want to see more on how to beat the Stone Monkey and Great Sage's Broken Shell, check out this video from Tenkiei.
Summary
Before you complete your journey you need to defeat the Stone Monkey and the Great Sage's Broken Shell. You need every tool at your disposal including Stances, Vessels, and Varied Combos to beat this final challenge!
- The Stone Monkey begins by attacking you using ice.
- During his second phase, he also weaves in some fire moves.
- Then you battle against the Great Sage's Broken Shell, the boss uses all of the moves and Spells you've become familiar with along your journey.
- When his Health reaches 0%, he draws upon Wukong's Relics to empower himself and enter the dangerous second phase.
Written by: Tenkiei