How to Beat the Hundred Eye Daoist Master
Last Updated:September 15, 2024|Changelog
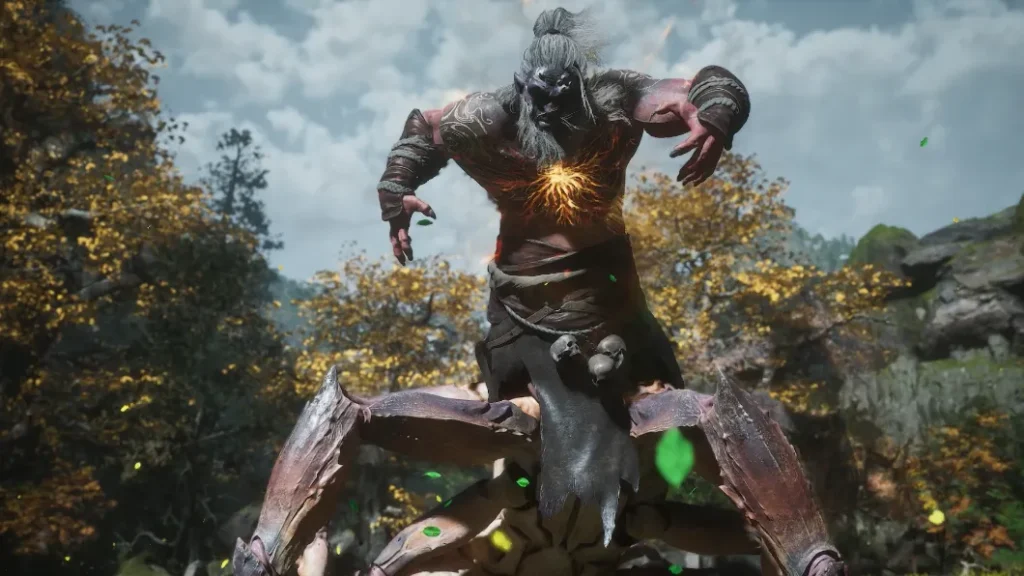
The Hundred-Eye Daoist Master is the final boss of Chapter 4 in Black Myth Wukong. This is a dangerous foe with a lot of health and several phases. We strongly advise that you complete Purple Cloud Mountain, the secret area in Chapter 4 to obtain the Weaver's Needle before facing the Hundred-Eye Daoist Master! This is very much a battle of attrition so try to save your resources for the last phase of the fight to ensure your success.
You can use the Golden Lining Transformation earned by defeating Yellow Loong to counter a lot of the Hundred-Eye Daoist Master's moves. If you don't have this, use Red Tides or Azure Dust.
Hundred Eye Daoist Master Move Set
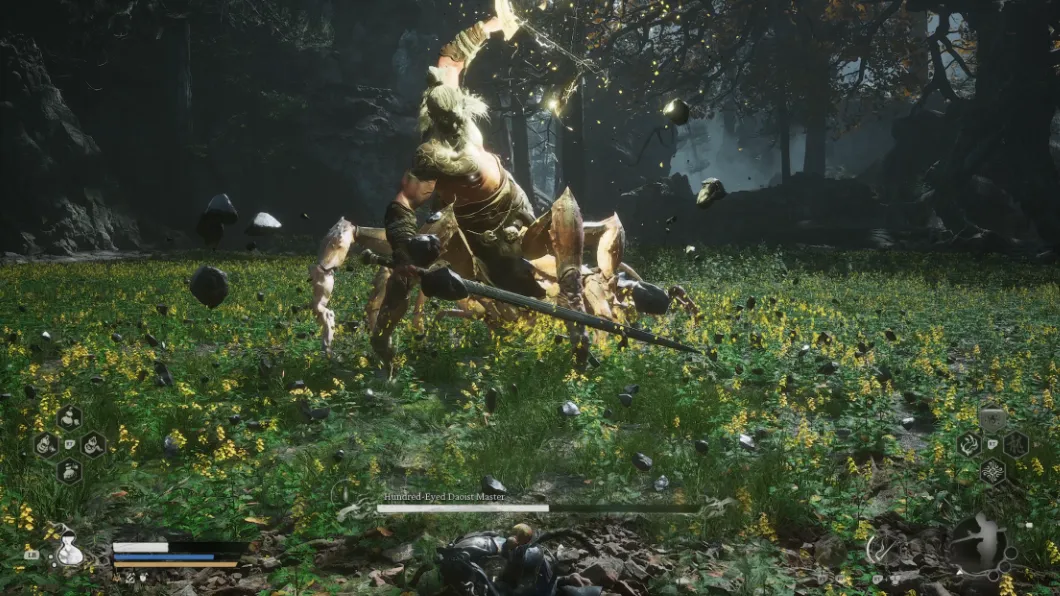
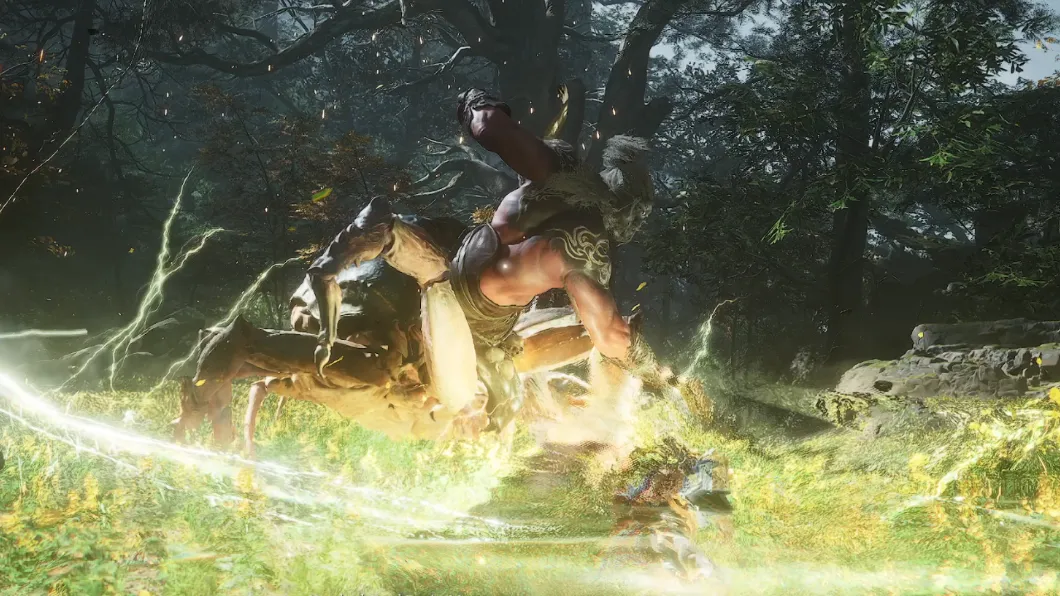
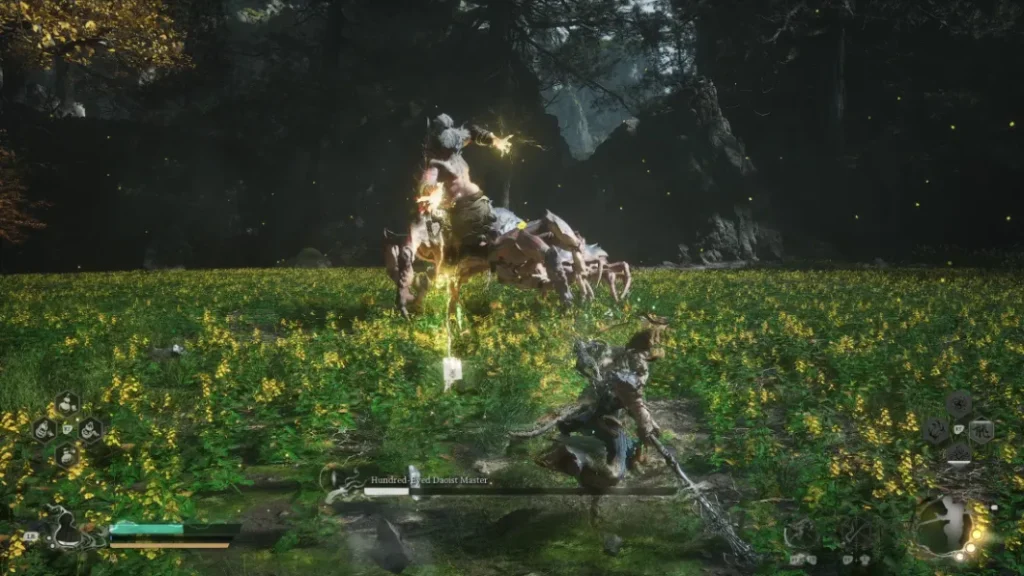
The Hundred-Eye Daoist Master attacks you with his front legs, throws charged talismans, and uses sweeping sword strikes. The first time you battle the boss, the Four Sisters assist you in their spider forms. After your first attempt, the boss starts at 80% Health, and there are no NPCs assisting the Destined One. You can use your Heavy Attacks to disrupt most of his sequences, just be careful with your timing and don't get hit while the attack charges. You should save most of your Mana for the second phase of the fight. Around 33% Health the boss does an incredibly dangerous transition, have your Weaver's Needle ready to dispel this! Here are some of his most common moves and how to counter them.
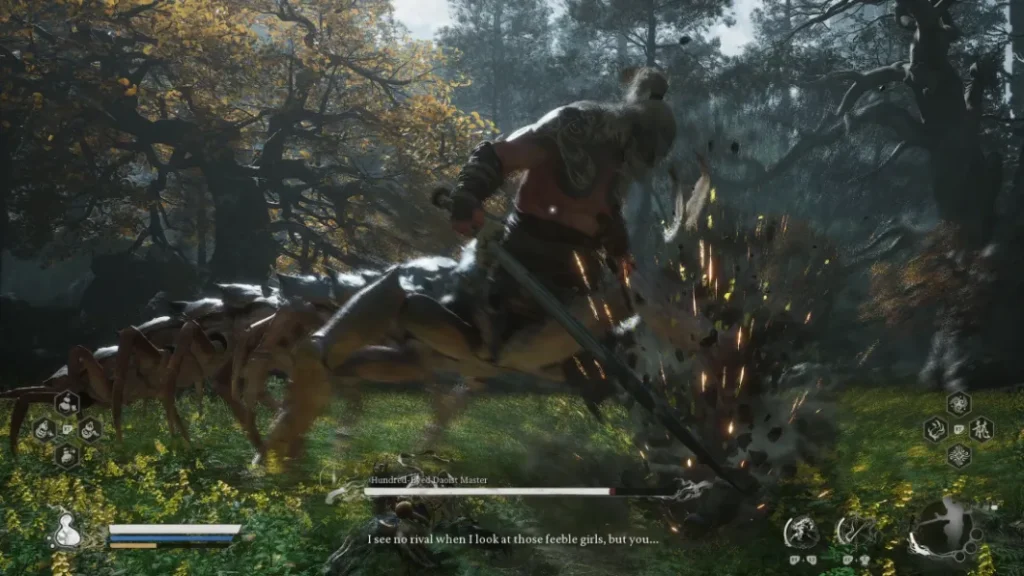
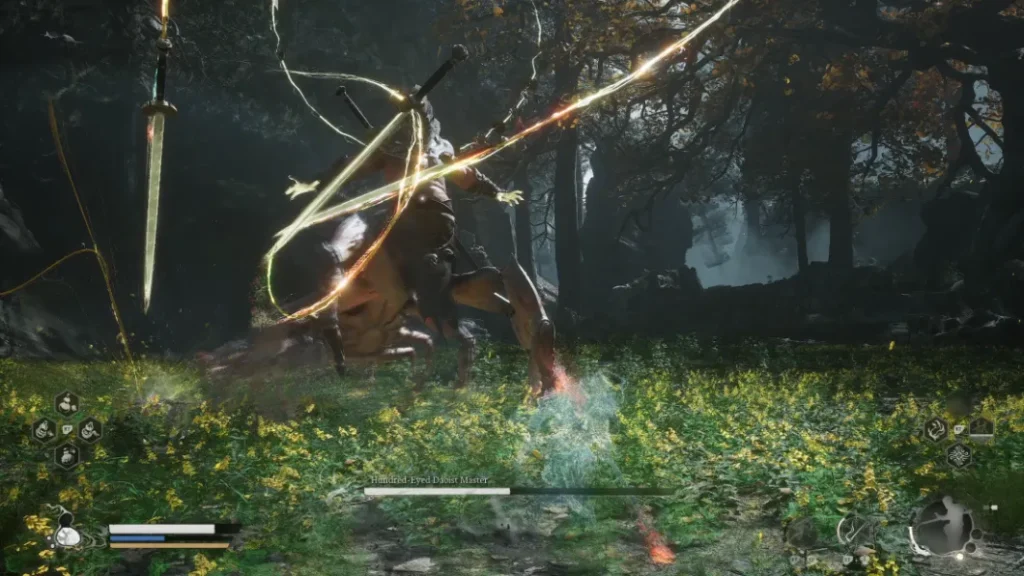
When the Hundred-Eye Daoist Master plants his blade in the ground as part of his attack sequence, be careful of attacking him from the front. His sword can deflect your strikes, temporarily staggering the Destined One. Try your best to attack the boss from his side or behind.
Poison Spit
- The Hundred-Eye Daoist Master rears up and then spits poison. This almost immediately inflicts the poison status so have some Anti-Miasma Powders handy and move out of the area of effect as quickly as possible! This has a long animation making it a great time to deal damage if you can get behind the boss without being poisoned.
Talisman Attack Combo
- One of the boss's more difficult attack patterns is a combo where he empowers his talismans and then sweeps them from right to left.
- Followed by sweeping them from left to right before spinning around before executing a long charge with his sword.
- The animation on the charge is quite long so it's easy to dodge too early and then get hit by the most damaging part of the attack.
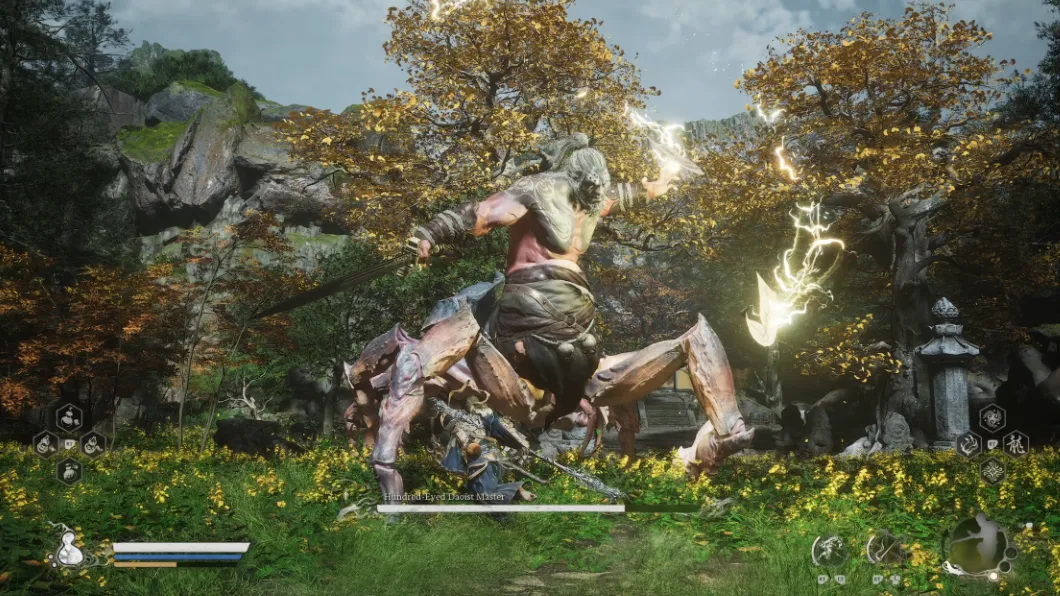
Talisman Lightning Strike
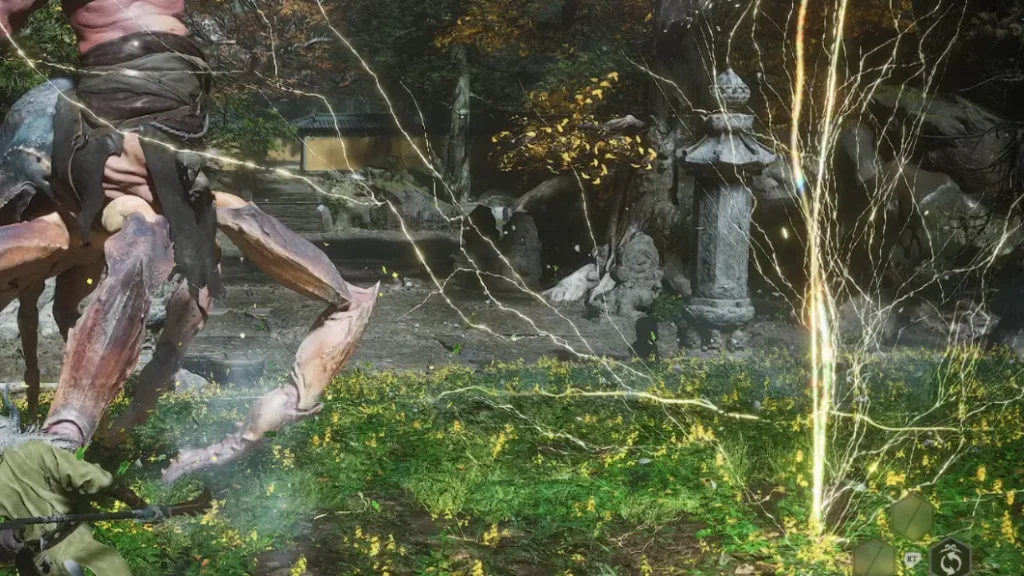
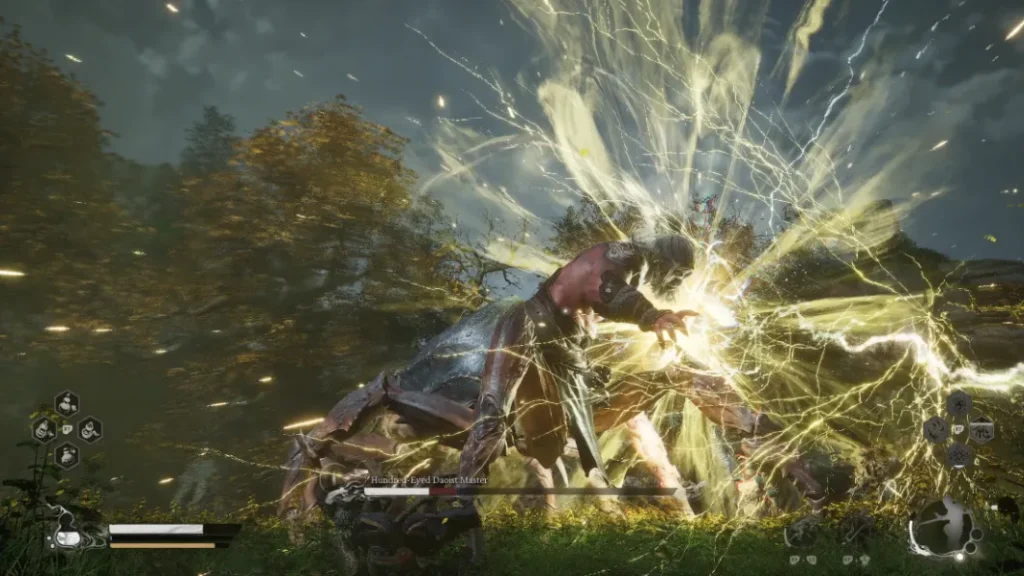
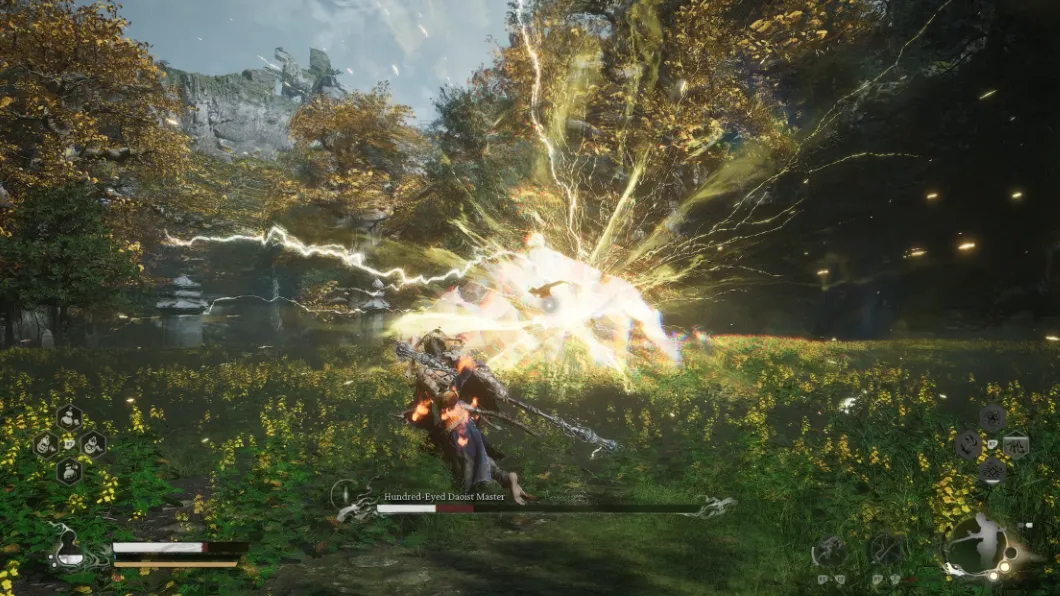
- When the Hundred-Eye Daoist Master charges his Talisman while focusing on a point in front of him he's about to unleash a large blast of electricity. This does significant damage and inflicts the Shocked status, get away from the boss or get behind him to deal some damage during the animation.
Talisman Blast
- The Hundred-Eye Daoist Master has a second talisman blast which is much more damaging. This one begins when he charges energy, causing pebbles around him to rise into the air. This is your cue to get away from the boss to avoid damage!
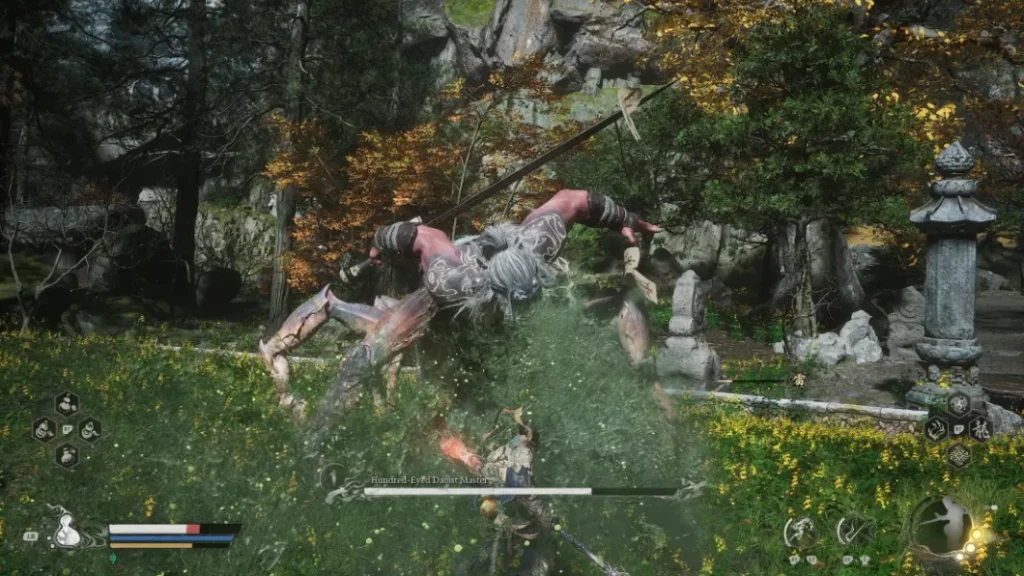
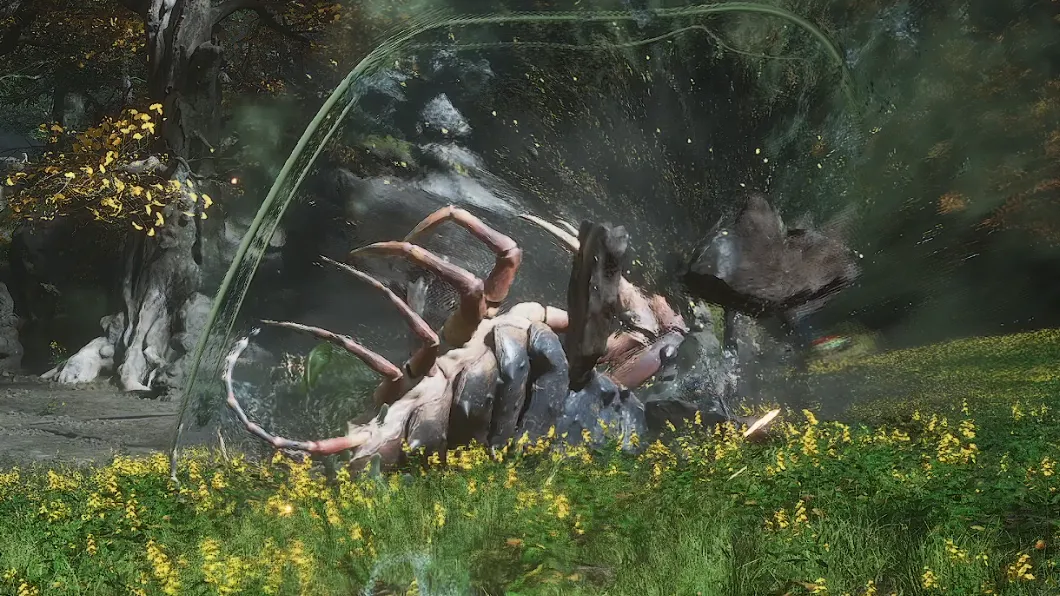
Dive Moves
During the early phases of the fight, the boss uses a variety of dive moves. They all begin the same way with the boss submerging himself but several end differently. If you're at low health you can use a Transformation or Cloud Step to safely negate the attack.
- First up the boss can stick his butt out of the ground to spew poison over the area, get away from the boss to avoid damage, and pop an Anti-Miasma Powder to remove the poisoned status if you need.
- Second, the Hundred-Eye Daoist Master surges out of the ground in an attempt to grab the Destined One. Watch the fractured ground as he approaches you and dodge to avoid the grab.
- Third, he brings his sword down on your location dealing some damage before he emerges to grab the blade. It's difficult to see the sword but try to dodge before it lands.
Second Grab
- As his health gets closer, the Hundred-Eye Daoist Master gets a second grab move his right hand glows red then he reaches down to grab the Destined One to use a skull-crushing move. This has a very short animation making it difficult to avoid but isn't highly damaging.
Charged Blade Beam
- The Hundred-Eye Daoist Master has another talisman-empowered sword sequence similar to the charge sequence he used earlier in the fight. He sweeps from both sides with his talismans, firing blades of energy as he does so before finishing by pointing his sword forward and releasing a beam of energy. Time your dodge to avoid the initial strikes and then dodge left or right to get out of the beam's path.
Spinning Barrage
- After surrounding himself with a halo of charged talismans, the Hundred-Eye Daoist Master unleashes a barrage at your location. This is difficult to avoid by dodging, you can either sprint to outrun it or use your Staff Spin to deflect the projectiles.
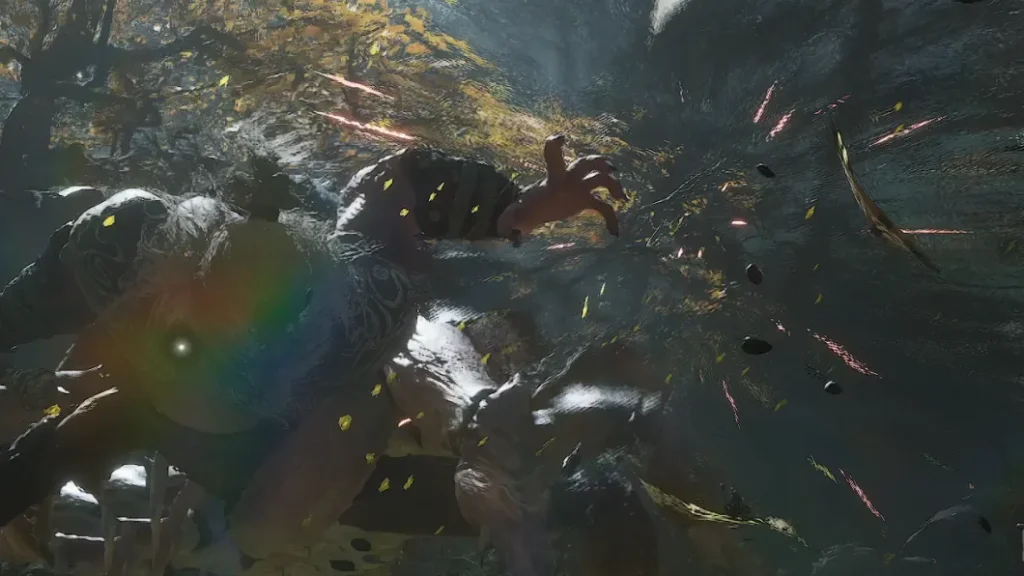
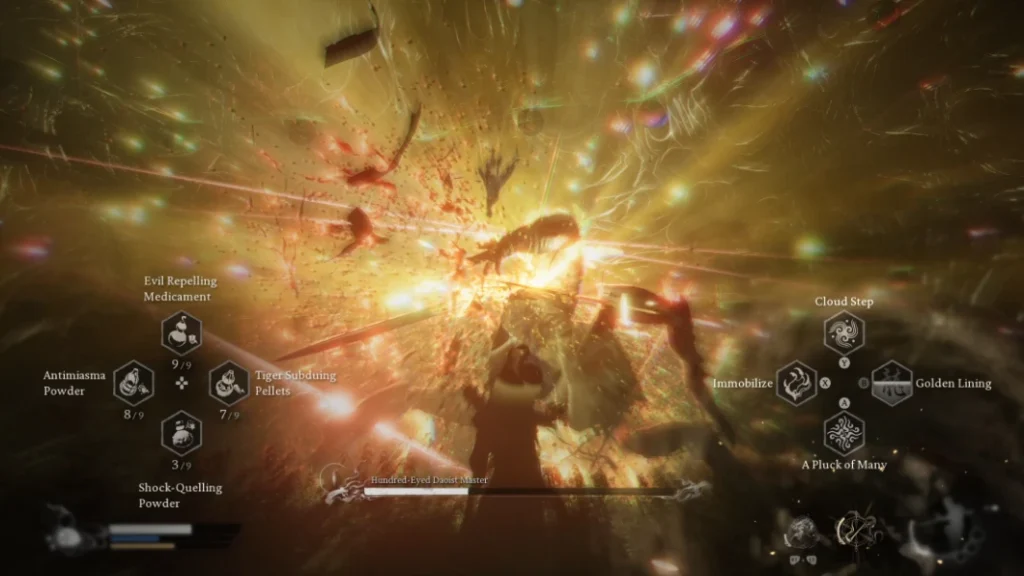
Phase 2
Around, 33% Health, the Hundred-Eye Daoist Master summons hundreds of eyes transforming the battlefield into a golden realm. This is an extremely difficult and downright oppressive phase, but you can use the Weaver's Needle to extinguish the eyes, leaving the boss more vulnerable. Shortly after the animation for this phase, the boss consumes his sword to further empower his attacks.
The first move he uses out of this phase is yet another grab attack. It has a long and awkward animation which makes it difficult to avoid. If you're not confident in your ability to dodge, use Cloud Step, a Transformation, or top yourself with your Gourd.
Empowered Attack Combo
- During this phase, the Hundred-Eye Daoist Master changes his 3 part attack sequence to one that combines elements of both thunder and flame. He attacks twice, with a line of lightning AoEs before spinning in a circle while electricity crackles around him and then ends the sequence with a highly damaging blast of flame. Do your best to dodge the final attack of the sequence as it often hits for over half your health!
- Sometimes he uses the flame blast from this sequence after he does a midair spin before slamming his tail into the ground.
Lightning Bolts
- Similar to his previous barrage sequence, the Hundred-Eye Daoist Master sometimes fires 3 projectiles at you from a distance. You can stick close to him, dodge, or deflect these projectiles.
Explosion Attacks
- In addition to his basic attacks and the sequence above, the boss adds two explosion moves. First up a charged explosion where he creates a sphere of electricity then detonates it in front of himself. During this time you can move behind the boss to deal some damage.
- Alternatively, he draws in energy before creating an explosion around himself, time your dodge correctly to avoid damage as this hits in a large area around the boss.
Video Guide
If you want to see the Hundred-Eye Daoist Master's move set in more detail check out this video guide by Tenkiei.
Summary
The Hundred-Eye Daoist Master is a two-phase fight, in the first phase he uses a wide variety of attacks. The second phase includes a smaller number of heavily damaging attacks, use the Weaver's Needle during his transition to give yourself the best chance of winning!
- You should get the Weaver's Needle from Purple Cloud Mountain before taking on the Hundred-Eye Daoist Master!
- The boss begins at 80% Health, but he's pretty tanky.
- This is a battle of attrition so do your best to dodge and conserve Mana and Gourd charges until the final phase.
- At 33% Health when he summons golden eyes, use the Weaver's Needle to make the final phase much easier. During this phase, the boss hits incredibly hard so burn his health down while dodging.
Written by: Tenkiei