First Steps for Beginners in Path of Exile
Last Updated:February 4, 2025|Changelog
Introduction
Path of Exile (PoE) offers incredible variety in build choices and gameplay options. If you don't know what to start with, take a look at our Builds Section and filter for "League Starter". These are designed to be easy to set up and work right out of the box without the need for expensive endgame items and uniques. Following a build guide is your best option, especially for your first time playing. That way, you can focus on learning more about the game's core features and having a great time.
Selecting a League
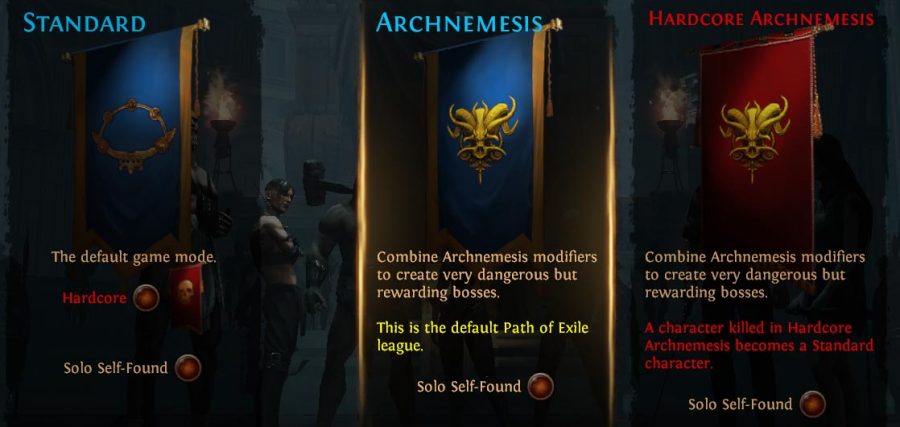
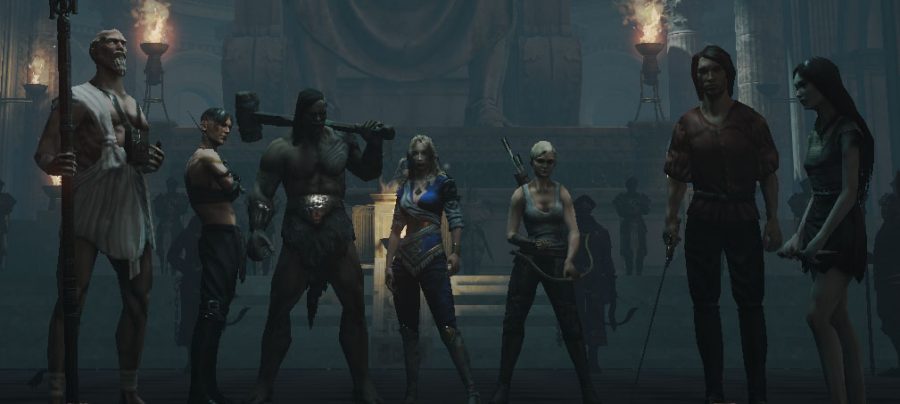
If you are an ARPG veteran (especially coming from Diablo 2/Diablo 3), many things will already seem natural to you. As you create your first character, you are presented with the choice of a League:
- Temporary Leagues: These last around 3 months and provide a full reset at launch with new in-game content. You start over from scratch on the Twilight Strand. There are options for Softcore & Hardcore.
- Permanent Leagues: Standard & Hardcore. All characters migrate to one of these after a Temporary League has ended. Dead Hardcore characters (even from Temporary Leagues) end up in Standard.
- Solo Self-Found: In both permanent and temporary Leagues you have the option to choose Solo Self-Found (SSF), meaning you can't play or trade with anyone else. This is only recommended for more experienced players as the game is designed with trading in mind.
- If you start SSF and regret your choice, you can merge with the associated permanent or temporary league.
- Hardcore: Functions exactly like a temporary or permanent league, but when your character dies that's it, they are transported to Standard (the permanent league). You can combine this with SSF to get SSFHC, an experience where you are self-reliant, and your character is sent to Standard SSF on death.
- Items stored in your stash are not lost on character death, you can use them to make your next attempt.
- Ruthless: A highly restrictive gameplay mode based on scarcity. You can choose to play a Temporary or Permanent league or choose SSF and HC. However, Ruthless is an extremely brutal experience that is very different from the norm for Path of Exile.
By far the most common way to play the game is the Temporary Softcore Trade League (center), which is also what most guides you find are written for. Standard and Hardcore are Permanent Leagues. Once a Temporary League ends, your Characters and Stashes are migrated to the appropriate Permanent League. Think of this as a museum of your old builds!
Classes Overview
There are 7 Classes in Path of Exile. The Scion is unlocked during Act 3 on your first-ever playthrough.
Unlike most other RPGs, classes in PoE do not have any special abilities or items exclusive to them. Everything is available to everyone. They all use the same Passive Skill Tree but start at different locations, making each of them more preferential (but not required) choices for certain build archetypes.
Each Class has access to unique Ascendancies, which are subclasses to further empower and customize your build with. The combination of Passive Skill Tree and Ascendancies open up incredible build variations that are only limited by the player’s imagination.
The following overview gives you a basic breakdown of what defines classes before you begin. There are 3 "pure" classes and 4 hybrids to choose from.
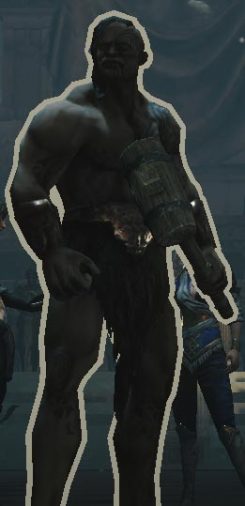
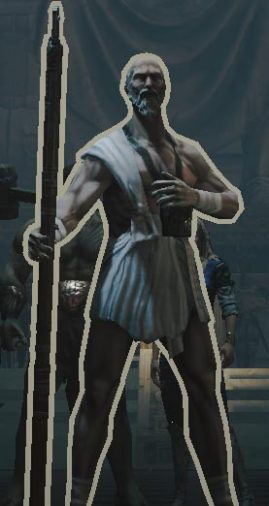
Marauder
Characteristics
- "Red" class (socket colours, attributes)
- Strength-based
- Armour-based
- Starts on the bottom-left side of the Passive Tree
Preferred Archetypes
- Melee, Slams, Totems
- Physical, Fire Damage
- Endurance Charges
Ascendancies
- Berserker
- Chieftain
- Juggernaut
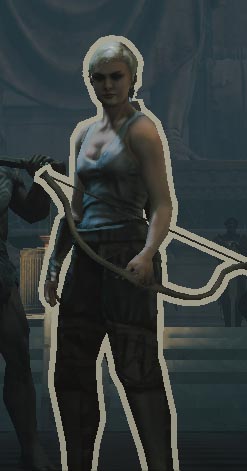
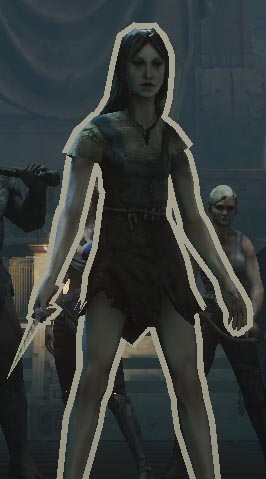
Ranger
Characteristics
- "Green" class (socket colours, attributes)
- Dexterity-based
- Evasion-based
- Starts on the bottom-right side of the Passive Tree
Preferred Archetypes
- Ranged, Bow, Projectiles, Melee
- Physical, Elemental, Chaos Damage
- Frenzy Charges
Ascendancies
- Deadeye
- Pathfinder
- Warden
Witch
Characteristics
- "Blue" class (socket colours, attributes)
- Intelligence-based
- Energy Shield-based
- Starts on the top side of the Passive Tree
Preferred Archetypes
- Spells, Damage over Time, Minions
- Fire, Cold, Lightning, Chaos Damage
- Power Charges
Ascendancies
- Elementalist
- Necromancer
- Occultist
Templar
Characteristics
- "Red + Blue" class (socket colours, attributes)
- Strength + Intelligence hybrid
- Armour + Energy Shield hybrid
- Starts on the top-left side of the Passive Tree
Preferred Archetypes
- Melee, Slams, Ranged, Spells, Totems, Brands
- Fire, Lightning Damage
- Power Charges, Endurance Charges
Ascendancies
- Guardian
- Hierophant
- Inquisitor
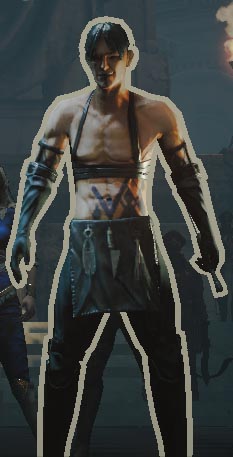
Shadow
Characteristics
- "Green + Blue" class (socket colours, attributes)
- Dexterity + Intelligence hybrid
- Evasion + Energy Shield hybrid
- Starts on the top-right side of the Passive Tree
Preferred Archetypes
- Melee, Strikes, Spells, Damage over Time, Crit, Traps, Mines
- Physical, Lightning, Chaos
- Power Charges, Frenzy Charges
Ascendancies
- Assassin
- Saboteur
- Trickster
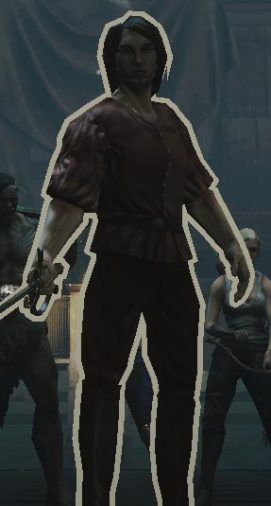
Duelist
Characteristics
- "Red + Green" class (socket colours, attributes)
- Strength + Dexterity hybrid
- Armour + Evasion hybrid
- Starts on the bottom side of the Passive Tree
Preferred Archetypes
- Melee, Strikes, Shields, Ranged, Bow
- Physical, Fire, Cold Damage
- Frenzy Charges, Endurance Charges
Ascendancies
- Champion
- Gladiator
- Slayer
Scion
Characteristics
- Jack of all Trades
- Green + Blue + Red hybrid class
- Branches out in any direction & build types
- Has two separate starting points on the Tree (one in the center, one from a chosen other class)
- Unlocks at the end of Act 3 during first-ever playthrough
Preferred Archetypes
- Any
Ascendancy
- Becomes the Ascendant
- Can choose two smaller versions of any of the other classes' ascendancies
Note: Even though it may sound like a great idea to start with a Scion due to her versatility, she's more suited for advanced players and builds.
Progressing the Campaign
As you enter the game for the first time, you wake up as an Exile left with nothing on the Twilight Strand. The campaign is long (10 Acts!) and even speedruns done by the most experienced players take multiple hours, so don't feel any rush. Another strong feature of PoE is the immersion you begin to feel as you progress through the grim world of Wraeclast. Enjoy the visuals, music and memorable voice lines!
Your quest objectives are shown on the map and a path is highlighted from your location to where you need to go. Not all quests are required, but certain optional quests reward you with extra passive points which are de-facto necessary to build your character. Make sure to check out our Full Campaign Walkthrough for help!
Using and Combining Skills
Since none of the 7 Classes actually have any baseline skills, you have a lot of freedom when it comes to your skill choice. In this game, Skills are itemised in the form of Active Skill Gems. Supports Gems then further modify or boost an Active Skill Gem by buffing its damage or altering its behavior. These Gems need to be inserted into appropriate coloured and linked sockets in your items.
Here's an example:
- Fireball is a regular spell that fires a singular fiery projectile.
- Lesser Multiple Projectiles Support is an early-game support that combines with any "Projectile" skill (notice the tags at the top under the name).
- Both linked together in an item produce a spell that fires three fire projectiles instead.
- This is called a "2-link" because a total of two gems are linked together. For the early Acts in the Campaign you are looking to get 3 or 4-links mostly.
This is how it looks like in action:
The same principle applies to all other Active Skill & Support Gems. You can increase a skill's explosion radius, scale its Hit Damage or its Damage over Time, cast 100 Projectiles per second, or convert its Fire Damage into another damage type, the possibilities are endless.

the red socket on the bottom is not.
As you start out, you need to pay special attention to the colors of your Skill Gems and the sockets in your items. If they don't match, you won't be able to insert the skills and use them (although this can be changed with Chromatic Orb). Note that an item's attribute requirements make it more or less likely to receive matching socket colors (Strength = red, Dexterity = green, Intelligence = blue). Sockets in items can be linked or unlinked, indicated by a small line connecting them. Generally you want to get as many links as possible especially for your main skill (up to the maximum of 6 in Body Armours/Two-Handed Weapons).
Leveling Up

While skills aren't tied to a class, they do level up with you. When a gem has gathered enough XP, an icon appears on the right side of the screen, indicating that it's ready to level. You can choose to click on it and continue (standard) or right-click it to stop leveling it (rarely). Note that this also raises their required level and attributes.
For each level up you also earn one passive point to spend on the Passive Skill Tree. There are ways to respec these points through Orb of Regret but you won't have access to enough of them early in the game.
For the best gameplay experience, make sure that you are following a build guide. It takes away the planning needed to make a build work on your own and allows you to focus on learning more of the game's core mechanics.
Choosing Items to Equip
You won’t be able to manipulate the socket types or colours early on, but it becomes easier the further you go as you find more items and Currency like Chromatic Orb, Jeweller's Orb & Orb of Fusing. At this point the stats on items become more valuable and you have to find, craft or trade for upgrades.
While required stats vary wildly from build to build in the endgame, everyone always wants the same few things to get started. Look for these on your items in this order of priority:
- Sockets & colours for your skills
- Movement Speed (Boots only)
- A strong weapon (Spell Damage for casters)
- Elemental Resistances (Cold, Fire, Lightning up to 75%)
- Maximum Life
- Damage stats (e.g. Attack/Cast Speed, Spell Damage, Elemental Damage, Bonus to Skills, …)
There are a lot of different possible affixes for each item slot which can roll with different values and have varying tiers of power. Many won't help your build at all or only start to matter at a later point. If you are following a guide, make sure to take a closer look at the preferred stats and keep an eye out for them!
Understanding Currency
In PoE, there is no "Gold" equivalent like in most other RPGs. Instead, there are dozens of different Currencies that are used both for trading and crafting. Each of them has a special property that alters an item in a certain way. Their relative value can be understood by their availability and from the market when visiting the Trade Site. The most commonly used trade currencies are Chaos Orb for cheap items and Divine Orb for expensive items. The Mirror of Kalandra is the rarest and most valuable Currency in the game. On average, it will drop around once every 10.000 hours of gameplay, so don't expect to find one anytime soon!
Items sold to vendors grant specific Currencies. Depending on the item's properties you can receive either Orb of Transmutation, Orb of Alteration or Orb of Alchemy (or shards that combine into a full one of these). Aside from that the game also has an elaborate vendor recipe system that allows more specific exchanges (like leveling items that roll specific mods).
Further Reading
To ensure a smooth leveling experience on your first character, we have built a whole Game Guide/Beginner Section for you right here on Maxroll. It covers the most important topics about how characters, skills, passives, monsters, crafting, etc. work and gives you a good overview of all systems in the game. Take some time to understand the basics. Doing so goes a long way to smooth out your future playthroughs. PoE has nearly endless possibilities to offer for those who seek to explore!
Here is a list of articles to get you started:
Video Guide
Summary
- PoE is free-to-play with microtransactions for optional cosmetic effects and specialised stash tabs, some of which you should acquire once you reach endgame.
- Any class can do anything but not necessarily very well. Choose an archetype you like and stick to thematically connected options for a smooth experience.
- Skills are provided by Skill Gems and can be linked to Support Gems, which fit into socketed items of matching colors.
- There are tons of different Currencies that provide crafting outcomes for different objectives. The most commonly used in trading are Chaos Orb and Divine Orb.
- The game has nearly infinite possibilities. It's all about forging your own Path (of Exile)!
Credits
Written by wudijo
Contributions by Palsteron
Reviewed by enki91, MacroBioBoi