Sirus, Awakener of Worlds Boss Guide
Last Updated:June 13, 2025|Changelog
A fellow exile? One more fool under Zana's sway. Allow me to destroy you before she has a chance to betray you, too. At least my way will be quick. There is nothing left for me here. For a few brief days, destroying something real may make me feel alive again.You slew my friends. You brought ruin to my worlds. You have invaded my very sanctum. I should be furious, and yet… I feel nothing.You want the Atlas? Take it. It's yours. But Oriath? Oriath I will burn to the ground. Perhaps the suffering of my fellow citizens will finally stir something.
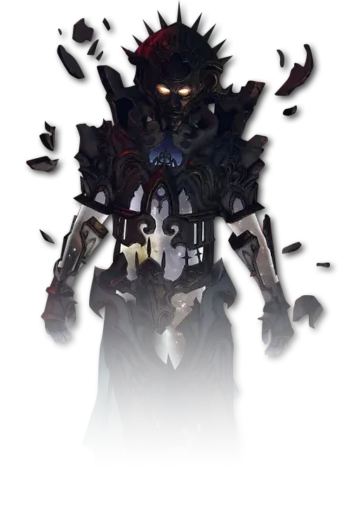
Sirus, Awakener of Worlds, was the leader of the Elderslayers (Drox, Veritania, Al-Hemin & Baran), added to Path of Exile in Patch 3.9.0 (Metamorph League). He is the main Antagonist of the Conqueror's of the Atlas Expansion. According to the lore, he disappeared along with The Elder after defeating him. Once a hero, Sirus turned insane after defeating the Elder, destroying Oriath in the process, forcing you to stop him.
Sirus is considered one of the hardest Bosses in Path of Exile. His damage output is massive, as he is dealing Physical, Elemental (Fire, Cold & Lightning) as well as Chaos Damage. His skill set is notably more complex than those of many other Bosses. You can still fight Sirus using the Crest of the Elderslayers. Defeating him for the first time rewards you a with a favourite Map Slot.
Conquerors - Boss Guides:
- Drox, the Warlord - Drox's Crest
- Veritania, the Redeemer - Veritania's Crest
- Al-Hezmin, the Hunter - Al-Hezmin's Crest
- Baran, the Crusader - Baran's Crest
Loot Table
In addition to regular loot, Sirus has the following boss-specific drops:
- Crown of the Inward Eye
- Hands of the High Templar
- The Burden of Truth
- Thread of Hope (Small to Very Large Ring)
Additional Drops:
- Orb of Dominance
- Awakener's Orb
- A Fate Worse Than Death
- Conqueror Influenced Items
Skills Breakdown
sidestepped. The beam deals Physical, Fire and Lightning Damage.
Boss Mechanics
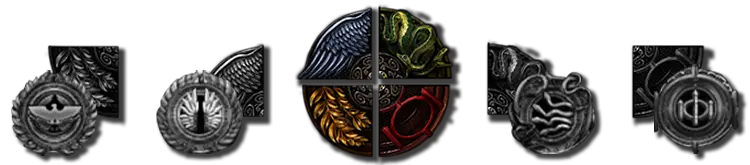
In Order to open the Portals to the Eye of the Storm, you have to place the Crest of the Elderslayers into your Map Device in the correct order. The Crest is a combination of the 4 Conqueror Fragments: Veritania's Crest, Drox's Crest, Al-Hezmin's Crest and Baran's Crest.
Sirus is a very scripted Encounter. Once you learn the Mechanics and the order of appearance, especially when it comes to the Die Beams and Illusions, you are going to have an easy time defeating him. It's all about practice!
The Sirus Encounter has 4 Phases. At 75%, 50% and 25% Health, Sirus goes into an intermission Phase where you have to run underneath him in order to trigger the next Phase.
The Role-play
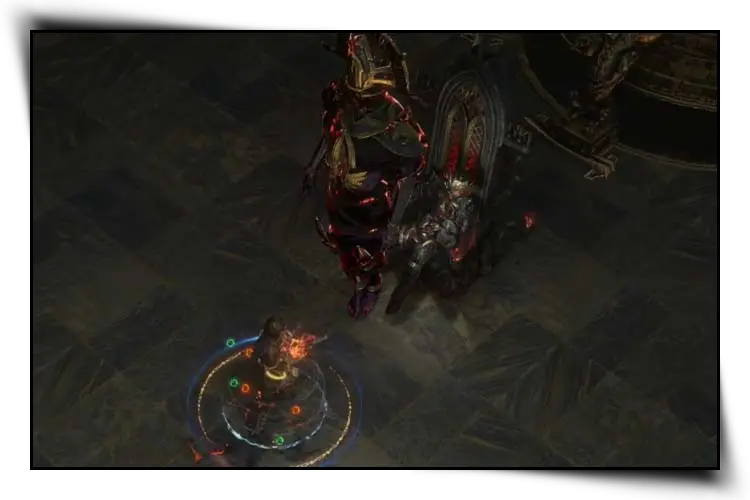
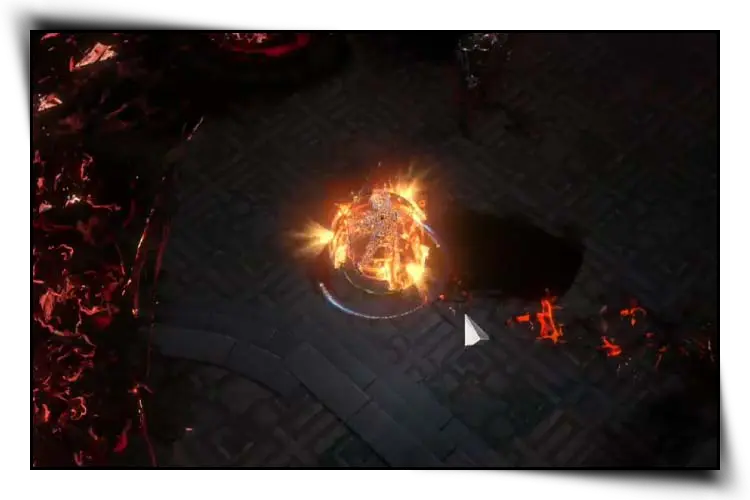
Once you enter the Portal to the Eye of the Storm, you are going to find yourself on a bridge, together with Zana and Kirac, leading to Oriath. But before you reach it, you get intercepted by Sirus, Awakener of Worlds. After an unskippable Role-play, Sirus activates the Map Device behind him, fleeing through one of the Portals. Follow him and make your way to the Templar Laboratory.
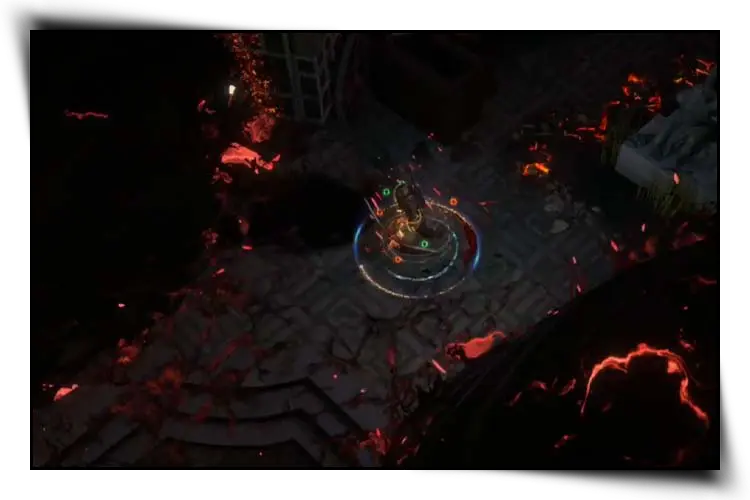
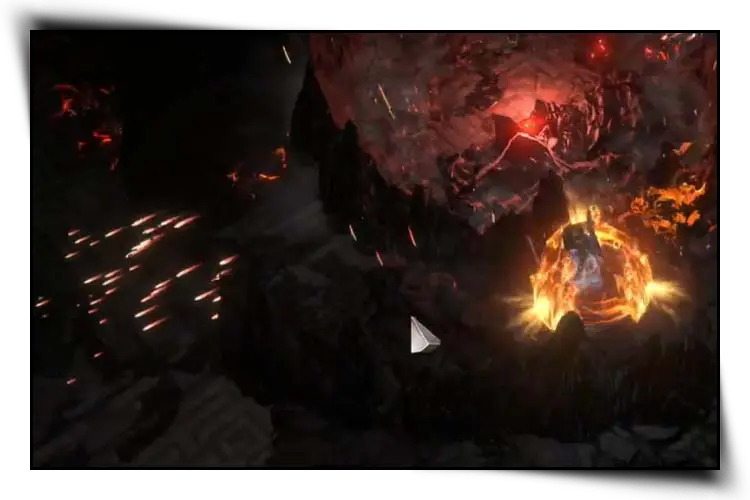
Following the path, you find a portal to Oriath. Once there, you have to watch out for the Deatomization Storms, as they deal massive damage if you touch them. Sirus is located on the bottom side of Oriath and the encounter starts once you reach him. Let the fight begin!
When Sirus is attackable, a big red circle spawns which indicates the safe-zone. Deatomization Storms are locked outside, so you are free to move and able to dodge his abilities. If a Storm is already inside the circle, it slowly wanders out. When you leave the safe zone before the intermission is triggered naturally, you still trigger it, but the phase won't change. In the worst case scenario, you dodge an ability, leave the area, Sirus intermission triggers because of it and after that, your next attack will trigger the natural intermission, which happens at 75%, 50% and 25% of his Health.
Phase 1
In Phase 1, Sirus only uses a few abilities, such as:
- Default Attack
- Die Beam
His Apparition (floating Sirus) uses all his abilities:
- Meteor Strike
- Beam Sweep
- Meteor Geysers
If you want to learn more about Sirus abilities, check out the Skills Breakdown section of this guide.
The trick in this encounter is to keep moving. If you dance around Sirus in a circle, he basically can never hit you with any of his abilities, since most of them are locked at your location while casting. Once Sirus Health drops below 75%, the intermission begins.
Intermission
Sirus teleports to the center of the arena circle and spawns a Deatomization Storm underneath him. While the Storm charges up, it knocks you back until it reaches its full size. This specific Storm chases you through the area, so make sure to stay away from it. The golden rule is to not panic! Run to the sides of the area while staying away from other Storms. Sirus uses Meteor Strike, Beam Sweep as well as Meteor Geysers while floating. These abilities deal a lot of damage, but can easily be dodged if you keep moving. In order to end this intermission, you have to lure the newly spawned Deatomization Storm away from Sirus. Once there are no harmful hazards below Sirus, move underneath him to trigger the next Phase.
Phase 2
In addition to his Phase 1 abilities, he now also uses the Corridor Blast ability and the Meteor Maze with 2 outer rings. Our strategy remains the same: stay closer to Sirus and run circles around him. Once Sirus drops below 50% Health, the intermission triggers again.

Phase 3
In this Phase, Sirus uses all his previous abilities, as well as a bigger Meteor Maze with 2 Rings instead of 1. The fighting style remains the same. Once Sirus drops below 25% Health, the intermission triggers again.
Phase 4 - Final Phase
The final Phase is a bit more tricky than the other Phases and Sirus restores his Health back to 75%. In addition to all the previous used abilities, he also uses:
- Empowered Die Beam
- Meteor Maze with 3 rings
- Spinning Beams
- Multi Clones & Beam
The most important thing in this fight is to keep track of Sirus positioning. He randomly teleports around, sometimes even out of your screen range. Use a blink ability, such as Dash or Flame Dash, to follow him wherever he is going. This is crucial to avoid his Empowered Die Beam ability, which tracks your movement on every beam fired and is lethal to most common builds.
Occasionally, Sirus splits into 12 illusions, while firing another Beam ability shortly after. The key is to visually see where Sirus teleported to know from which direction the Beam is coming from. Play this encounter with sound on, since Sirus has many voice lines that indicates his next ability. You can even hear from which direction the beam is coming, based on your audio settings.
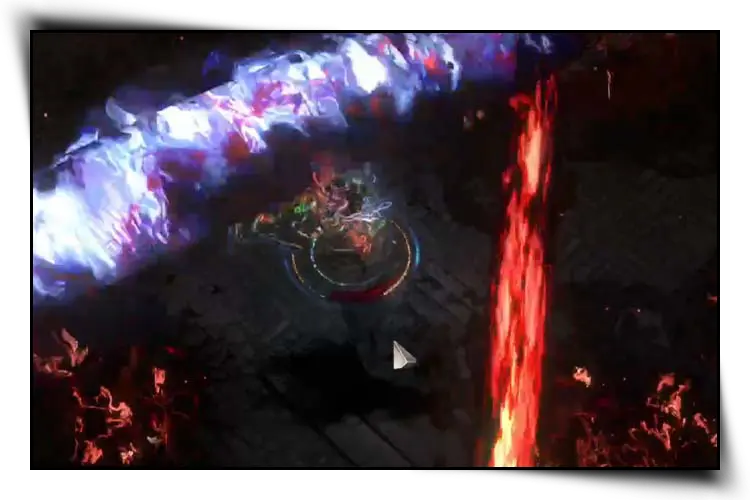
Last but not least, Sirus randomly splits into 4 Illusions, channeling a beam at an area to summon a core. The core fires rotating beams that apply the Corruption of the Awakener Debuff, which stacks, slows you and increases the damage you take. This makes it a lot harder to avoid the Empowered Die Beam ability, make sure to avoid the beams entirely.
Uber Sirus
In addition to the regular Sirus encounter, there is also an Uber version available by opening 5 Awakening Fragments in your Map Device. This makes the fight much harder in several ways:
In addition to his massively higher life and damage, the following changes also make the Uber version a much harder encounter:
- Area modifier: Monsters take 70% less damage.
- Sirus creates a Storm that chases you through the arena.
- The Die Beam ability tracks the player in all phases with full power.
- Meteor Maze's delay is much shorter than in the regular version.
In the final phase:
- Desolation of the Awakener generates and persists, not removed by Meteor Maze.
- The centered rotating Beam has 6 beams instead of 4.
- Multi Clone Beam also tracks your movement.
In addition to his regular loot, Uber Sirus has the following boss-specific drops:
- Oriath's End
- The Tempest Rising
- Thread of Hope (Massive Ring)
- The Saviour
- Oubliette Reliquary Key
Additional Drops:
- Orb of Dominance
- Awakener's Orb
- A Fate Worse Than Death
- Conqueror Influenced Items
Summary
- Sirus, Awakener of Worlds, was the leader of the Elderslayers.
- Place the Crest of the Elderslayers into your Map Device to fight Sirus.
- He has a wide variety of abilities, dealing Physical, Fire, Cold, Lightning and Chaos Damage.
- Bring Ailment Avoidance and Corrupted Blood Immunity to the fight.
- Keep moving, and always make sure to find Sirus, so you can dodge his next die beam.
- The fight is scripted and repeats itself many times over, try to anticipate which part of his dance is next.
- Play with Sound! Sirus has a variety of voice lines indicating his next ability.
- Practice makes perfect!
Credits
Written by mbXtreme
Reviewed by TriPolarBear