Cursed Wasteland Dungeon Guide
Last Updated:April 17, 2025|Changelog
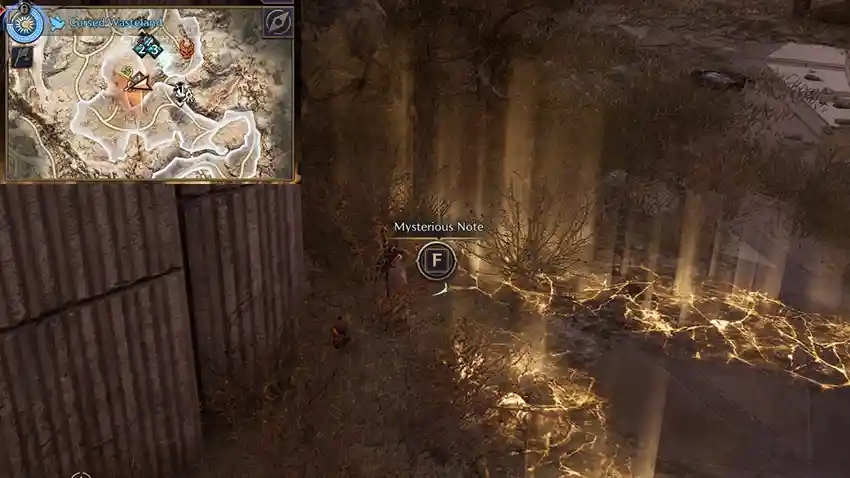
The Cursed Wasteland is set in the Manawastes region of Stonegard, you encounter enemies that appear in the Open World Dungeon, Sanctum of Desire. The common theme of this dungeon is the glowing cracks on the ground that stun you if you walk over them. You find these both on your way to objectives and during boss mechanics. This dungeon eventually becomes one of the shortest dungeons as you can skip most mobs in your path and DPS down bosses before certain mechanics trigger.
Ahzreil and his followers kidnapped a Light Elemental then carried out a dark ritual, and succeeded in corrupting it into a Dark Elemental. The corrupted elemental was bound but destroyed all that approached it. People eventually began calling the elemental Shaikal, after the legendary Dark Elemental.
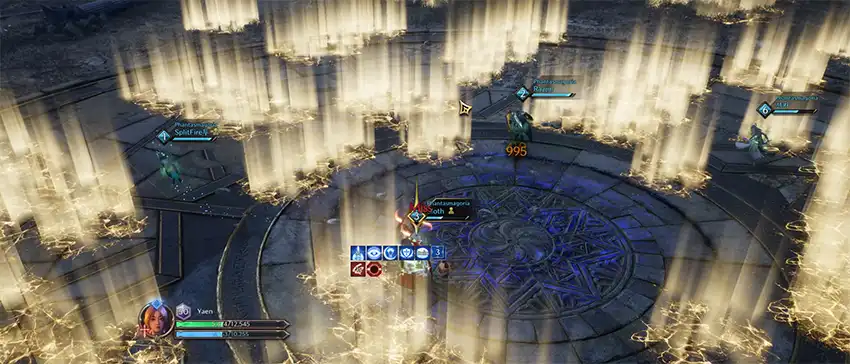
Boss - Shaikal
Shaikal is the final boss you encounter in the Cursed Wasteland dungeon.
- The arena is separated by three glowing cracks. The tank should stand on one section of the map, whereas the DPS should stand in another section. This is so the DPS can avoid the cone attack that the boss does.
- Every third auto attack pushes the aggroed target backward. Shaikal glows purple before this. If no target is in Melee range, the boss uses a breath attack that covers one-third of the map instead.
- The boss always uses the Red Orb mechanic before the Purple Orb mechanic.
Telegraph
- A Red Orb appears over your character.
Description
- After the Red Orb disappears, an AoE black hole spawns underneath the location.
Strategy
- Once the Red Orb appears, move away from the rest of your party and go towards the back.
- Wait for the Red Orb to disappear, and then immediately run away.
Telegraph
- A Purple Orb appears over your character.
Description
- You are given enough time to position yourself in the correct place.
- After you see the boss spin its body 360 degrees, the mechanic starts wherever your character's location was after the spin. The boss tracks the flame breath on the marked character.
- The flame breath covers two-thirds of the map if the mechanic is properly done without cheesing.
- Under 30% Health, the Shaikal does this two times in a row.
Strategy
- If you have the Purple Orb, you should stand near the halfway position of the southeast glowing crack.
- One of the DPS should touch the interactable Horn statue at the end of the crack. This disables the crack and allows people to cross the line without being stunned. If quick enough, the person who is marked can interact with the Horn and successfully complete the mechanic in time.
- The DPS should start running clockwise once the boss finishes his 360-degree spin.
- The tank should interact with the Horn on the northeast side of the map so the marked DPS can walk through.
- Both the DPS and tank should move towards the western glowing crack. This should be the safe spot.
- Another DPS can interact with the 3rd Horn to let the marked DPS walk back to the DPS section of the map.
- If you have access to a teleport skill, like staff, you do not need someone to activate the horn.
Cheese Strategy
- The marked character doesn't need to run. Since the flame breath from Shaikal follows the marked target, if the marked target stands still and dies, it is unnecessary to complete this mechanic.
Cursed Wasteland Mini-Bosses
Blath
Blath isn't anything special as it's the 1st miniboss you encounter.
Telegraph
- A voice line occurs around 40 seconds into the fight: "You won't survive!"
Description
- A maze is created of golden cracks. You and your team must navigate outside to the edge of the circular platform.
- At the same time, a circular AoE explosion starts emanating outward from the boss.
- After the mechanic is over, mass lightning circles appear around the arena.
Belrog
The second mini-boss you encounter is Belrog. He uses a combination of lightning and Fury Attacks.
Telegraph
- 35 seconds after the fight begins, a voice line occurs: "You won't survive!" This mechanic occurs at regular intervals if you do not kill the boss fast enough.
Description
- Glowing cracks spawn in the form of a square frame.
- You must interact with the Black Orb to disable one side of the square frames.
- The same circular AoE explosion from Blath starts emanating outward from the boss.
- You may also jump over the glowing cracks, but using the black orb counts towards your codex quest.
- After the mechanic is over, purple lightning AoEs drop across the map.
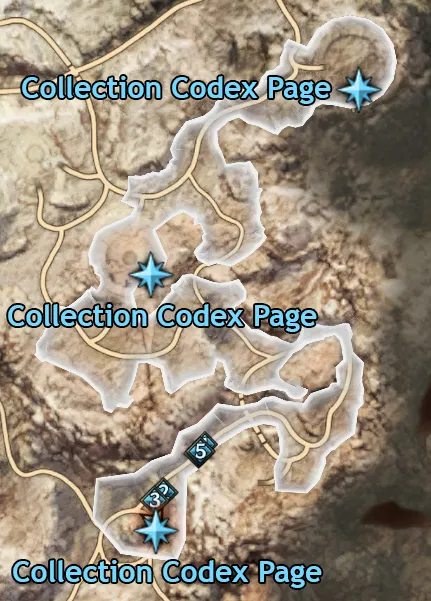
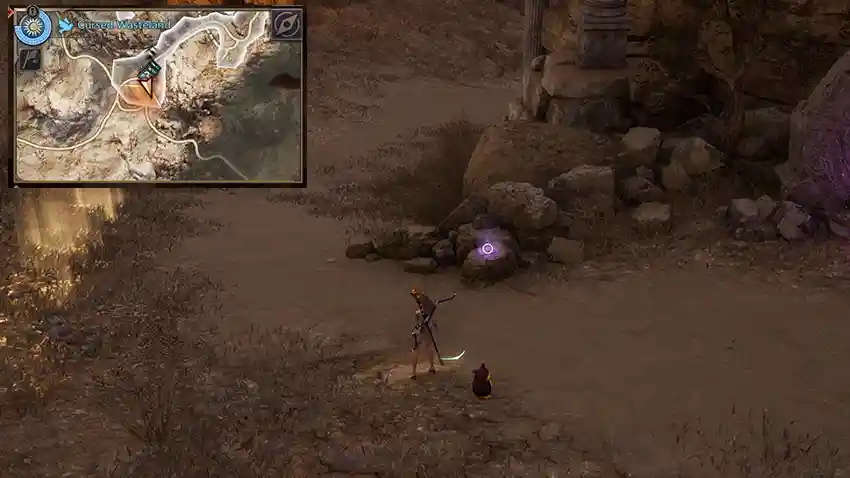
Exploration Codex Quests
A Tragedy of the Past (Collection Codex Pages)

Credits
Written by Yaen
Reviewed by Nymphellas