Elden Ring Path to Power Guide
Welcome to the Elden Ring Path to Power Guide, you're going to be gaining upwards of 25 levels, getting our Sacred Flasks expanded/upgraded, and improve your starter weapons to take on the first Legacy Dungeon (Elden Rings major boss environments). Elden Ring can be daunting with its size and raw amount of things to do, so you're focusing on significant power-ups to make your early experience smoother ending off with the first major boss. Please note that this guide assumes you've already acquired all the knowledge/tools from the Elden Ring Beginner's Guide so start there if you're new to the game.
Gatefront Site of Grace
Our path starts back at the Gatefront Site of Grace. Head south out of the camp towards the large bridge. You should stop to kill the dung beetle-like enemy on this bridge and acquire the Determination Ash of War (A powerful Weapon Art for strength builds) but the other enemies you can just run past. This is a central theme here to get things done quickly but feel free to fight as much as you'd like.

Past the bridge on the right there is a body slumped over in a chair holding a Somber Smithing Stone (1) for us to collect that you need if you're going to upgrade specialty weapons. Beyond that you can safely follow the main road further south fighting enemies and exploring as you go.
The Weeping Peninsula
As you head south between the two cliffs take the next bridge that leads to the Weeping Peninsula. It's worth looting this bridge as there are 3 Smithing Stone (1) on the ground here with a nearby Stonesword Key as well. Beyond the bridge you're likely to see Irina who has a quest you can start. After speaking with her head into the valley behind, you can collect the Morning Star from the large black cart surrounded by wild dogs and a Smithing Stone (2) on your way up out of the valley to the south.
Castle Morne Rampart Grace
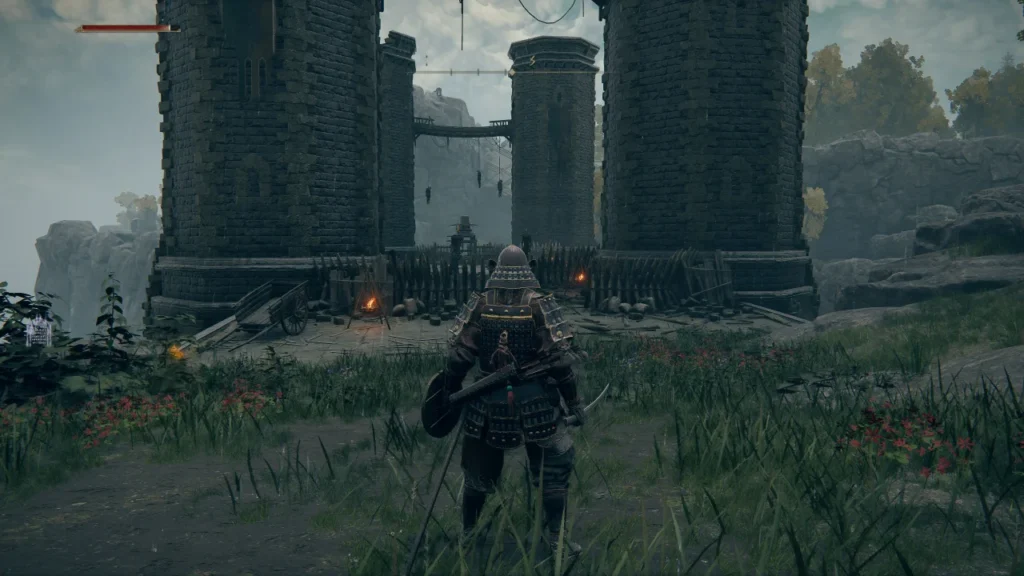
Coming out of the valley, you should find a Site of Grace and a friendly merchant whose notable inventory is a bunch of Smithing Stones and Stonesword Keys. We're coming back to this grace soon but for now head further south toward Castle Morne. There is a giant archer that attacks when you approach but with a bit of careful movement on Torrent you can get at his glowing shins up close to take him down.
Just inside the castle behind the giant you can quickly grab another Grace. Head back outside to collect all the loot that giant was preventing us from getting. On the beach to your right as you exit the castle there are jellyfish guarding a Somber Smithing Stone (2). On your way back to the Castle Morne Rampart there is a Golden Seed. Be sure to grab the map piece on the road back to the Rampart Grace to help navigate the more tricky parts of the Weeping Peninsula we're about to discuss.
The Churches of the Weeping Peninsula
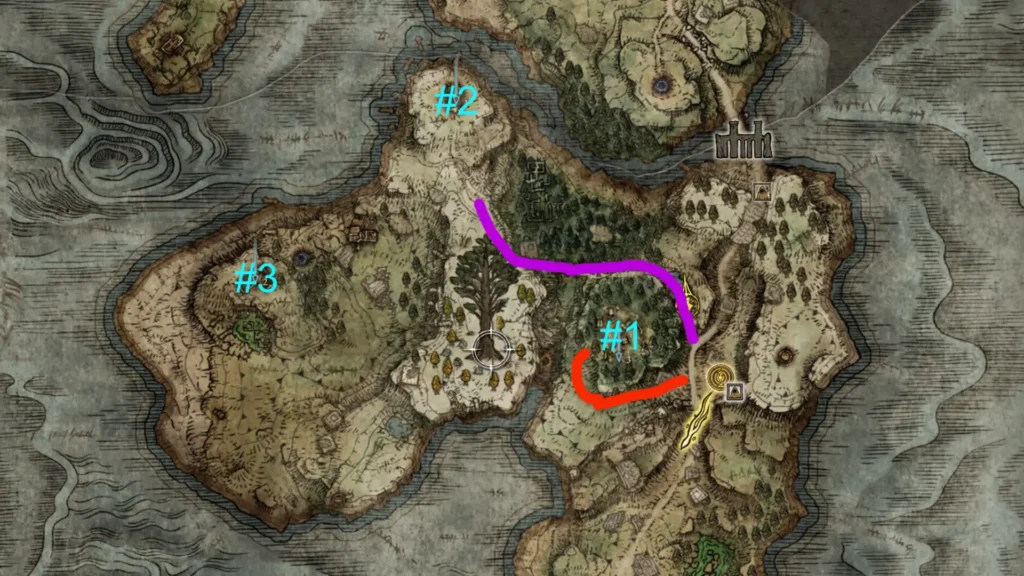
With the map and the vital items from the far south collected, the time has come to collect all the Sacred Tears on the Weeping Peninsula. Sacred Tears are an upgrade material used to improve how much HP and FP your Sacred Flasks restore per use and all twelve Sacred Tears are found in various churches. I've marked the three churches on the peninsula on the above map in blue and each has been assigned a number.
Church #1 - Follow the red line west from the Castle Morne Rampart Site of Grace and head further up the hill on your right when you can. Reach the village at the top of this hill and inside the church pick up the Sacred Tear guarded by the giant rat. When you're done exploring the village head back down to the Rampart Grace.
Church #2 - Once again starting from the Castle Morne Rampart Grace follow the purple line north and then west. This path is a visible trail on the map and on your right you should see the church, way up at the top of the northern hill. Touch the Grace and collected the Sacred Tear at the altar. Now, you should be able to face west from the top of this hill and easily see the last church.
Church #3 - All you need to do now is a simple trot on Torrent while avoiding the more aggressive enemies to get to the church. There is another Site of Grace plus Sacred Tear combo to collect. This oddly is actually named the Fourth Church of Marika but is the last of the churches on the peninsula.

The Isolated Merchant
Last stop on the Weeping Peninsula is to meet the Isolated Merchant. Exiting the Fourth Church of Marika and facing south you should be able to see the merchant shack on your right. This merchant has an easy to miss and highly valuable Lantern for us to buy for only 1500 Runes. You should equip this immediately to a Pouch slot for easy access when exploring dark caves or catacombs.
Heading East
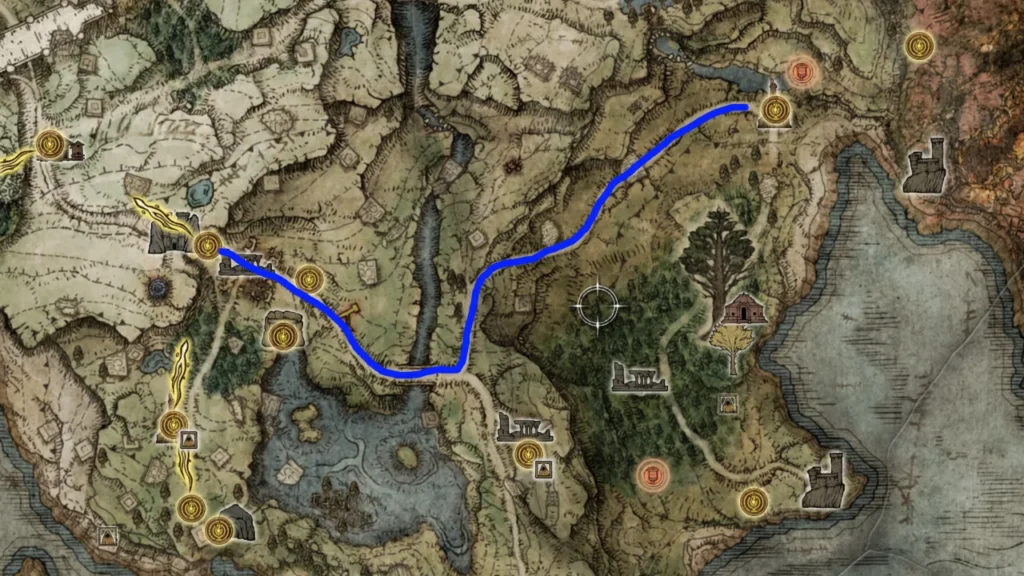
Having collected all the vital upgrades from the Weeping Peninsula we turn our attention eastward. Return to the Gatefront Site of Grace and head over the bridge to the Southeast. Instead of following the road south this time, you go north past the bridge and follow the dirt trail east when it turns. I've traced the road to your destination on the below map in blue to make it easier to follow.
Another Church of Marika
Following the road you arrive at another of Marika's churches. An easily avoided giant guards this church and once inside the church has a bonus reward for us to go with the usual Sacred Tear. In the large bowl near the Site of Grace grab the Flask of Wonderous Physick. This item automatically equips alongside your Sacred Flasks and adds the Mix Wonderous Physick option to your Site of Grace menu. The Wonderous Physick has ingredients called Tears that have a large variety of effects. Tears are collected from a mix of bosses and exploration. With this found you only have access to the Crimson Crystal Tear. Be sure to mix in additional Tears when you find them.
After mixing your Wonderous Physick we're going to take quite the shortcut. Immediately behind this church to the north there is a small swampy area. Follow the water east through a few bushes and you should come across a portal nestled inside the foliage. Activating this portal instantly transports you nearly almost as east as you can go in the game The Beastial Sanctum.
The Bestial Sanctum
Upon your arrival here you should immediately head forward and open the large double doors to the Sanctum. There is a Site of Grace inside and at this point Melina is guaranteed to introduce you to the Roundtable if you haven't been already which teleports you away. More information on the Roundtable Hold can be found in our Roundtable Hold Guide but the surface level importance is that you should at least meet Master Hewg who applies upgrades to your weapons from now on before returning to the Bestial Sanctum.
Upon returning to the Bestial Sanctum you can introduce yourself to Gurranq though he won't be of much use to you until you find a Deathroot (Boss Drop). Leave now and head out into the Dragonbarrow. Note this area is incredibly dangerous. A giant blade-wielding gargoyle stands guard at sanctum and only attacks if you get too close to him so do your best to go around and head south towards the bridge. You should be able to see it from here. On the way to the bridge is a Golden Seed beneath a golden sapling and just before the bridge another Site of Grace awaits you.
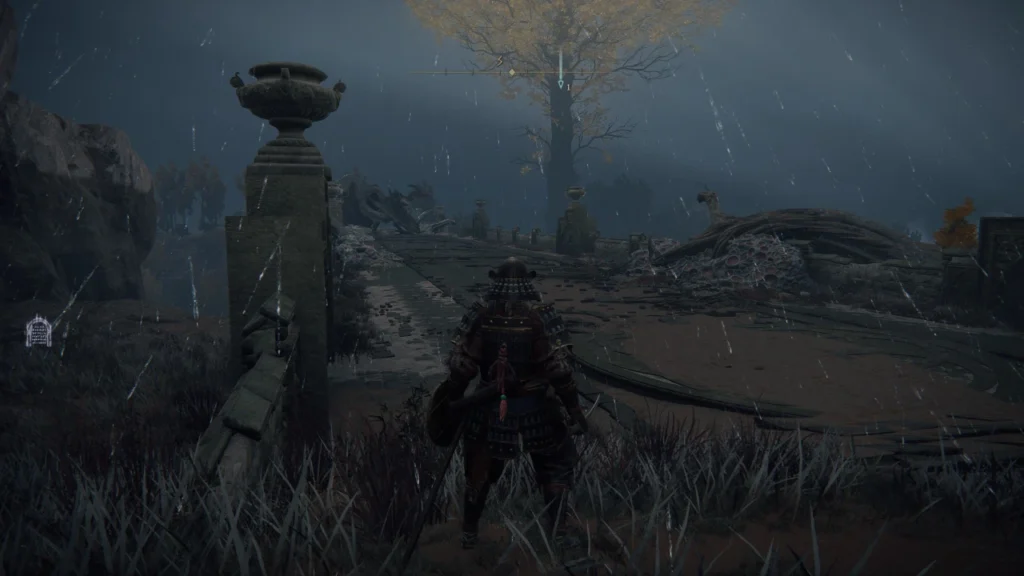
Resting here is a giant dragon guarding the bridge. Riding Torrent while hugging the left wall should see you safely across. The Dragon is all but guaranteed to try to turn you into ground beef so keep riding even when you've fully crossed. Now out of the dragon’s range, a Minor Erdtree (The massive tree) should be just ahead. This tree also has a boss guarding it so once again hug the left side of this area navigating to the backside of the Erdtree to find a Wind Pillar. Wind Pillars (Pictured) can be jumped into with Torrent to leap high into the air. Use this one to jump onto the plateau above you.
Fort Faroth
Ascending to the plateau on your right is the largest dragon you've likely ever seen but more importantly for now there is a comparatively tiny fort to your left with a Site of Grace out front. Rest here as you're likely to die looting Fort Faroth.
Why are you here?
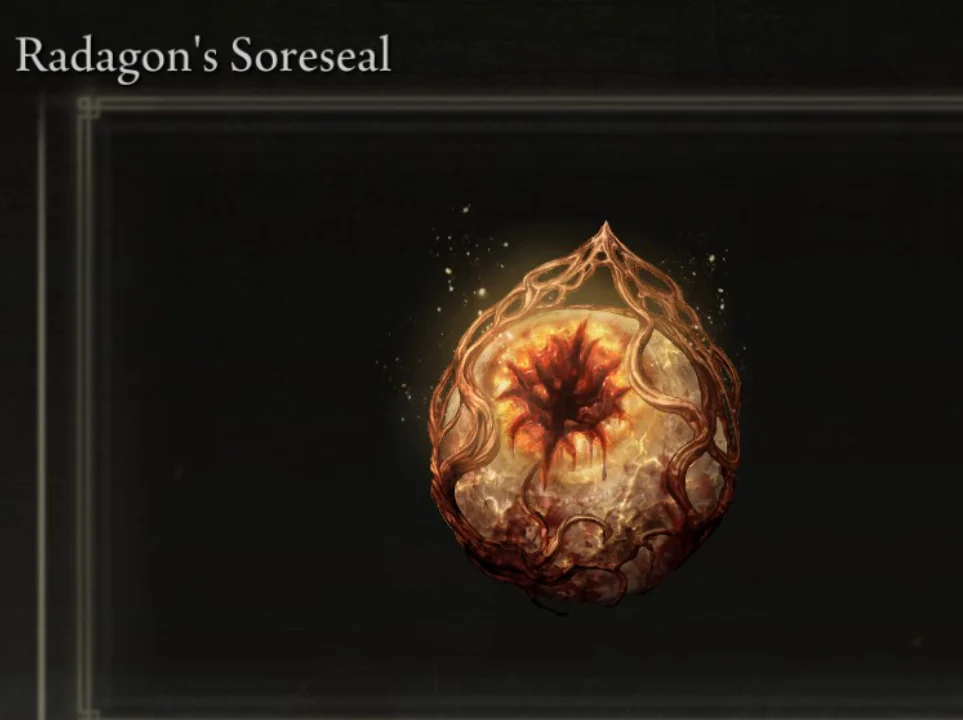
Your primary objective in Fort Faroth is to acquire Radagon's Soreseal. This Talisman gives 5 additional points in Vigor, Endurance, Strength, and Dexterity making it the equivalent of gaining 20 levels when equipped. It does have a small downside causing you to take 15% more damage but the 5 points it gives to Vigor outweigh this downside until your Vigor is at roughly 40. Combined with the Endurance increase allowing you to wear heavier armor this Talisman is nearly unbeatable value for early-game builds.
Collecting the Soreseal
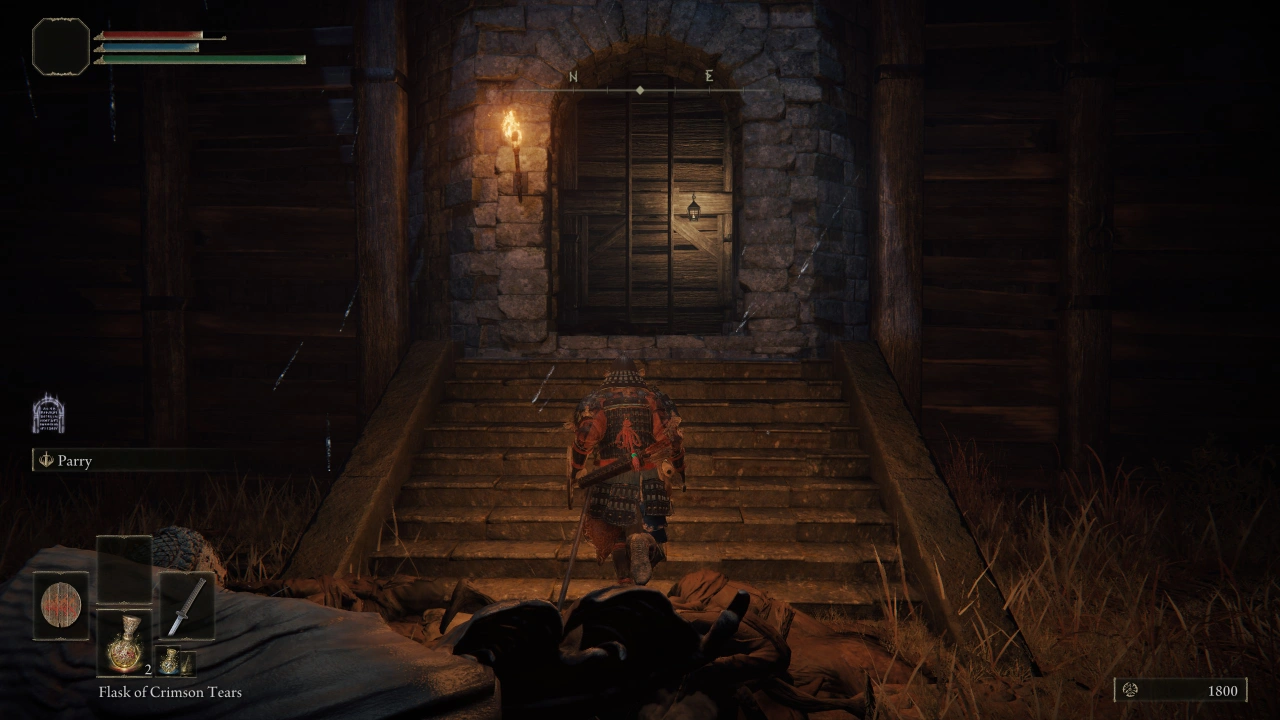
Above I've placed a series of images that help lead you to the Soreseal but the steps are listed below as well.
- Immediately entering the Fort Radagon's Soreseal is visible through a wooden plank wall.
- On the opposite side of this room there is a ladder you must rush to climb before the bats kill you.
- At the top of the ladder open and collect the Dectus Medallion piece from the chest as it is half a key needed later.
- Turn and look over the destroyed part of the Fort wall to see the path to the rest of the rooftop.
- Head for the back right large square hole in the roof which has a blue knight climbing out of it in the above reference image.
- Drop into the hole and turn right finding yourself on scaffolding above the room you entered initially.
- A bunch of breakable wooden junk can be destroyed to reveal a short jump you need to make.
- After reaching the other side of the scaffolding a giant rat is guarding a ladder downwards. Avoid the rat and fall down the hole as it isn't far enough to deal damage to you.
- Pick up Radagon's Soreseal and either fight your way out or die.
Killing Elder Dragon Greyoll
Now that you acquired Radagon's Soreseal we can kill the large dragon in front of Fort Faroth named Greyoll. Before executing the following strategy be sure to head back to the First Step Site of Grace and grab the Gold Pickled Fowl Foot on the nearby beach to get 30% more Runes from Greyoll's death (Click here to see it on the Interactive Map)

The actual strategy for killing Greyoll is simple. Stay behind the hind legs so you don't attract the attention of the other dragons and hit the tail with a weapon that can inflict bleed (The Morning Star we picked up earlier). This deals little damage with each strike but deals massive damage when bleed procs, killing Greyoll quite quickly. Make sure to use the Fowl Foot at the last 20% or so of Greyoll's health bar. Done correctly you should have about 95,000 Runes to use for leveling up, varying slightly based on your starter class, working out to about 25 levels total. At this point, it’s highly suggested you look into an endgame build guide for some direction on what stats to go for. On top of this, here are some general leveling tips to help guide you.
Leveling Tips
- Get the minimum requirements for the weapon(s) you're going to use. If you don't know what you want to use you can do this organically as you progress.
- Vigor is the best defensive stat in the game. Your Vigor should usually be half your total level until you reach level 100. This gives you a large enough amount of HP to actually be able to take a hit and make a mistake against many bosses.
- Spell casting requirements. Casters have minimums they want for early casting. Faith casters want at minimum 22 Faith to use the best early spells though this assumes you grab the Two Fingers Heirloom Talisman (+5 Faith) to bring you up to 27. Sorcerers want 24 Intelligence to hit some good early spell requirements.
- Mind isn't just for casters. FP is used to execute weapon skills so investing enough to get 20 Mind is great for most if not all builds. 20 Mind is an endpoint number for melee only characters and 30 Mind is excellent for casters.
Upgrading your Weapons
At this point in the Path to Power, I am assuming you are following a build guide or have at least found a weapon you like. If you have a special weapon that needs Somber Smithing Stones we already picked up the first two you need and you can upgrade it to +2 now at Master Hewg. If you aren't using a special weapon head to the Limgrave Tunnels and collect the 10 Smithing Stone (1) from the miners there or purchase Smithing Stones from the various merchants you've met then upgrade your regular weapon to +3.
Beyond Gatefront
With your weapon upgraded and early levels gained you're ready to head for Elden Rings first Legacy Dungeon. Stormveil Castle. Fast travel back to the Gatefront Grace and proceed north through the gate. Whether you decide to fight your way through or run past the guards, grab another Golden Seed, and come to the Stormhill Shack after an ambush with some wolves.
Stormhill Shack
Here you meet Roderika and after a short conversation she gifts you with the ability to summon a Spirit Jellyfish. This is easy to overlook but an incredibly powerful summon with high health and the fantastic ability to poison most bosses. Aside meeting Roderika there is a Stonesword Key here and if you haven't you should upgrade your Sacred Flasks at this Site of Grace. You should be able to upgrade them to +4 and have a total of 7 if your starting Keepsake was a Golden Seed.
Once done here follow the road up the hill to see the heavily guarded entrance to Stormveil Castle. Once inside there is a convenient Site of Grace just before this guides final encounter. Margit the Fell.


Defeating Margit the Fell
After all the upgrading you've done you are more than a match for Margit with a bit of practice. If you're having a hard time with the fight here are a few combat tips below that should serve you well even beyond this fight.
- Jumping heavy attacks are extremely good against many bosses. These attacks poise-break(cause a vulnerable state) on many bosses after only a few hits allowing you to get a critical attack in by standing in front of them and light attacking dealing massive damage.
- Use your summons. You can summon the jellyfish for this fight but try out a variety of summons to see how they work. Packs of wolves are great in places the jellyfish doesn't cut it so keep in mind the options you've collected.
- Remember to use your Weapon Skill. This is an especially important tip if you're using the Uchigatana as it has an incredibly powerful unsheathe attack that makes short work of Margit.
- Finally, a difficult Souls-like learning. Dodge into attacks. This can be hard to teach yourself but has amazing upsides. You're invincible for a large part of your dodge going straight through an incoming attack while being able to reposition to work in a counterattack on the boss. This advantage lets you deal more damage during the fight.
What's Next?

Now it's time to head into Stormveil Castle proper! You have a good basis of strength to take on this dungeon and discover the secrets within it. You can check out our build guides (coming soon) to give yourself more direction but also the Somber Smithing Stone Guide or Smithing Stones Guide can help you increase the power of the gear you already have. I hope this guide has been helpful and good luck in Stormveil.
Written by: Brozime
Reviewed by: Dredscythe