Elden Ring Beginner’s Guide
Welcome to Elden Ring
Welcome to the Elden Ring Beginner's Guide! This guide will take you through all the first steps to getting a character started with best practices for the early game so you can quickly be on your way exploring the Lands Between without missing any vital upgrades or features.
Choosing Your Starting Class
The very first choice we have to make is the most important one. Your starter class sets you up with some baseline gear and levels in particular stats that lean in on a few of the different character archetypes you're likely to build over your time with the game. Generally speaking builds are divided into a few archetypes named for what stats they prioritize such as Int(Intelligence) which is for Mage-like characters or Dex(Dexterity) which usually use fast weapons like daggers or katanas.
Each class has merit and no matter which you choose you'll be able to use any gear you find by leveling the appropriate stats later. If you start as a Prophet who uses Faith based Incantations there is nothing stopping you from switching to Intelligence based Sorcery casting as you level your character. That all being said choosing what seems like the most fun to you should be your priority.

Which Class is Best though?
The quick and dirty on which Class is the top of the pile is that Samurai will be the preferred starter as it has by far the best gear alongside highly malleable starting stats. Starting the game with the Uchigatana, a Longbow for ranged fighting, and a solid armor set at a preferred weight class with the stats to use your full gear set together. The main exception to starting Samurai is if your build isn't going to use Dexterity at all in which case Hero is a safe bet for Strength oriented characters.
Physical Appearance
Physical appearance has no bearing on build choices in Elden Ring so choose whatever you like here. The options made here can also be changed later in the game if you end up with anything you don't like so don't worry too much about it.
Choosing your Keepsake
The Keepsake is your choice of 9 total bonus items before you start the game. They all have benefits but we'll only be discussing my 3 recommendations as they have markedly higher value than the other choices. None of the Keepsake items are exclusive to this choice and are mostly consumables that should be used when convenient.
Golden Seed
The top recommendation is the Golden Seed which is used to get another Sacred Flask. Sacred Flasks are for both healing your HP (Health) and restoring your FP (Mana) which is needed for weapon skills or spells. Sacred Flasks are also refilled to full when you rest and can be restored in a few other ways in the open world. Choosing the Golden Seed is a huge advantage early on as you'll need many of these and the extra Flask is especially good for spellcasters.

Lands Between Rune
Next up we have the Lands Between Rune. This rune can be used to gain 3000 Runes which you'll use both for leveling up and purchasing items in various shops. Helpful for snagging a handful of early levels or items which can make your early experience smoother.
If your goal is early Runes though you should check out our Path to Power Guide.

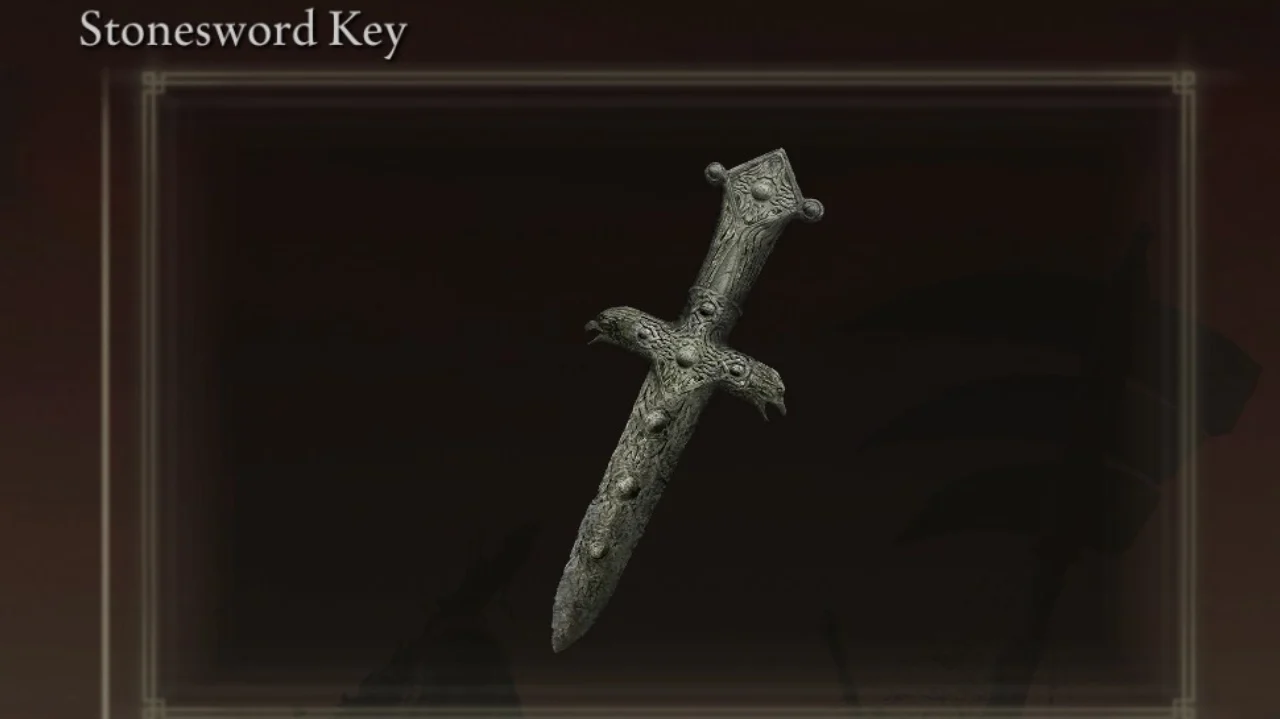
Stonesword Key
Finally the Stonesword Key is a good choice if you know exactly where you're headed. This item can be used to break Imp Statue seals to opens special doors that almost always lead to valuable unique items. Having an extra one will let you open more doors faster. They're relatively plentiful if you know where to look and can be bought from some early shops at moderate cost. Valuable if you are planning a build that uses a lot of these items the doors keep you from.
First Spawn
You initially spawn at a church altar and should spot a white glowing orb on a nearby body. This is how important items laying about are often displayed in Elden Ring and you should make a habit of picking these up. This particular item can be used for writing messages to other players using Elden Rings multiplayer system. Exiting the church the path is relatively straightforward leading across a bridge and into a courtyard where you're likely to be introduced to a souls-like experience you may or may not be familiar with...death!
The fight here is mostly a scripted death that takes you to the real tutorial but it is winnable and rewards you with a unique pair of swords and a greatshield should you succeed. This is an area you can access later on if you really want these items though.
Tutorial - Stranded Graveyard
After a short cutscene you awaken in the Stranded Graveyard. If you're new to Elden Ring it is suggested to drop down the hole on your right to get acclimated quickly to the games controls. It gives you a few situations to test out the new systems for players already familiar with the Souls series as well.
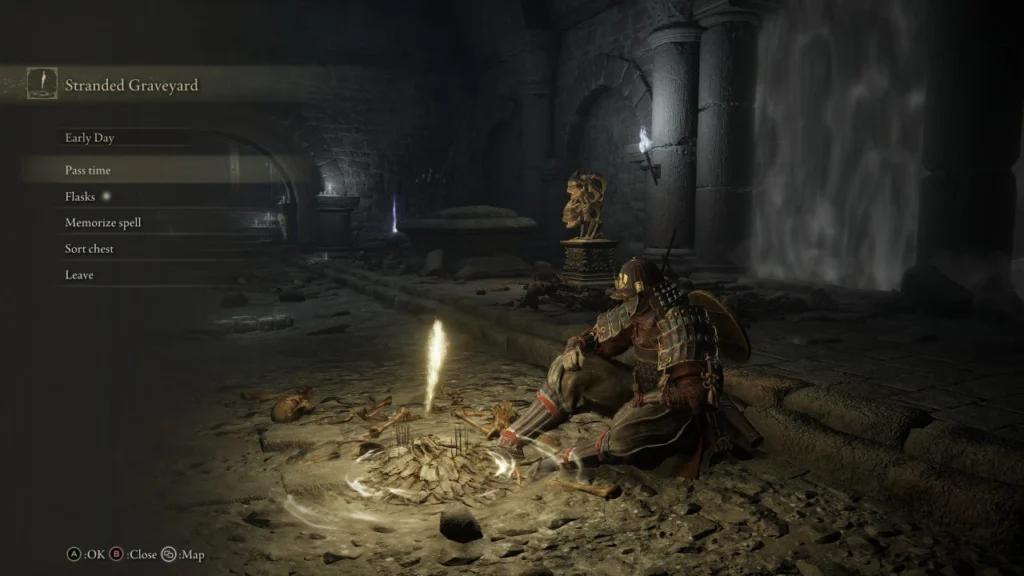
First Site of Grace
Whether you pressed on without the tutorial or completed it, move past the set of double doors and come across this Site of Grace.
Sites of Grace are incredibly important and used for.
- Fast travel points on your map
- Leveling up(Soon)
- Changing your memorized spells
- Passing time for events that need certain times of day
- Storing unneeded items clogging your inventory
- Upgrading and refilling Sacred Flasks which you should do now if you started with the Golden Seed.
Nearby you'll spot some Imp Statues I mentioned when discussing the Stonesword Key Keepsake, which you need two Stoneswords to open, I wouldn't suggesting opening it until you're at least level 40 as it's a much more difficult area. Additionally there are two multiplayer relevant items glowing on your way out toward the elevator.
First Steps in Limgrave
Use the elevator by standing on the big button in the middle of it sending you up into the open world. You are met with a grand view and lots to do right away. There is a Grace to grab and you can meet Varre who disparages you for being maidenless, which gets fixed soon, but he is very helpful for those looking to access the DLC Shadows of the Erdtree.
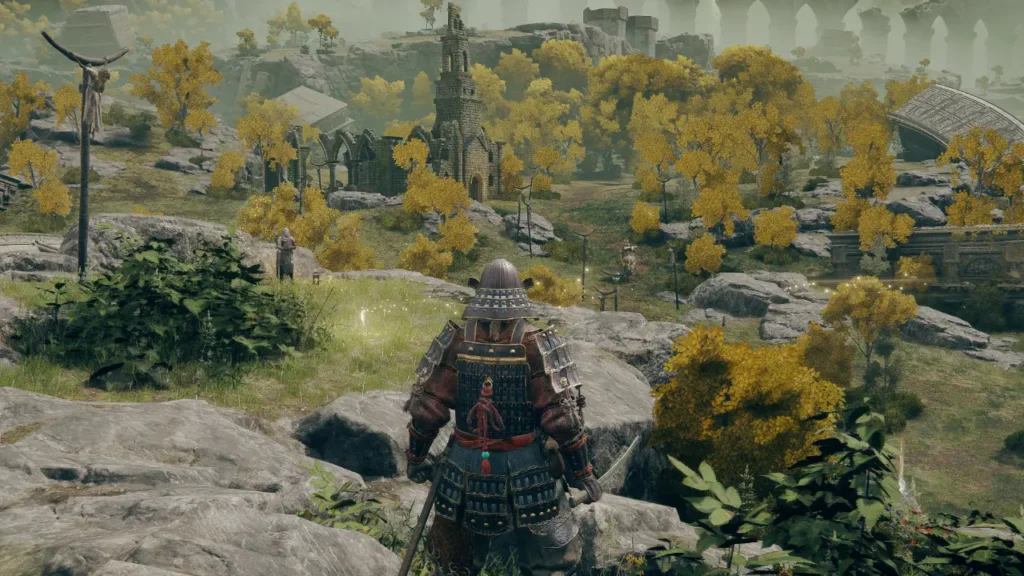
Just speaking of what we can see from this hill there is a large golden knight on horseback trotting around in front of a dilapidated church. While it is advised to avoid this knight he once again is beatable and rewards you with his special weapon if you defeat him. Feel free to throw your endlessly respawning corpse at him if you like but again this is probably a future you problem.
Beyond the knight the church is more immediately valuable to us. There is another Grace here alongside our first merchant Kalé and a smithing stone on the anvil for our first weapon upgrades. Talk with Kalé and check out his shop but for our next stop of the Beginner's Guide we're heading North East out of the church.
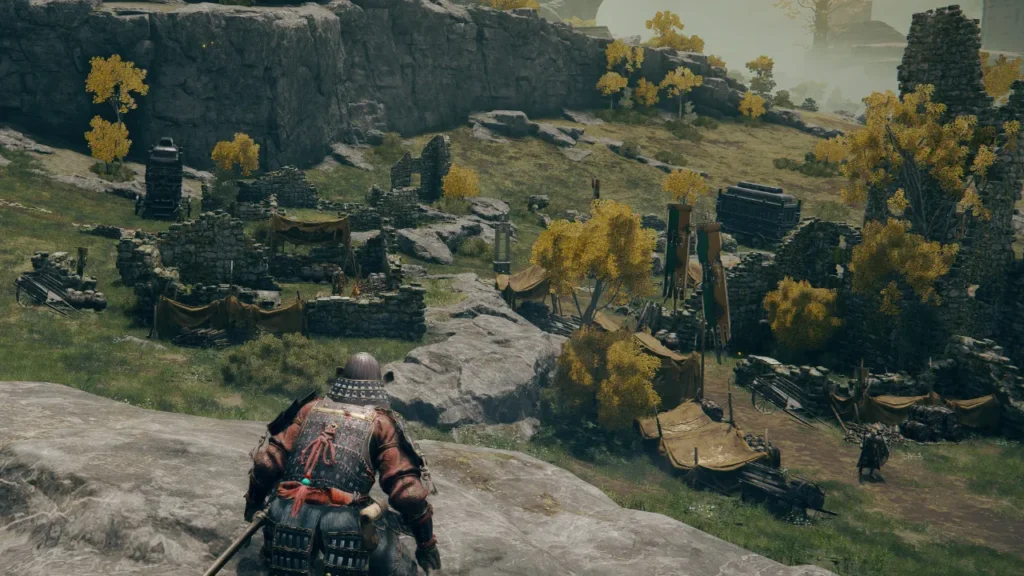
Gatefront Ruins Encampment
Major Unlocks
Cresting the hill, you should see the soldier encampment. Before heading in it's recommended to cut left around the camp and rest at the Site of Grace near the large stone gate. Melina introduces herself here and she also gifts you with the Spectral Steed Whistle allowing you to summon Torrent to traverse more quickly.
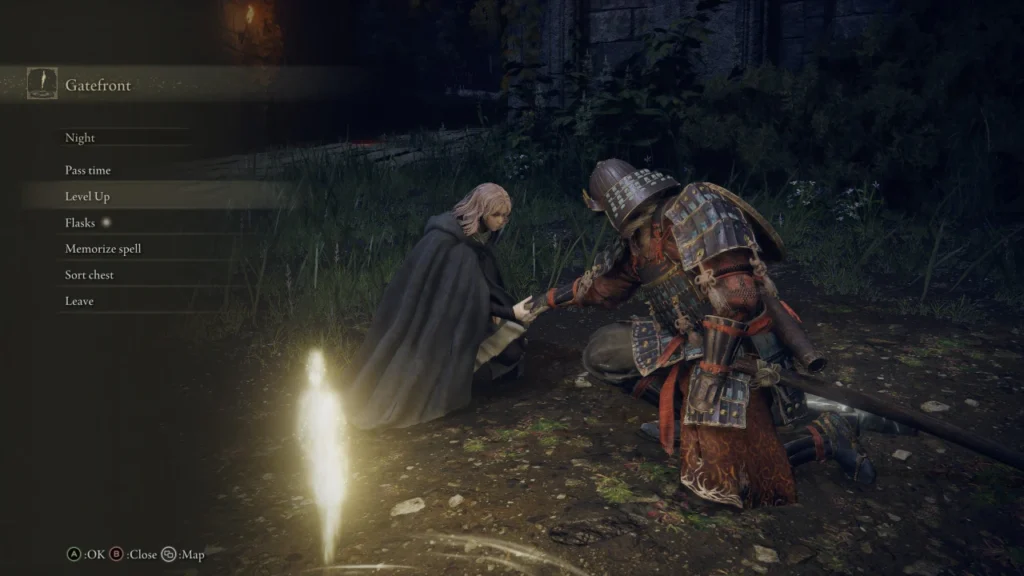
Due to the Melina cutscene forcing night it's also the perfect time to fast travel back to the Church of Elleh we just came from and meet Ranni. She's sitting on a nearby ledge there and gifts you with the Spirit Calling Bell and Lone Wolf Ashes if you're honest with her saving you the Runes needed to purchase the items later. Spirits are summonable for most boss fights or large encounters and are incredibly useful.
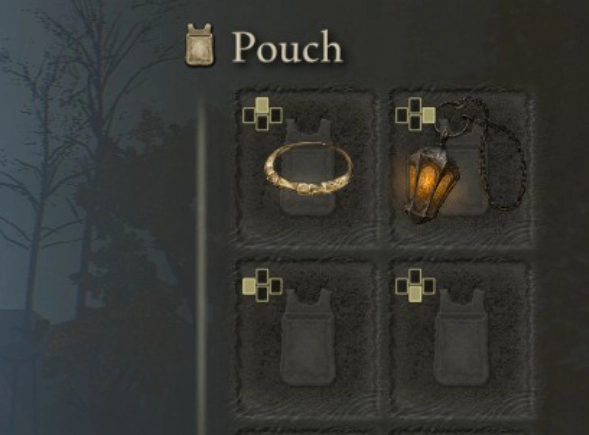
Pouch Slots
You should equip the Spectral Steed Whistle and the Lone Wolf Ashes to your Pouch slots now. You can equip items to your Pouch slots in the top right of the pause menu and use items in them by holding Y to change your lower left gear menu into the Pouch menu then pressing the direction of the item you'd like to use on the D-pad. Items you use frequently but don't need often in combat are best kept here.
The Encampment Itself
Fast traveling back to the encampment there are a few important items to grab. First it's advised to grab the map piece at the large tablet in the center of camp. Tablets like this will fill out your map and are marked on the featureless portions of the map to give you sense of where to head to get more info about the region you're in. After acquiring that this camp has some items to collect that I'll just list below.
- The Lordsworn's Greatsword in one of the large black carts at the camp, an excellent early game strength weapon
- The Flail which is in the other large black cart, a solid early game dexterity option that also applies Bleed to enemies
- The Whetstone Knife is located down a staircase built into the ground and is picked up with your first Ash of War (Equipable Weapon Skill), allowing you to apply them to weapons at Sites of Grace
- The Brass Shield also has a chance to drop from the enemies wielding it at the camp. It is notably the strongest medium shield in the game without considering special buffs.
Where do I go now?
With items collected and some combat experience under your belt you're ready to freely explore in any direction you'd like to progress through the game. If you'd like some more concrete progression I'd highly advise checking out our Path to Power Guide which will help you quickly progress towards powerful builds such as our Faith Build, Sorcery Build, or Arcane Build. Good luck and I hope this guide has served your start well.
Written by: Brozime
Reviewed by: Dredscythe