
Welcome to the Gauntlet and Leaderboards Overview for Diablo 4! The Gauntlet is a competitive endgame mode where you compete with other players for the top spot on the Leaderboards.
Accessing the Gauntlet
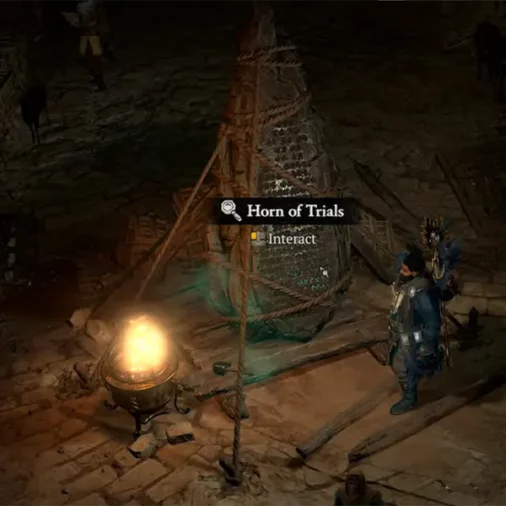
You must first reach World Tier 4 to unlock the Gauntlet itself. Then, go to the docks of Gea Kul (capital of Kehjistan) and activate the Horn of Trials to start the Gauntlet.
Gauntlet Basics
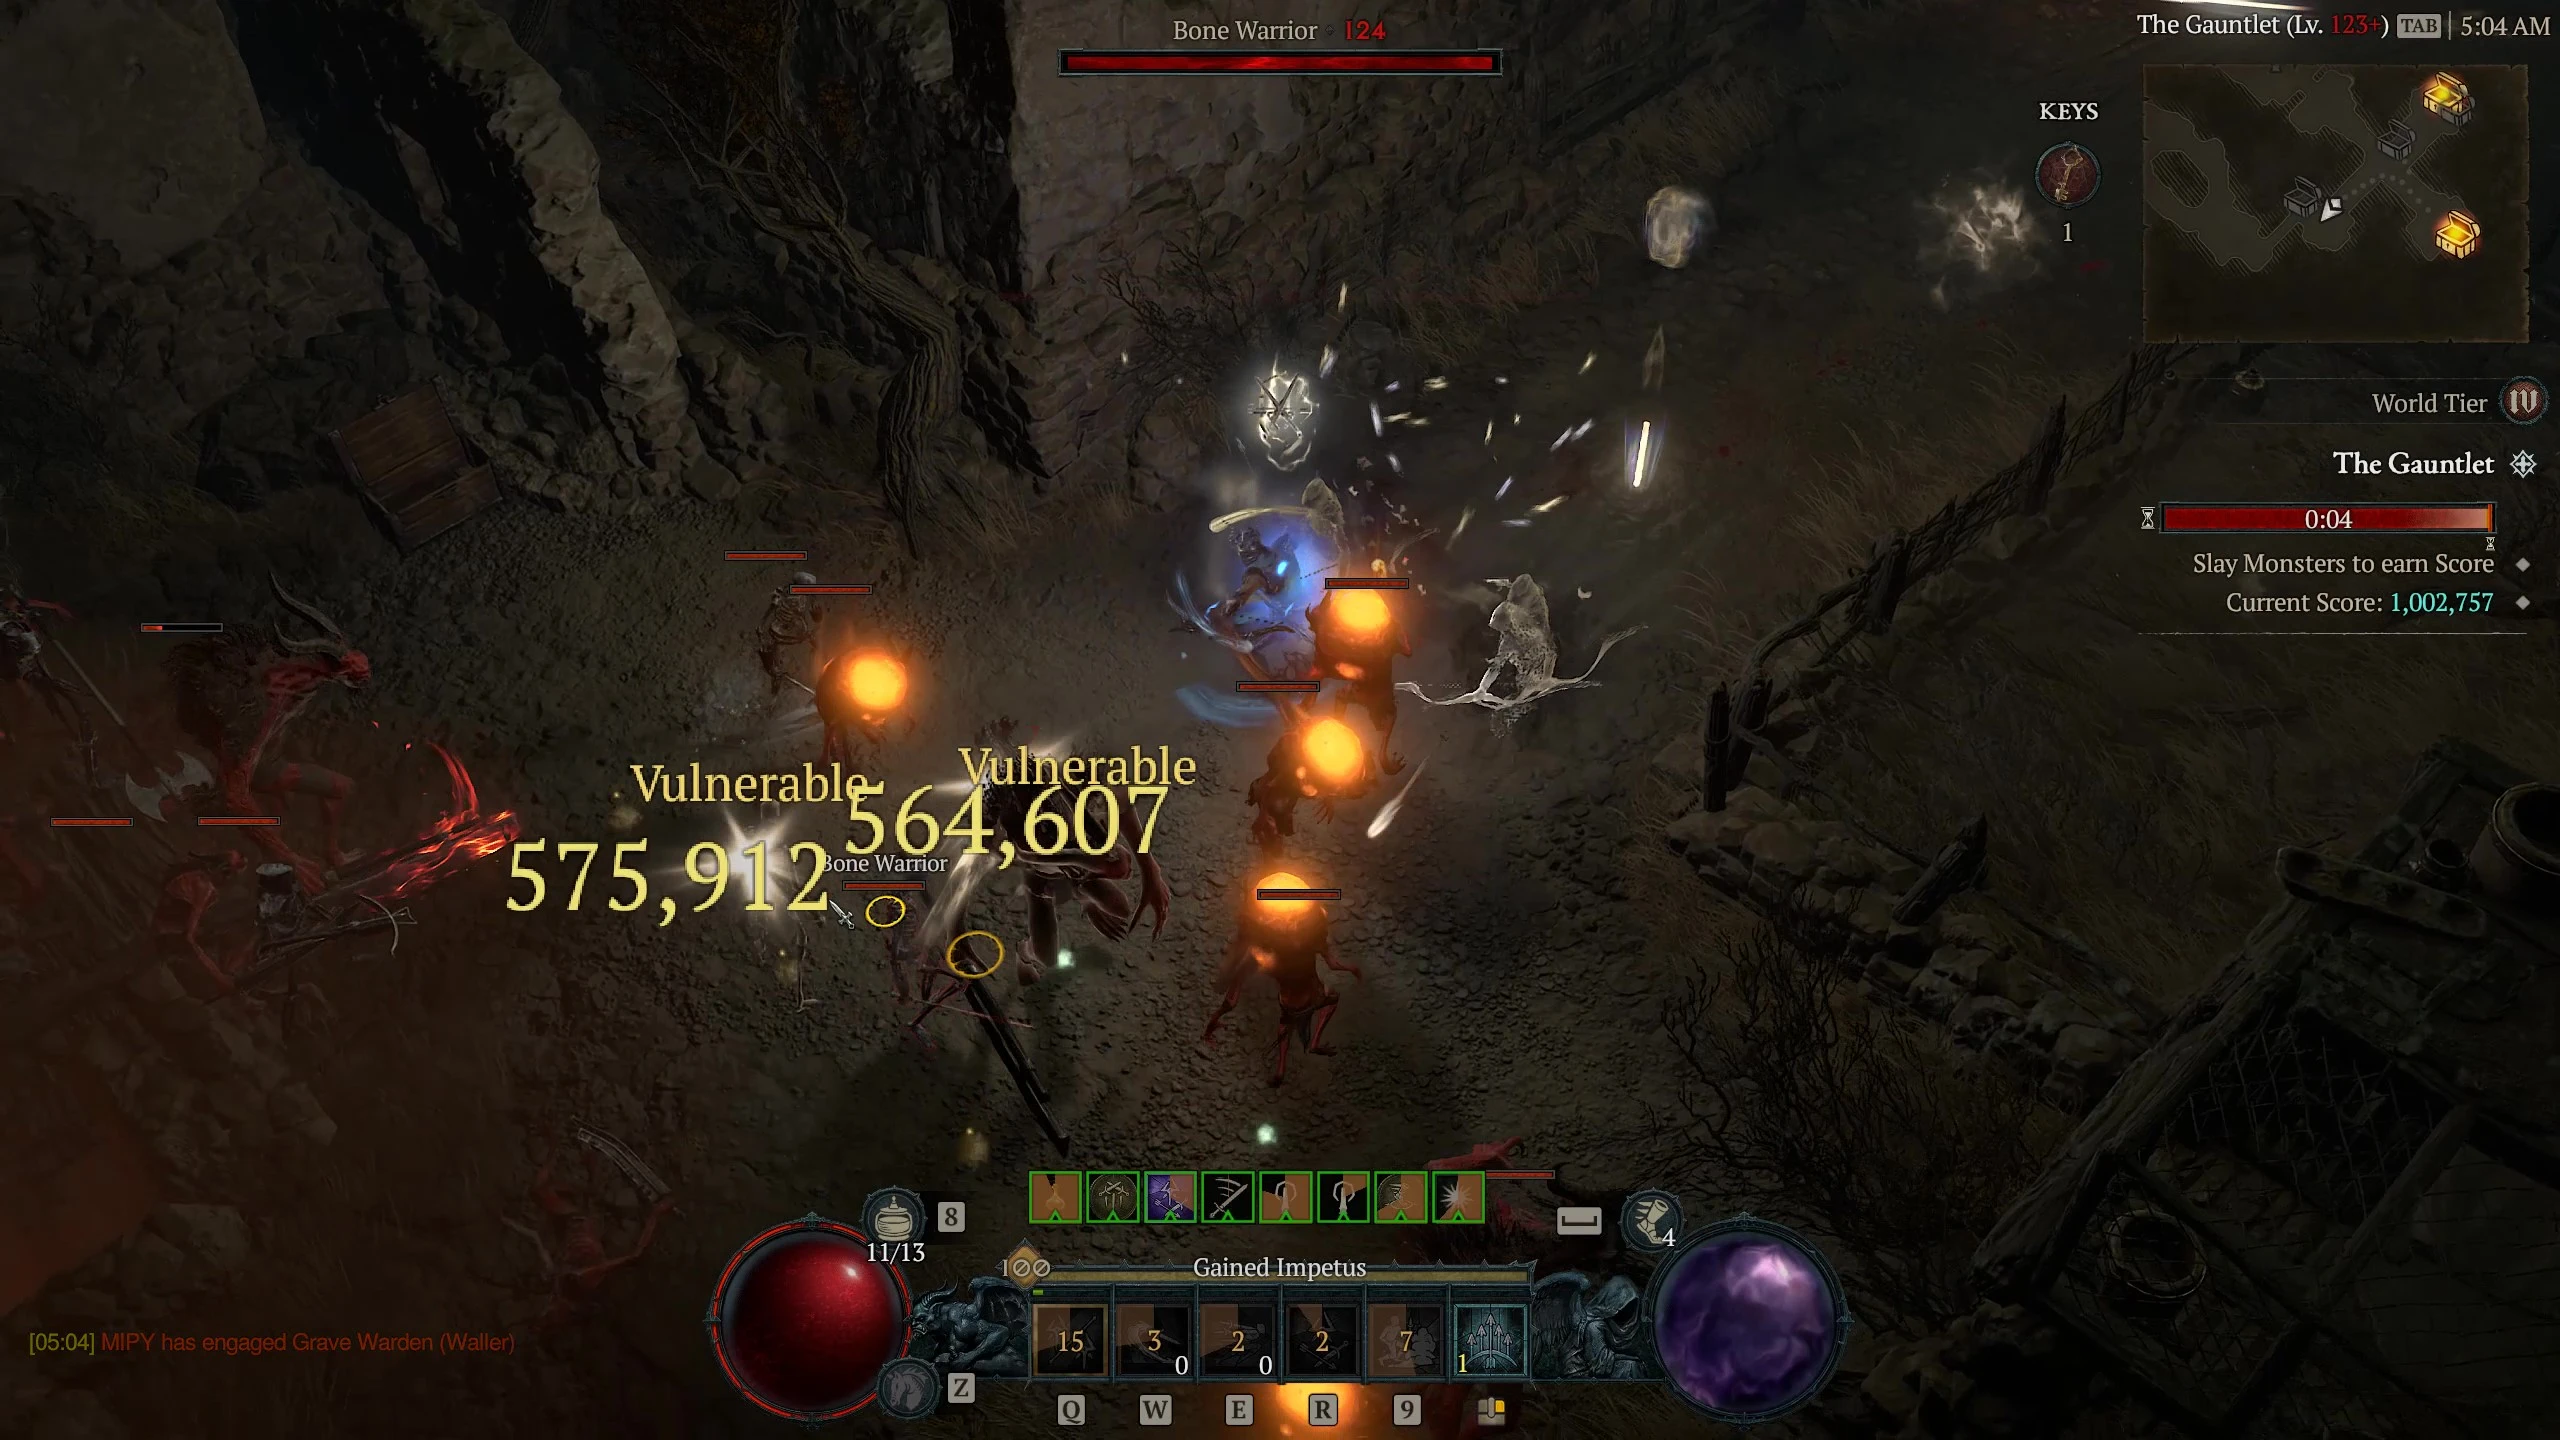
The Gauntlet is a weekly challenge mode that has players killing hordes of monsters for Proofs of Might. This determines your score. Here are a few key points to remember about the Gauntlet:
- Gear and Skills locked - Your Skills Passives, Paragon, and Gear are locked when you enter the Gauntlet, so go in prepared. You can still use Potions and Elixirs as normal.
- Fixed Layout - The map along with all enemies, Pillars, Chests, and monsters with Keys are found in the same location each run.
- Got to go fast - You have 8 minutes to collect as many Proofs of Might as possible for the highest score.
- Monster Level 124 - Enemies are equivalent to that of a Nightmare Dungeon 70.
- Don't die! - While not the end of your run, you drop a third of your Proofs on the ground if you die. You (or a teammate) can pick them up in the spot where you died; Hardcore is still Hardcore though!
- Start & end time - The current Gauntlet ends every Tuesday at 8:00 AM PDT, with a new one starting at 10:15 AM PDT at which point the layout changes.
Pillars
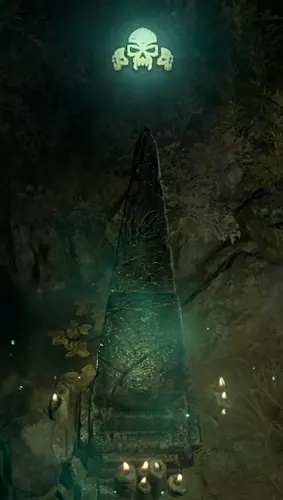
Pillars are Gauntlet exclusive "Shrine-like" power ups with unique effects. You find Pillars at fixed positions throughout the Gauntlet.
Pillar of Proving
The Pillar of Proving re-summons all dead enemies and Bosses across the entire Gauntlet for you to kill again to gain more Proofs of Might.
- Use these Pillars after clearing out dense areas of monsters and Bosses.
- Consider pulling mobs towards the Pillar to get more value out of the Pillar activation.
- As a group, it may be beneficial to have a single player back-track to activate it to kill more enemies quicker, just to do it again.
Pillar of Glory
The Pillar of Glory gives you significantly more Proofs of Might from killing enemies and opening Chests for 30 seconds. This can be affected by +% Shrine Buff Duration.

- Use these whenever you encounter a big group of monsters and bosses.
- As this also works on Chests, use it after you have already collected the Keys.
- When you are playing with a group, a player can be designated to pull stray monsters towards this Pillar.
Chests & Keys
Certain monsters need to be killed for Keys used to open Regular and Golden Chests. These Chests drop Proofs of Might that increase your score, with Golden Chests giving significantly more than Regular ones. Both types only require one Key to open, so plan your route to get to as many Golden Chests as possible. You won't know which monsters drop the Keys prior to entering, but thankfully these specific monsters won't change between different Gauntlet runs. Lastly, all Chests have icons on the mini-map.
Bosses
Elites and Bosses are indicated on the mini-map to make locating them easier. Bosses drop Shrines when defeated in addition to providing a significant number of Proofs of Might. The Shrines dropped are the same each time from a particular Boss. Shrines do NOT normally appear in the Gauntlet, so with this knowledge, you can plan out your power boosts with greater detail. However, when a Boos is respawned by a Pillar of Proving they won't drop a Shrine. This was a Season 4 update.
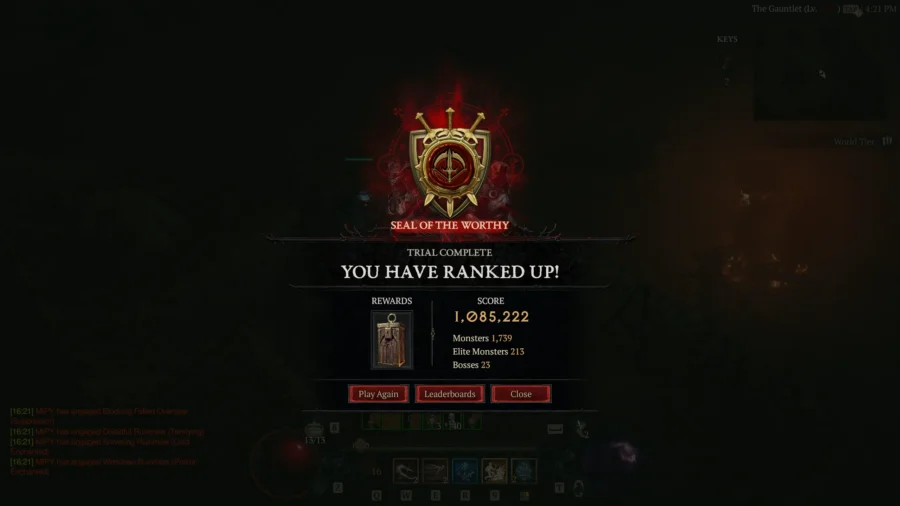
Seals
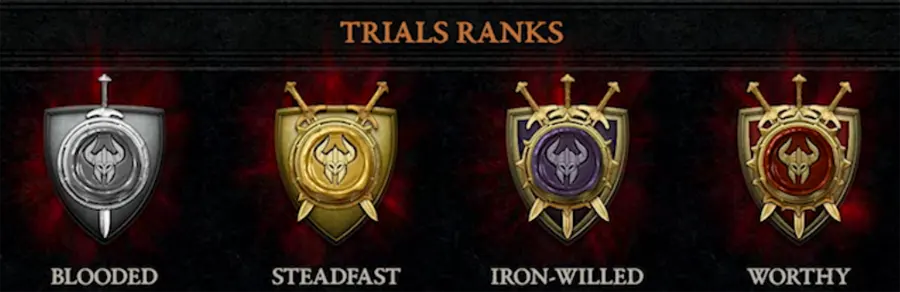
Seals have a minimum score threshold based on the Gauntlet for that week, but do not guarantee a placement on the Leaderboards. Therefore, Seal of the Worthy (the highest Seal), might not secure you a Top 1,000 placement. Ultimately, focus on getting the highest score you can! You start at Seal of the Blooded, work your way to Seal of the Steadfast, then Seal of the Iron-willed, and finally the Seal of the Worthy. Depending on your character's power, you could go from no Seal to Seal of the Worthy in one run of the Gauntlet, it's all determined by your score.
Rewards
Depending on your top score you are rewarded with Caches of Trials after the Gauntlet's weekly reset. The higher your score, the better the reward for that week. Earning a Cache of Trials guarantees one Ancestral Legendary, and scales in opulence with the Seal awarded.
Earning the Seal of the Worthy grants lucrative treasures, as the Cache of Trials is guaranteed to drop level 925 items. Additionally, these Caches have a high chance of dropping precious Uniques! You can gain rewards by attempting to score in multiple Leaderboards. You can also get multiple reward caches by completing several class specific, group size, or even Softcore/Hardcore Gauntlets over the course of a week. If you manage to secure your place in the Top 100 of any Ladder, you earn a Conqueror’s Crest Mount Trophy.
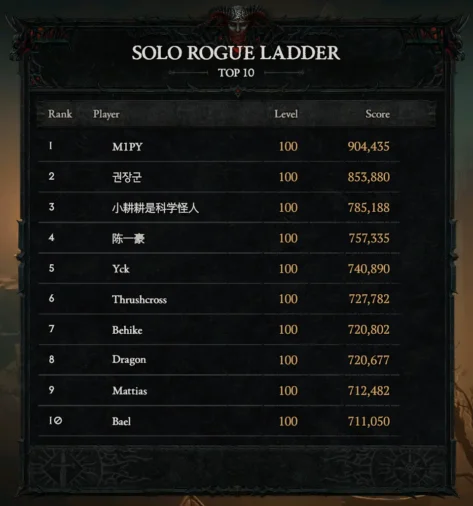
Leaderboards
Leaderboards are separated by ladders for each class, party size, Softcore, and Hardcore. Furthermore, you can filter them by your Friends and Clan to see how you measure up against your allies. To earn a place on the Leaderboards, you need to reach a score high enough to make it to the Top 1,000 for any given Leaderboard.

Hall of the Ancients
If you place in the Top 10 on any of the Leaderboards, your name is immortalized in the permanent Hall of the Ancients, allowing future players to see your amazing performance.
Strategy
- Scout the map - You can run the Gauntlet as many times as you want. Explore through the map to find Chests, Key Holders, Shrines, Pillars, and Boss locations, and record them if you want.
- High monster density areas - Find large areas of enemies that can be killed to make larger pulls. This is key when maximizing the value of Pillars and Shrines.
- To Chest, or not to Chest - Figure out where Chests (preferably Golden) are and plan your route to increase your Proofs of Might collected.
- Maximize your mobility - A lot of time in the Gauntlet is spent moving from one pack to another, so be sure to cut it down as much as possible with gear and Movement Skills.
- Timing is everything - Plan your routes to make the most efficient use of important shrines & pillars!
- Bosses are tough - Properly prepare to burst them down to gain access to more Shrines and Proofs of Might.
Summary
- The Gauntlet and Leaderboards are a weekly rotating endgame activity located in Gea Kul.
- The layout and position of all enemies, Pillars, Chests, etc. within the Gauntlet is fixed for the week.
- Slay monsters and Bosses and open Chests to collect Proofs of Might to get your highest score to place on the Leaderboards.
- Utilize Pillars to your advantage and to increase your score and earn a higher Seal.
- Besting the Gauntlet and placing in the Top 10 on any Leaderboard immortalizes you in the Hall of the Ancients.
Credits
Written by M1PY
Reviewed by Dreadscythe, Tenkiei