Getting Started in Clair Obscur: Expedition 33 (Beginner’s Guide)
Last Updated:May 1, 2025|Changelog
Clair Obscur: Expedition 33 has a great tutorial system that introduces you to the basics as you begin exploring the Continent. This Expedition 33 beginner's guide includes some of the basics along with tips and tricks to help you succeed. Learn about exploring the world, encountering optional bosses, camping, the cast of characters, combat, weapons, attributes, Pictos, Lumina, and more.
Exploring the World
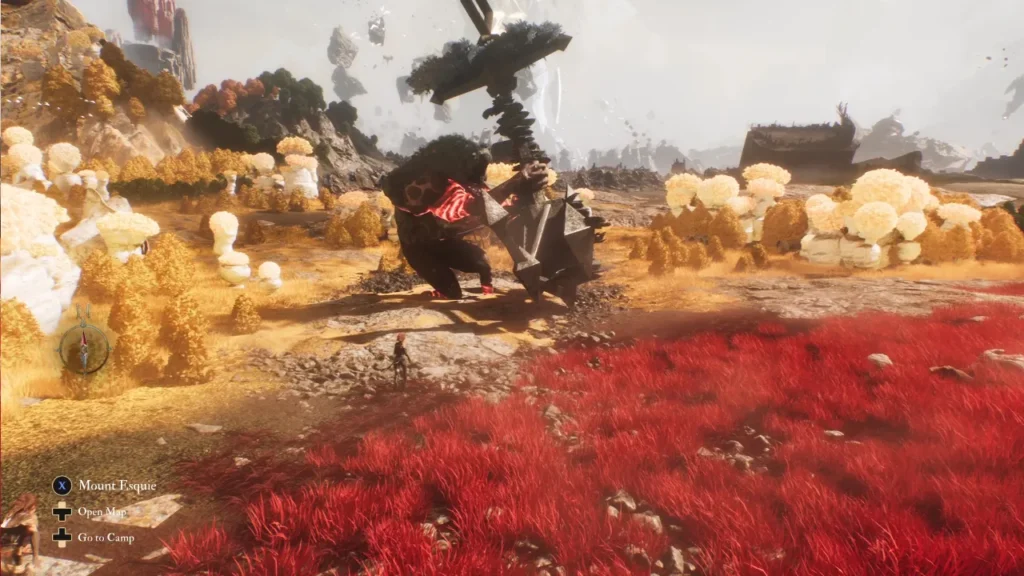
You have a variety of ways to explore the continent, there are side zones to find, and dangerous overworld bosses to fight. When navigating the overworld map, you begin by walking around, but later you get to ride the mythical Esquie. Keep an eye out for his missing rocks as these open up new ways to traverse, such as swimming, diving, and even flight! Also look out for lost Gestrals; if you collect 5, you unlock the ability to break Paint Spikes across the continent.
There are many rewards for exploration. Both in the overworld and each zone, there are awesome Pictos found just a bit off the beaten track. You can also find lots of side areas. Some of these have quests to complete, others contain merchants, several offer jumping puzzles or musical collectibles, and a few are teeming with Nevrons to fight. Keep an eye out for areas marked with "Danger!" as these are higher-level zones that are dangerous at your current level. If you find one, make a mental note to come back later.
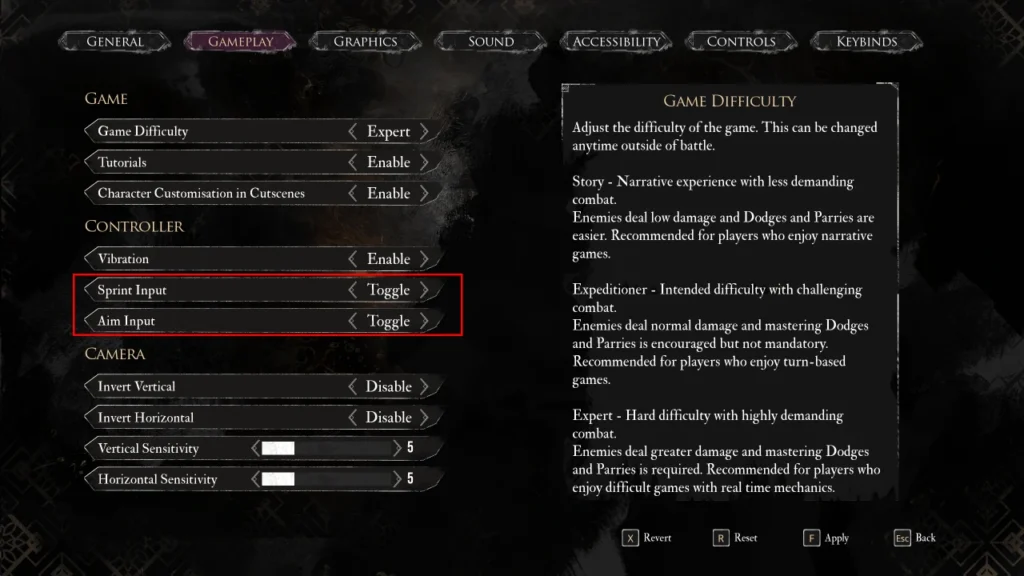
You can change Sprint and Free Aim to a toggle in the menu so you don't have to constantly hold down the button/key.
Camping
If you need a break, you can use D-Down when on the world map to Camp. This is where you can take a break, rest up, and speak with the various expedition members. After meeting the Curator, he can help you upgrade consumables, add Lumina points to your characters, and upgrade weapons. Later, you can use this time to build up your relationships with the other members of the Expedition. Reach level 3 with each party member to unlock a special Gradient Attack.
Challenging Foes
Several of the overworld enemies present a formidable challenge. You might encounter these before you're ready to take them down. Don't be discouraged if a world boss hits you for double your current maximum health, progress the story, level up, and come back later. Many optional areas (and bosses) are much harder than story content available at the same level, but they have lots of exclusive Weapons and Pictos that make them well worth challenging!
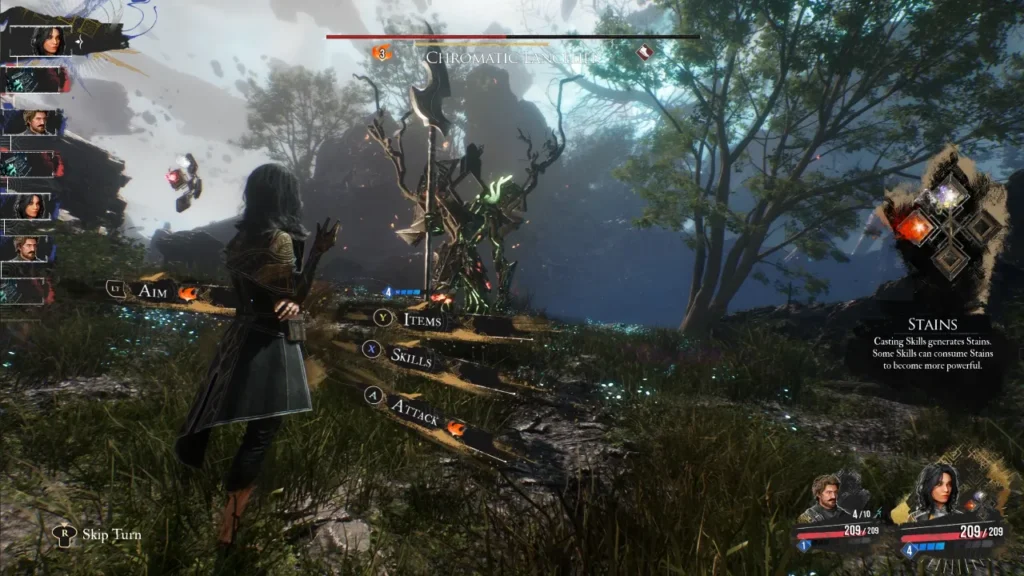
You can encounter Chromatic foes throughout the world. These are extremely challenging versions of a normal enemy. For example, the first of these is the Chromatic Lancelier, who appears in the spring meadows. Like with overworld bosses, each has unique and valuable rewards. Some Chromatic enemies have special mechanics, such as only taking damage when certain conditions are met, or attacking relentlessly until you stun or counter them.
Paint Cages and Other Puzzles
As you're exploring different areas, you may come across puzzles, quests, and other types of side content. Two notable things are Paint Cages and Petanks.
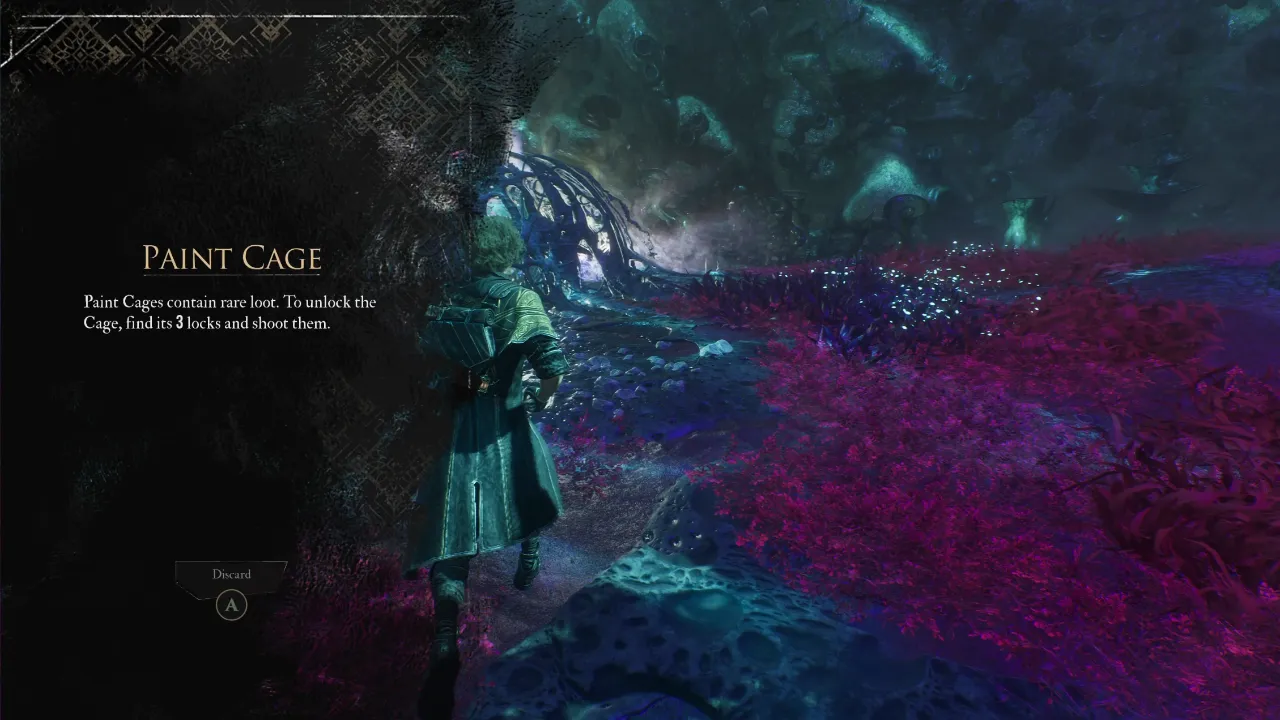
- When you encounter a Paint Cage, look high and low to find the 3 marked locations and shoot them with LT+RT to unlock your loot.
- Petanks run away from you, chase them to the corresponding symbol shown on the ground.
- Each fight is its own puzzle, they might summon allies, gain defenses, or require you to use Free Aim shots.
Combat
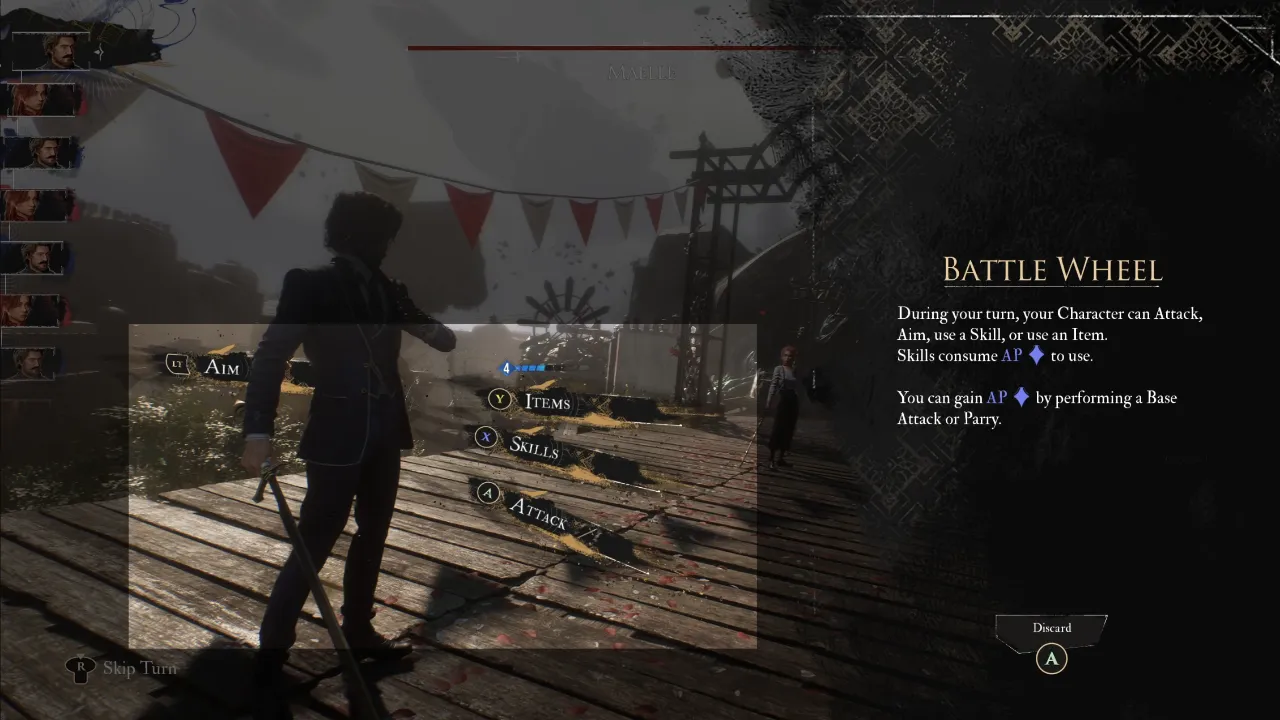
Clair Obscur: Expedition 33 uses a hybrid turn-based real-time combat system. Normally, each character takes turns based on their speed; the faster you are, the more likely you are to go first and the more turns you get. However, you get to react to enemy attacks in real time, using a variety of defensive actions to avoid damage.
- Each character can use 6 skills at a given time, but you can unlock as many as you want (provided you have enough skill points from leveling up). When you're struggling on a fight, consider switching up your skills, changing your weapon and trying a different approach.
- Managing your AP is crucial to defeating enemies efficiently. You can use different Pictos to increase AP generation or focus on parrying enemy attacks.
- If your team falls in battle but you have more than 3 people in your party, the remaining members can come in for a last stand. Use this to take down a foe you're struggling against!
- While exploring Monoco's Station, you also get access to powerful Gradient Attacks. Build your Gradient charge by spending AP (5% per 1 AP spent). Characters play again after using a Gradient Attack, allowing you to chain these into your strongest abilities.
- NOTE: Players can only "Play Again" once per turn. So if you use one of those effects after a Gradient Attack, they do not get a third turn.
- Your damage is limited to 9,999 while you play through most of the story. Once you reach the damage cap, it's better to hit more frequently than it is to continue trying to hit harder. This changes once you obtain Painted Power.
When acting first due to "First Strike," the order in which your party plays can be strange / not match the regular turn order.
Enemy Actions
- Enemies telegraph their attacks. This is called out with text near the center of the screen, such as "The enemy attacks slowly," but also with the movement of their weapons. While the attack type gives you a general idea, you need to watch the weapon itself to time your dodge or parry.
- In the early game, enemies have simple sequences of 1-3 attacks. However, by the endgame, they use complex sequences of 5-7 moves with animation traps. Plan carefully, use consumables, and dodge to learn their patterns.
- Some attacks have auditory cues in addition to -- or instead of visuals. Listen for a sound that is synchronized to the attack in addition to watching the enemy's arm or weapon. Typically the audio cues are a high-pitched ring, a grunt or a "thwomp"
- You can Dodge, Jump, Counter, or Parry almost every attack in the game. There are a few exceptions, but these are tied to fight-specific mechanics.
- After you unlock Gradient Counters, watch out for the screen going dark, telegraphing this dangerous attack type. The counter window on these moves is quite generous, so countering a little earlier is better.
- Enemy Jump Flares and Gradient Attacks cannot be Dodged or Parried! React accordingly by jumping (A) or using a Gradient Counter (RT).
Try turning Vsync on and capping your FPS at 60. From our experience, it's easier to Parry enemy attacks when running the game at 60 FPS with Vsync on as opposed to running at 120+ FPS or using an uncapped framerate.
Weaknesses, Shields, and Statuses
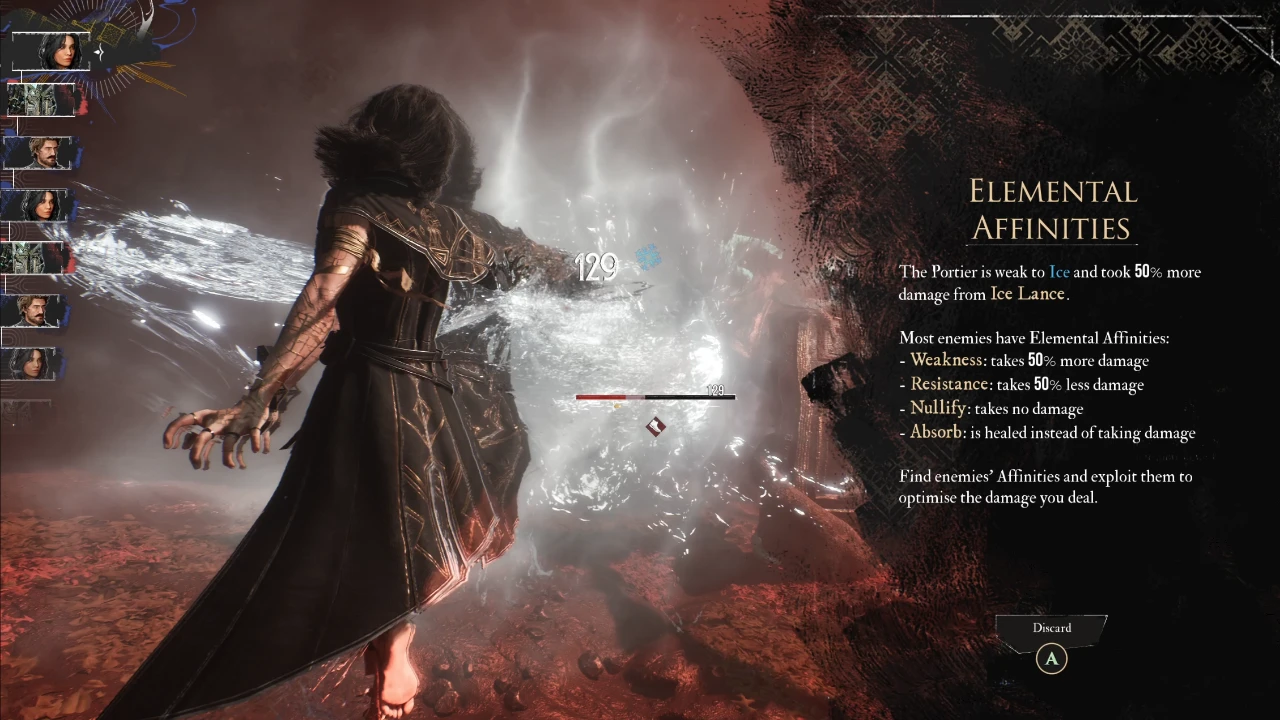
- Enemies have different elemental weaknesses. If one damage type is ineffective and you're struggling in a fight, consider swapping to a different weapon or trying skills of a different element.
- Shields protect from all damage. When an enemy shields itself, use an anti-shield skill, multi-hit attack, or Free Aim shots to break them.
- Buffs provide both allies and enemies with a temporary bonus. Powerful increases damage, Shell reduces damage taken, and Rush increases speed.
- Debuffs known as statuses are a big part of battle. In particular, there are a lot of synergies around the "Burn" status, which deals fire damage at the end of the turn. Slow reduces speed and delays action, Stun skips a turn, Defenseless makes you more vulnerable to damage, and Exhaust prevents you from gaining AP.
Tips and Tricks
- Use your Chroma Elixirs (Y) liberally! This fully heals your party and saves the game. There are frequent Rest points where you restore consumables.
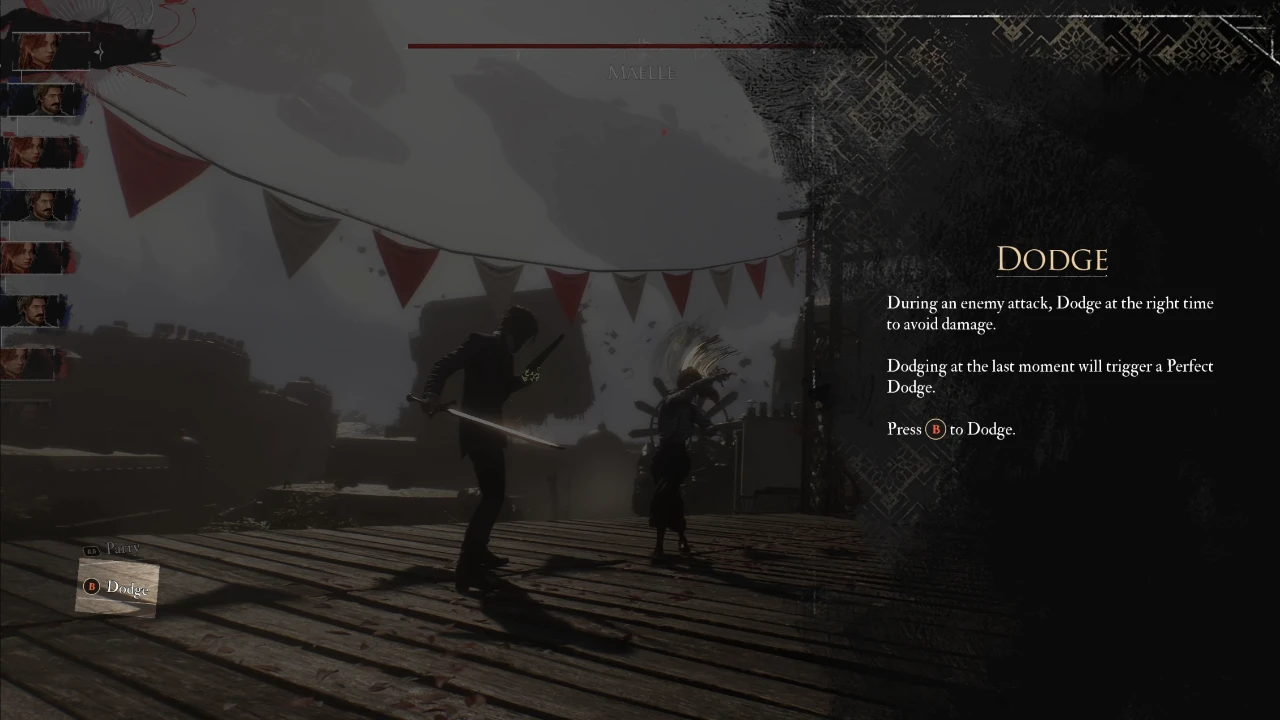
- Dodging (B) is easier than Parrying (RB), but Parrying is much more rewarding. Parrying gives you +1 AP per attack you Parry, and if you Parry every attack in the sequence, you unleash a devastating counterattack!
- Set your characters up to deal multiple types of elemental damage. This way, if an enemy is resistant, or immune to one damage type, you can simply use another without needing to change your weapon or build.
- Always break shields before shooting an enemy's weak point!
Consumables
It's the responsibility of each expedition to lay the trail for those who come after. This means there are countless flags scattered across the world, left by previous expeditions. You can use these to rest (restoring all consumables but respawning enemies), fast travel, and add skill/attribute points.
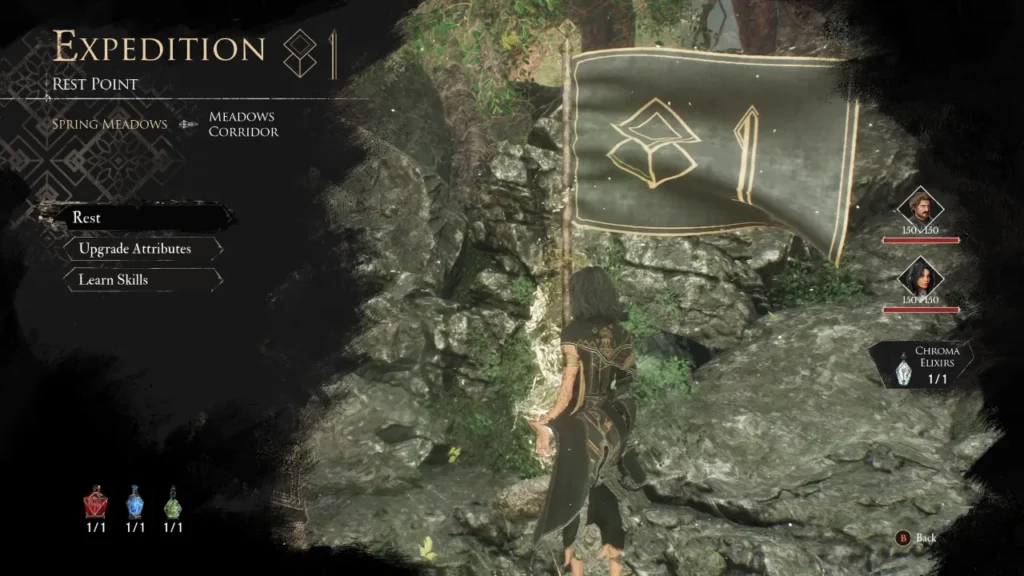
You have the following "consumable" Items:
- Healing Tints restore 30/65/100% of a party member's health.
- Revive Tints resurrect a party member with 30/65/100% health.
- Use an Energy Tint to give +3/5/7 AP.
- Chroma Elixir, only usable out of combat, fully restores the party's health, including inactive characters.
Keep an eye out for additional Tint and Elixir shards, giving you more consumables or upgrading their effects. Also, remember to use your consumables liberally because they refill every time you rest at a flag. The only downside is that it takes a character's turn; to avoid wasting AP, use your Free Aim shot for a bit of damage whenever you use a consumable.
Characters
There are a variety of memorable characters you meet along your journey. But 6 share the special honor of officially joining Expedition 33. You can use 3 characters in your active party at a time, but should they fall in battle, your backup party members can come in and clean up the fight. As the story progresses, you can have optional conversations with the members of Expedition 33. Each conversation builds your relationship level up to a maximum of 7. Level 4 and Level 7 unlock a gradient attack.
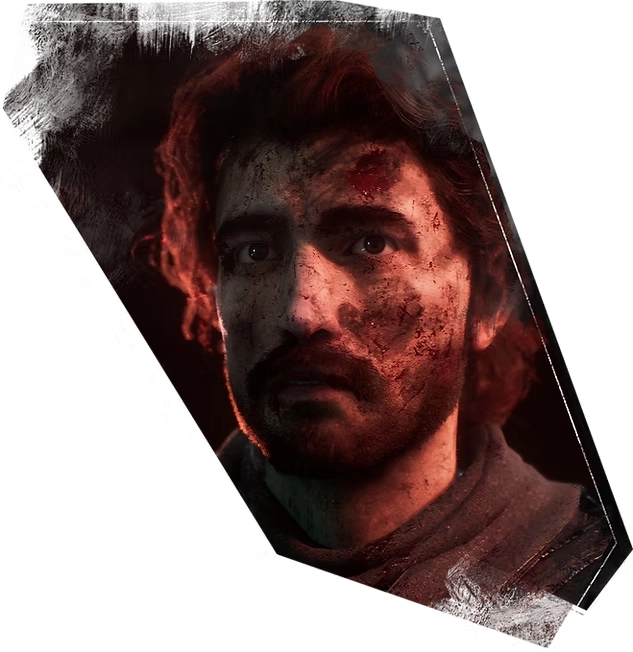
Gustave
Gustave is an engineer and the inventor of the Lumina Converter. He wields a blade and pistol, but his true weapon is hidden within his mechanical arm. After most of Expedition 33 is wiped out on the beach, he becomes the group's de facto leader. This guide details each of Gustave's skills, with notes on how to use them, then continues on to suggested synergies and team compositions.
Gustave's unique mechanic is Charge. He builds Charges by attacking, dodging, parrying, and building skills. When used with 10 Charges, his Overcharge ability deals massive damage and is very likely to Break enemies, stunning them for a round.
For a full breakdown of Gustave's skills, check out our dedicated character guide.
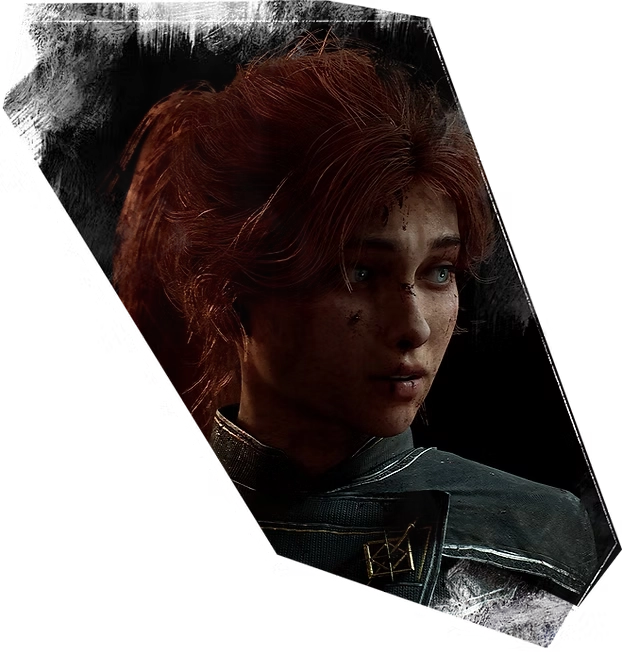
Lune
Lune is the first party member to regroup with Gustave after the crew embarks on its expedition. Personality wise, she is very driven, her main goals being her pursuit of knowledge and the completion of her parents' research that involves the mysterious circumstances that were created by The Paintress. She primarily serves as the game's "mage" character; that is, she has access to powerful offensive spells that are elementally aligned, as well as healing support and enemy debuffing capabilities. This guide details each of Lune's skills, with notes on how to use them, then continues on to suggested synergies and team compositions.
Lune's unique mechanic involves generating and consuming Elemental Stains, of which there are five: Fire, Cold, Lightning, Earth, and Light. Each element typically generates a Stain of its own type, while an opposing element consumes it to gain various effects, such as more damage, extra hits, or decreased AP costs. This makes Lune's playstyle quite strategic by encouraging the use of many different skills to maximize her effectiveness.

For a full breakdown of Lune's skills, check out our dedicated character guide.
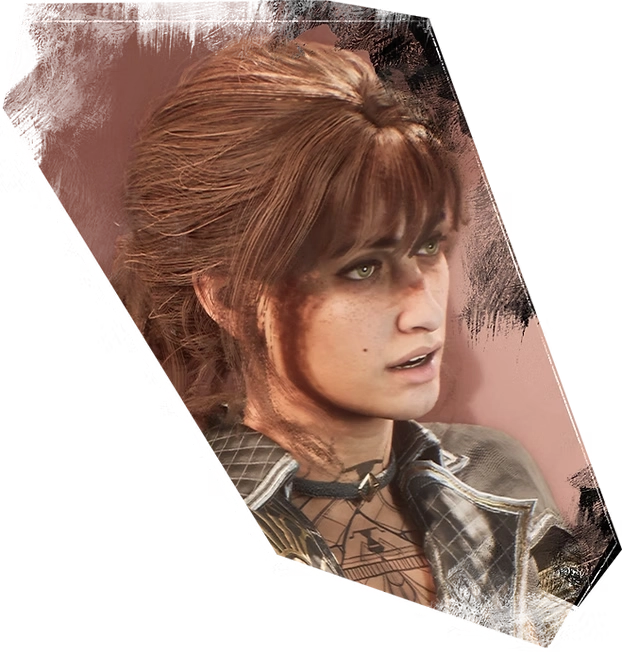
Maelle
Maelle is the third party member, and joins Gustave and Lune when they reach The Manor while travelling through Flying Waters. She is the youngest of the group and has no known immediate family, which has lead to her feeling like somewhat of an outcast that has difficulty trusting others. In battle, Maelle wields a sword and has a focus on melee Physical and Fire damage, but also has some great support options. This guide details each of Maelle's skills, with notes on how to use them, then continues on to suggested synergies and team compositions.
Maelle's unique mechanic involves her Battle Stance, which she can change at will by using various skills. There are 3 main Stances:
- Defensive Stance: less damage received, gain 1 AP on parry/dodge.
- Offensive Stance: more damage received, but also deal more damage.
- Virtuose Stance: deal even more damage, with no relevant downside.
When not assuming any Stance, Maelle is considered "Stanceless" - her neutral combat state. When switching between any Stance, aside from the inherent bonuses gained, Maelle also gains 1 AP any time she swaps.
For a full breakdown of Maelle's skills, check out our dedicated character guide.
Sciel
Sciel is the expedition's fourth party member and reunites with the group once they reach the Hidden Gestral Village. She wields a scythe and is largely an offensive character with a focus on dealing Dark and Physical damage, though she does have a few options to support her team as well. This guide details each of Sciel's skills, with notes on how to use them, then continues on to suggested synergies and team compositions.
Sciel's unique mechanic involves applying and consuming Foretell. Skills that apply Foretell (of which the default maximum is 10) generate Sun Charges, while skills that consume generate Moon Charges. While a Sun Charge is active, Sciel gains AP in relation to the amount of Foretell she consumes with an ability. Conversely, an active Moon Charge lets her gain AP based on how much Foretell she has applied to a target.
With both a Sun and Moon Charge active, Sciel enters a state called Twilight, which gives her the ability to inflict double the amount of Foretell with skills and double the amount of Foretell that can be applied to an enemy. She also drastically increases her damage according to the amount of Sun or Moon Charges she consumes while in this state. Because of this, it's often a good idea to find a good balance of skills that generate both types of Charges in order to be in Twilight as often as possible.
For a full breakdown of Sciel's skills, check out our dedicated character guide.
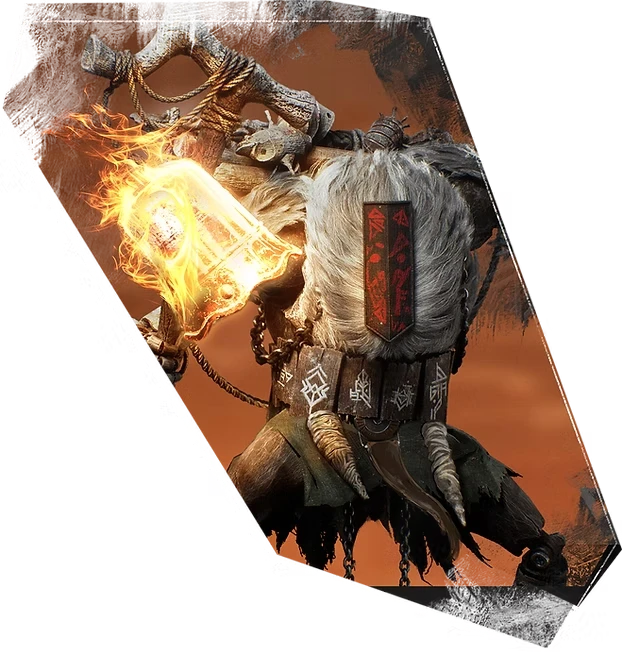
Monoco
The Gestral Monoco is always up for a fight. He wields a staff topped with a bell. Monoco resides at his station on the continent, living with the Grandis. He is an avid collector of Nevron feet who is always willing to go on a journey with his friend Verso. It doesn't take much convincing to get Monoco to join Expedition 33 as there's plenty of fighting to be done. This guide details each of Monoco's skills, with notes on how to use them, then continues on to suggested synergies and team compositions.
Monoco's unique mechanic is the Bestial Wheel. Move between different masks, each of which empowers different Nevron abilities. Each skill you use advances the wheel a certain number of steps, so you need to plan ahead to empower your desired skills.
For a full breakdown of Monoco's skills, check out our dedicated character guide.
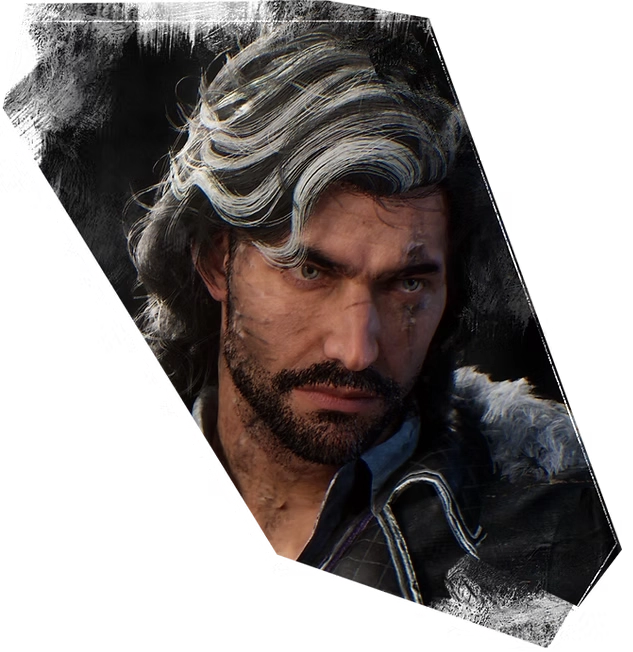
Verso
The enigmatic Verso joins the party at the start of chapter 2. While it may be hard to trust this dangerous stranger, his intentions seem good. This guide details each of Verso's kills, with notes on how to use them, then continues on to suggested synergies and team compositions.
As Verso Attacks, Dodges/Parries, and uses Skills he gains, Perfection. After accumulating enough Perfection, his Rank increases. A higher Rank means more damage, and many of Verso's skills gain bonuses when he's at a specific Rank. Play carefully, as Verso loses Rank upon taking damage.
For a full breakdown of Verso's skills, check out our dedicated character guide.
Attributes, Weapons and Upgrades
Each character uses a specific weapon. For example, Gustave has his sword and pistol, Lune her focus, and Maelle prefers a rapier. But there are a variety of weapon options found across the continent. Each has its own elemental damage type, attribute scaling, and most have special abilities once you enhance them to rank 4 and above.
Attributes and Stats
Each character gets 3 attribute points upon leveling up. These can be assigned to Vitality, Might, Agility, Defense, and Luck. You can allocate up to 99 points to each attribute.
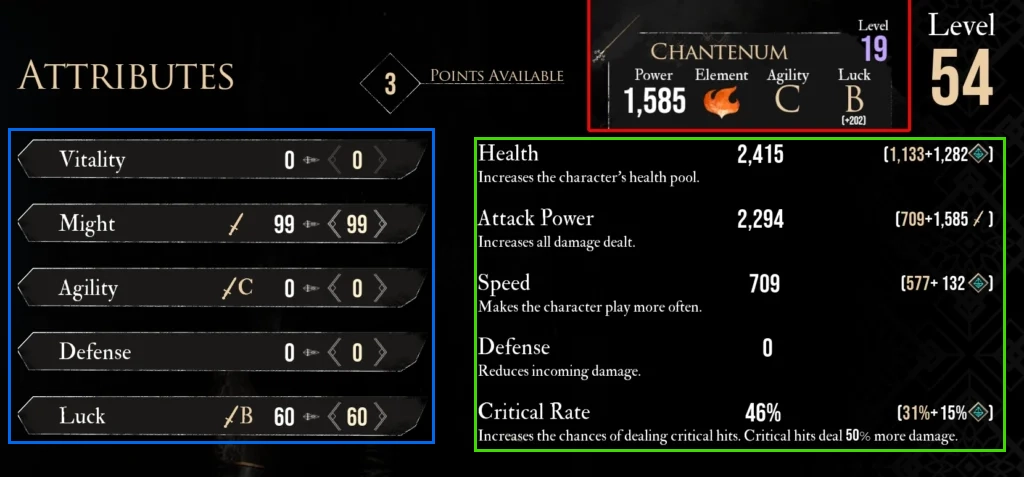
The letters assigned to each attribute on a weapon represent the scaling factors (D⇾C⇾B⇾A⇾S), with S being the highest. With each level a weapon gains, its scaling increases. Might is a great way to scale your damage in the early game. But around weapon level 20 / rank "A" scaling, other attributes start to provide the same, or more raw damage, while giving additional beneficial sub-stats, making them a better choice.
Attributes & Sub-stats
- Vitality: Health
- Might: Attack Power
- Agility: Speed and Defense
- Defense: Defense and Critical Rate
- Agility: Speed and Critical Rate
Weapon & Scaling Factors
- Chantelum provides this character 1,585 power.
- The weapon's element is fire.
- It has Rank-C Agility and Rank-B luck scaling at level 19.
Weapons
After meeting the Curator, you unlock the ability to upgrade weapons using Chroma Catalysts. Weapons begin at level 1 and go up to level 33. Weapons are also upgraded when you obtain a higher-level duplicate as a drop or from a merchant. Upgrading a weapon increases the attack power and scaling factors, along with unlocking passive abilities at levels 4, 10, and 20.
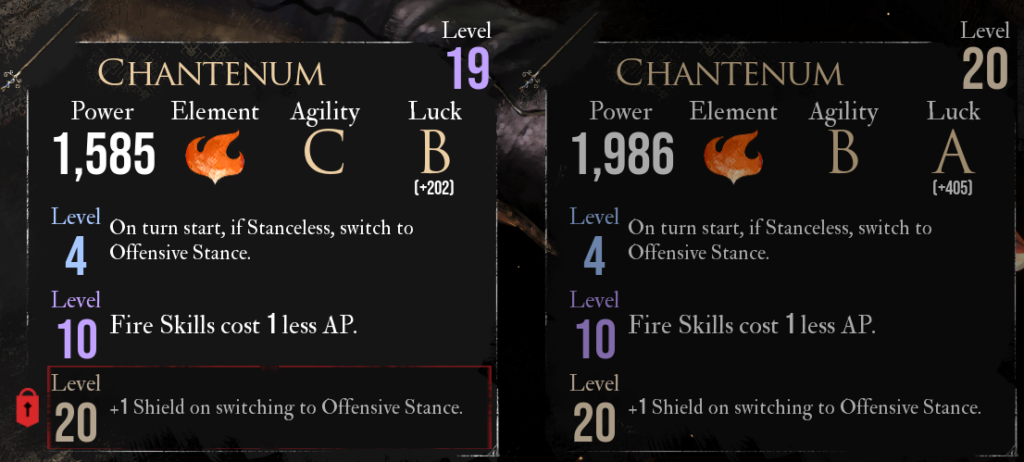
In this example, Chantenum gains a significant amount of power going from level 19 to level 20. Not only is a new passive ability unlocked, providing shields to Maelle when she switches to Offensive Stance. But it also significantly increases the weapon's Luck scaling.
Check out our Weapon, Attribute, and Upgrades guide for more details about how these systems work.
Pictos and Luminas
With Pictos, you wield the power of Chroma itself and thanks to Gustave's Lumina converter, Expedition 33 has a huge advantage over its predecessors - the ability to copy Pictos effects across multiple party members!
- Each character can equip 3 Pictos.
- You can only equip each Pictos to a single character.
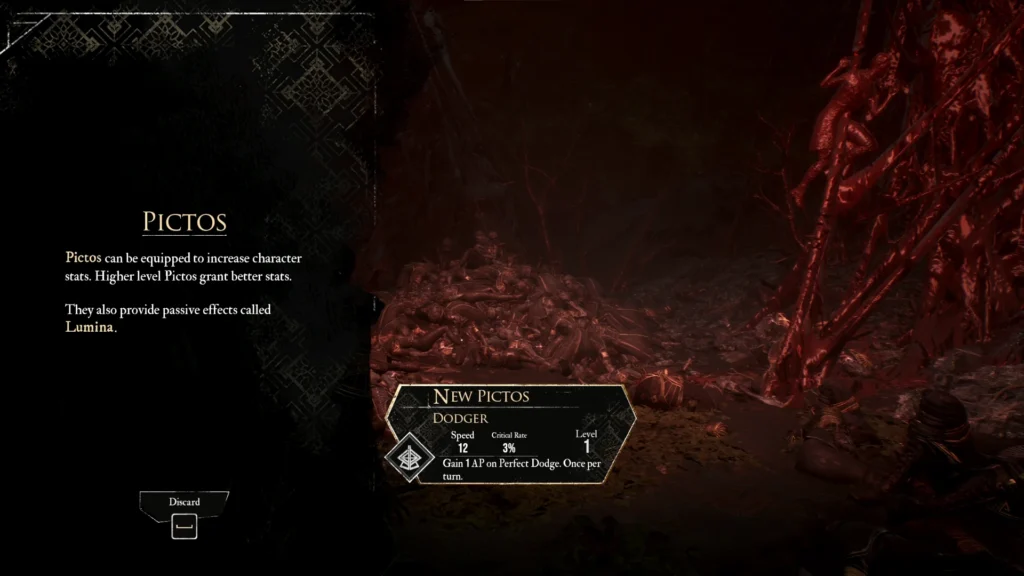
- A Pictos gives you stats and provides a unique effect. For example, in the picture above:
- The Level 1 Dodger Pictos gives +12 Speed and +3% Crit Rate.
- Its special effect is "Gain 1 AP on Perfect Dodge. Once Per Turn".
- Early on, your Pictos are limited, and their special effects outscale the base stats. Later on, high-level Pictos provide a lot of base stats, and you can easily equip Lumina to gain secondary effects.
- Dead Energy II and Critical Burn are 2 amazing Pictos you get right at the start of the game!
- Pictos drop off of enemies and bosses, but they can also be picked up while exploring or purchased from merchants. Keep your eyes peeled for these powerful tools!
- If you already have a Pictos, higher-level copies increase the level of your Pictos, scaling up the stats on your Pictos (the special effect remains the same).
Lumina
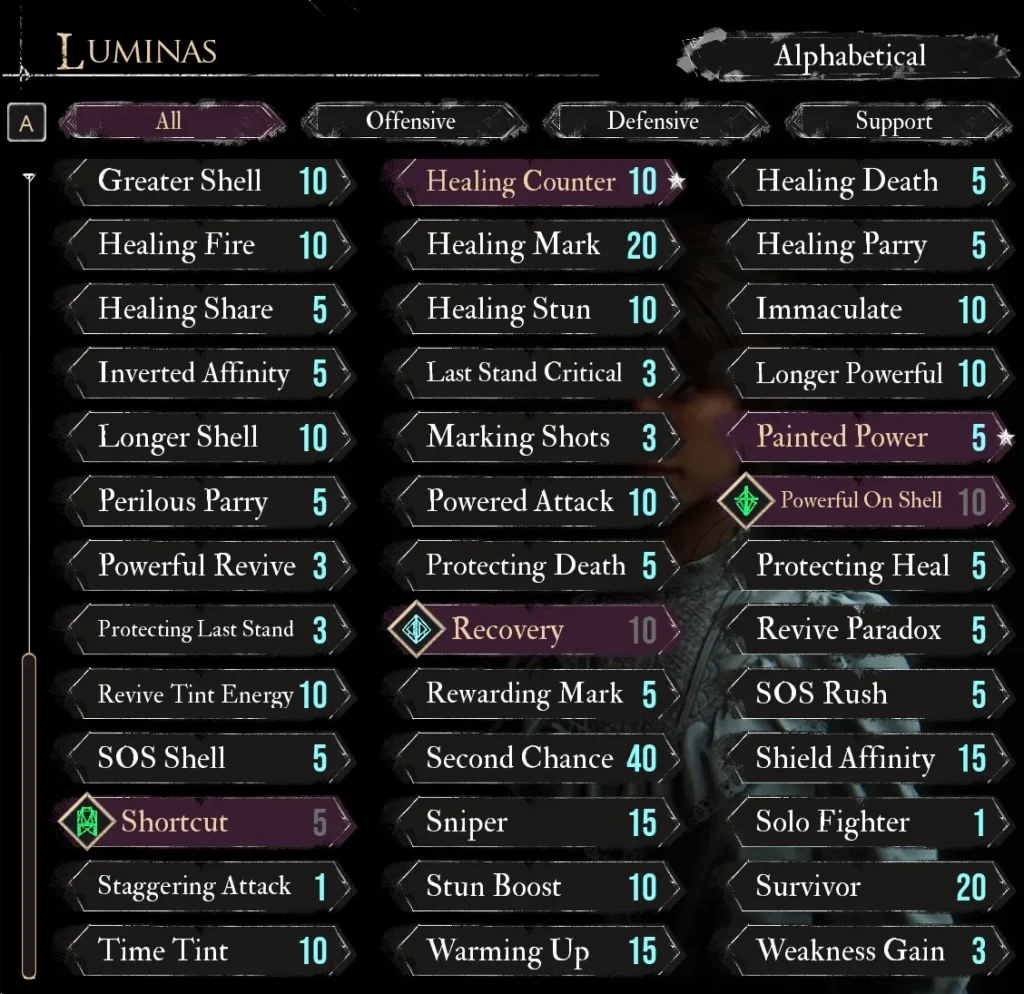
Use Lumina Points to equip the special effects of more Pictos. Complete 4 battles with a Pictos equipped to gain the Lumina effect. In theory, you can have as many as you'd like, but in practice there are some limitations. You gain 1 Lumina Point each time a character levels up, and can gain an additional point by using a Colour of Lumina at the Curator in camp. The effects are broken up into Offensive (red Pictos), Defensive (blue Pictos), and Support (green Pictos).
If you have the Pictos equipped, you cannot activate the Lumina for that character to gain the effect twice. For example, in the picture above Powerful On Shell is provided by the Pictos, so it cannot be activated. You can, however, use the same Lumina on multiple characters, and even use multiple ranks of the same effect like Augmented Counter I, Augmented Counter II, and Augmented Counter III.
Check out our Pictos and Lumina Guide to learn more about these systems.
Summary
Here are some of the topics outlined in this Beginner's Guide for Clair Obscur: Expedition 33:
- Explore the world on foot or while riding Esquie.
- Keep an eye out for dangerous foes, side activities, or Esquie's missing rocks.
- When you need to rest, hit D-Down to camp.
- During a player character's turn, they can attack, use items, spend AP on skills, use Free Aim shots, or unleash a powerful Gradient Attack.
- Use Free Aim shots to break enemy weakpoints for a massive burst of damage.
- Pay close attention to enemy weaknesses and resistances, and use the appropriate element!
- When enemies attack your party, you can react in real time.
- Dodge, Parry, Jump, or Gradient Counter to avoid damage.
- Most attacks can be either Dodged or Parried, but Parrying is more rewarding.
- The playable characters include Gustave, Lune, Maelle, Sciel, Verso, and Monoco
- Build your party by combining attributes, weapons, skills, Pictos, and Lumina.
- You can share your build with the community using Maxroll's Expedition 33 Builder!
Credits
Written by: Tenkiei