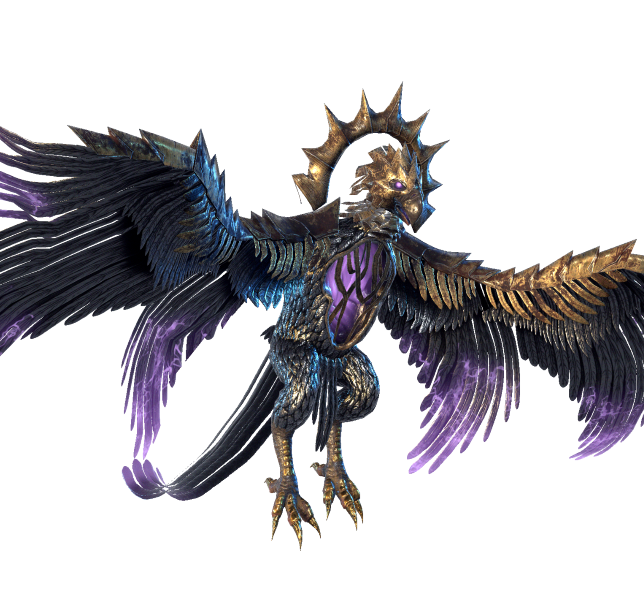
Rahyeh – The Black Sun Boss Guide
Last Updated:February 15, 2024|Changelog
Rahyeh is a single phase fight with several deadly mechanics that must be learned in order to defeat him. His Blessings are also particularly valuable making him a likely target for farming.
In this guide, we cover the rewards, boss mechanics, and provide a strategy for defeating this boss.
For more information on the Timeline this boss is found in check out The Black Sun Timeline Guide.
Rewards
All timeline bosses have a pool of exclusive Uniques that can drop. They also provide the player with a Blessing, which is a permanent buff to either power or farming/leveling efficiency. Just like Uniques, each boss has their own exclusive Blessing pool.
Uniques
Rahyeh can drop 4 different Uniques:
- Atrophy is a common drop with a 50% chance to drop. It is mutually exclusive to Dark Shroud of Cinders, meaning you always get one or the other, but not both. It can drop from both normal and empowered versions. The drop rate is not affected by corruption.
- Dark Shroud of Cinders is a common drop with a 50% chance to drop. It is mutually exclusive to Atrophy, meaning you always get one or the other, but not both. It can drop from both regular and Empowered versions. The drop rate is not affected by corruption.
- Eternal Eclipse is a rare drop. The drop rate is increased by higher Corruption. It can technically drop off of normal Rahyeh; however the area level must be increased to at least 72 for it to drop. We recommend farming this on Empowered.
- The Confluence of Fate is a rare drop that can only be found in Empowered. Increases in Corruption improves the drop rate of this item.
See the Monolith Beginner Guide for more info on Corruption.
Blessings
The Blessings of this Timeline are themed around Void, Critical Strike, Health and Leech with some exceptions. Some generally useful choices are: Echo of Solarum, Emptiness of Ash and all of the Leech Blessings.
Normal
- Depths of Infinity
- Echo of Solarum
- Emptiness of Ash
- Flames of the Black Sun
- Greed of Darkness
- Hunger of the Void
- Memory of Light
- Shadow of the Eclipse
- Strength of the Mountain
- Thirst of the Sun
- Whisper of Orobyss
- Winds of Oblivion
- Wrath of Rahyeh
Empowered
- Grand Depths of Infinity
- Grand Echo of Solarum
- Grand Emptiness of Ash
- Grand Flames of the Black Sun
- Grand Greed of Darkness
- Grand Hunger of the Void
- Grand Memory of Light
- Grand Shadow of the Eclipse
- Grand Strength of the Mountain
- Grand Thirst of the Sun
- Grand Whisper of Orobyss
- Grand Winds of Oblivion
- Grand Wrath of Rahyeh
Boss Mechanics
Modifiers
When you go into a timeline boss fight, you carry any modifiers that are active from running echoes. Some of these modifiers can be especially dangerous, while some can actually bring value with little or no downside.
- Critical Strike Avoidance - If you're a Crit based build and have sufficient Crit to be noticeable.
- Enemies have +X Critical Strike Chance - avoid these if you don't have capped Critical Strike Avoidance.
- Enemies have a chance to Dodge - any builds that rely on Hitting the enemy (including DoT builds that apply Ailments on Hit) should avoid this modifier (except for Rogues with Focus Fire).
- Enemies heal if they have not been damaged recently - Only take this if you're confident you'll never go 4 or more seconds without damaging the boss. Rahyeh's Wave Dash and Void Flares can make this tricky for Melee builds.
- Frenzy and Haste + Berserk - Individually these are manageable (although you may still want to avoid them if you can). Together they can make a boss very difficult to deal with as they significantly speed up the mechanics of the fight. Don't take these unless you're comfortable with the mechanics and confident that the additional speed of the fight won't be a problem. Rahyeh's Void Flares, Dive Bomb and Void Blast become incredibly fast with these modifiers.
- Void enemies deal X% increased damage - This scales all of the damage in the fight and scales higher than other damage modifiers. The damage can get out of control quickly, especially at higher Corruption.
- Anything that affects Rare enemies - Bosses are not considered Rare enemies, so those modifiers do not apply to the encounter. However, the rewards do. This is an easy way to boost the value of a fight for any build without increasing difficulty.
- Enemies have +X Critical Strike Chance when Crit capped - If you're Crit capped, then this modifier provides no extra difficulty.
- Critical Strike Avoidance on a DoT build - DoTs can't Crit, so this won't matter.
- Enemies have a X% chance to receive a Glancing Blow when hit on a DoT build - Similar to Crits, Glancing Blows only apply to Hits.
- Enemies have a chance to Dodge on a build that uses a DoT skill - Ailments generally need to Hit to be applied, so don't take this if you're relying on Hits to stack your DoTs. However, some skills have the DoT tag, meaning they don't Hit. DoTs can't be Dodged, so your damage is unaffected.
Boss Strategy
Rahyeh is a single phase fight, with the tempo of the fight being determined by when he uses Void Flares and Wave Dash. This is a purely Void Damage fight, so make sure to have your Void Resistance capped.
The fight is pretty straightforward with Rahyeh having access to all of his abilities from the beginning and maintaining them throughout. Since the fight doesn't change there are no difficulty spikes to be concerned with, so the key to defeating Rahyeh is understanding the mechanics of his skills. Here are some general tips:
- Void Flare has the highest learning curve. It requires an understanding of the pattern in order to dodge the attacks. Our video in the Skills section shows a straightforward strategy to dodging the flares.
- The trail from Wave Dash is very punishing to players who stand in it. Move out of this immediately and wait for it to dissipate before returning to that side of the arena.
- Dive Bomb and Void Blast can be most easily avoided by running directly at Rahyeh where the distance to the edge of the attack is shortest. He likes to use Void Blast and Dive Bomb together and also uses multiple Void Blasts in quick succession, so be prepared to dodge multiple circular AoE attacks. Void Blast requires Rahyeh to be in Melee Range so you can prevent multiple uses of it by moving out of Melee Range until he uses another skill.
- Meteors from Void Skyfall aren't as damaging as Rahyeh's other skills but getting hit by multiple is costly and they can overlap. This means getting stunned by a meteor can be deadly, so make sure to avoid them.
If you understand the above tips you'll have no problem with Rahyeh. His attacks can be punishing but they're all well telegraphed, making it possible for a skilled player to never take any damage from this fight. Paying attention to what skills Rahyeh is using throughout the fight and knowing how to avoid those skills is the key to victory.
Video
Summary
- The blessings for this timeline are themed around Void, Critical Strike, Health and Leech with some exceptions.
- Rahyeh is a telegraph heavy fight that rewards skill in avoiding the attacks.
- The fight is a single phase and Rahyeh has access to the same abilities throughout.
- All of the attacks are Void Damage, so make sure to cap Void Resistance.
- The highest learning curve skill is Void Flare so make sure you understand how it works.
Credits
Written by McFluffin.
Reviewed by Facefoot, Lizard_IRL, Raxxanterax.