God Hunter Argentus – The Stolen Lance Boss Guide
Last Updated:February 15, 2024|Changelog
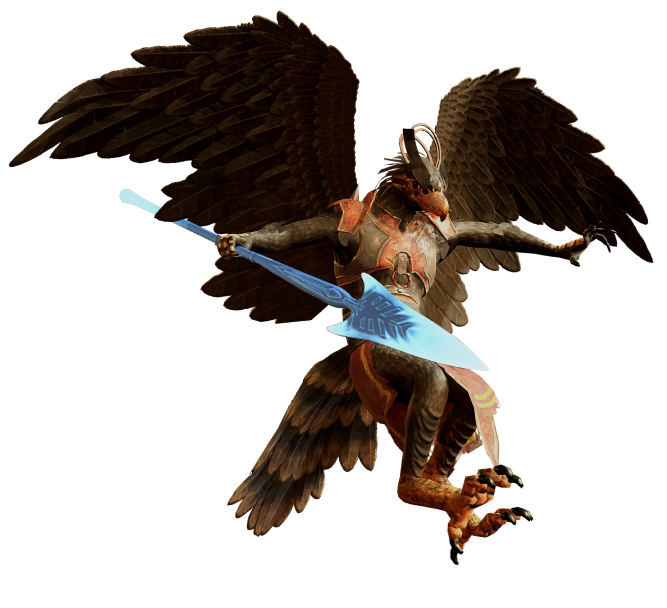
God Hunter Argentus is a mechanically interesting three phase fight that also drops some of the best Uniques in the game. While not particularly challenging, he does have several mechanics that are fully capable of killing players who aren't prepared.
In this guide, we cover the rewards, boss mechanics, and provide a strategy for defeating this boss.
For more information on the Timeline this boss is found in check out The Stolen Lance Timeline Guide.
Rewards
All timeline bosses have a pool of exclusive Uniques that can drop. They also provide the player with a Blessing, which is a permanent buff to either power or farming/leveling efficiency. Just like Uniques, each boss has their own exclusive Blessing pool.
Uniques
God Hunter Argentus can drop 2 Set Items and 2 Uniques:
- Fragments of the Shattered Lance is a common drop with a 50% chance to drop. It is mutually exclusive to Shard of the Shattered Lance, meaning you always get one or the other, but not both. It can drop from both normal and empowered versions. The drop rate is not affected by corruption.
- Shard of the Shattered Lance is a common drop with a 50% chance to drop. It is mutually exclusive to Fragments of the Shattered Lance, meaning you always get one or the other, but not both. It can drop from both regular and Empowered versions. The drop rate is not affected by corruption.
- Throne of Ambition is a rare drop. The drop rate is increased by higher Corruption. We recommend farming this on Empowered.
- Wings of Argentus is a rare drop that can only be found in Empowered. Increases in Corruption improves the drop rate of this item.
See the Monolith Beginner Guide for more info on Corruption.
Blessings
The Blessings of this Timeline are focused around increasing drop rates of certain items. Which one you should choose is dependent upon what kind of items you want to farm.
Normal
- Apex of Fortune
- Arrogance of Argentus
- Binds of Sanctuary
- Embrace of Ice
- Grip of the Lance
- Might of the Siege
- Reach of Flame
- Right of Conquest
- Slumber of Morditas
- Talon of Granduer
- Vision of the Aurora
Empowered
- Grand Apex of Fortune
- Grand Arrogance of Argentus
- Grand Binds of Sanctuary
- Grand Embrace of Ice
- Grand Grip of the Lance
- Grand Might of the Siege
- Grand Reach of Flame
- Grand Right of Conquest
- Grand Slumber of Morditas
- Grand Talon of Granduer
- Grand Vision of the Aurora
Boss Mechanics
Modifiers
When you go into a timeline boss fight, you carry any modifiers that are active from running echoes. Some of these modifiers can be especially dangerous, while some can actually bring value with little or no downside.
- Critical Strike Avoidance - If you're a Crit based build and have sufficient Crit to be noticeable.
- Enemies have +X Critical Strike Chance - Avoid these if you don't have capped Critical Strike Avoidance.
- Enemies have a chance to Dodge - Any builds that rely on Hitting the enemy (including DoT builds that apply Ailments on Hit) should avoid this modifier (except for Rogues with Focus Fire).
- Enemies heal if they have not been damaged recently - Never take this modifier on Argentus. There are too many opportunities for him to heal.
- Frenzy and Haste + Berserk - Individually these are manageable (although you may still want to avoid them if you can). Together they can make a boss very difficult to deal with as they significantly speed up the mechanics of the fight. Don't take these unless you're comfortable with the mechanics and confident that the additional speed of the fight won't be a problem.
- Increased Elemental Damage - This scales almost all of the damage in the fight and scales higher than other damage modifiers. The damage can get out of control quickly, especially at higher Corruption.
- Anything that affects Rare enemies - Bosses are not considered Rare enemies, so those modifiers do not apply to the encounter. However, the rewards do. This is an easy way to boost the value of a fight for any build without increasing difficulty.
- Enemies have +X Critical Strike Chance when Crit capped - If you're Crit capped, then this modifier provides no extra difficulty.
- Critical Strike Avoidance on a DoT build - DoTs can't Crit, so this won't matter.
- Enemies have a X% chance to receive a Glancing Blow when hit on a DoT build - Similar to Crits, Glancing Blows only apply to Hits.
- Enemies have a chance to Dodge on a build that uses a DoT skill - Ailments generally need to Hit to be applied, so don't take this if you're relying on Hits to stack your DoTs. However, some skills have the DoT tag, meaning they don't Hit. DoTs can't be Dodged, so your damage is unaffected.
Boss Strategy
Argentus is a three phase fight. In Phase 1 you fight Argentus alone. In Phase 2 Argentus leaves and adds spawn that must be killed. Phase 3 is similar to Phase 1 but Argentus gains the skill Flame Leap. This fight is mostly Fire and Cold damage so make sure to have those Resistances capped.
Phase 1
This is a fairly straightforward phase where you burn down Argentus. Here aer some strategies for dealing with his mechanics:
- Avoid Turret projectiles by strafing when the telegraph starts and continuing to do so until they lock in.
- Try to avoid Ice Stab by strafing as soon as you see the telegraph. It's a quick attack, so you may not be able to avoid all of them. Make sure to have good Cold Resistance just in case.
- You can easily dodge Fire Bomb by moving right on top of Argentus as soon as you see the telegraph.
- Move out of Ice Nova as soon as the telegraph begins. You have a short period of time before he begins to channel.
Phase 2
At 50% health Argentus flies out of the arena and Osprix LightMages, Vanguards, and Raiders begin to spawn. All of them must be killed before you can move on to Phase 3. Vanguards and Raiders are not particularly threatening, but avoid Lightmage's Meteor attack at all costs (circles of light on the ground). Prioritize killing Lightmage's so that they don't overwhelm you with Meteors. Turrets continue to fire during this Phase so avoid them.
Phase 3
The last phase is similar to the first one with the only difference being Argentus now uses Flame Leap along with his other skills. The skill is well telegraphed and can be avoided by running outside of the circle and in between the columns. Continue to avoid the mechanics from Phase 1 and you'll walk away with a victory.
Video
Summary
- The blessings for this timeline are all focused around increasing drop rates of certain items.
- Two of the best uniques in the game drop here: Throne of Ambition and Wings of Argentus
- Argentus is a relatively easy fight but does have some mechanics that need to be avoided.
- The fight consists of three phases, with the first and last being Argentus and the middle phase consisting of minion spawns.
- The damage is mostly Fire and Cold so make sure to have those Resistances capped.
- The third phase adds the skill Flame Leap to the list of mechanics Argentus uses.
Credits
Written by McFluffin.
Reviewed by Facefoot, Lizard_IRL, Raxxanterax.