Witchhunter Ascendancy Overview
Last Updated:April 15, 2025|Changelog
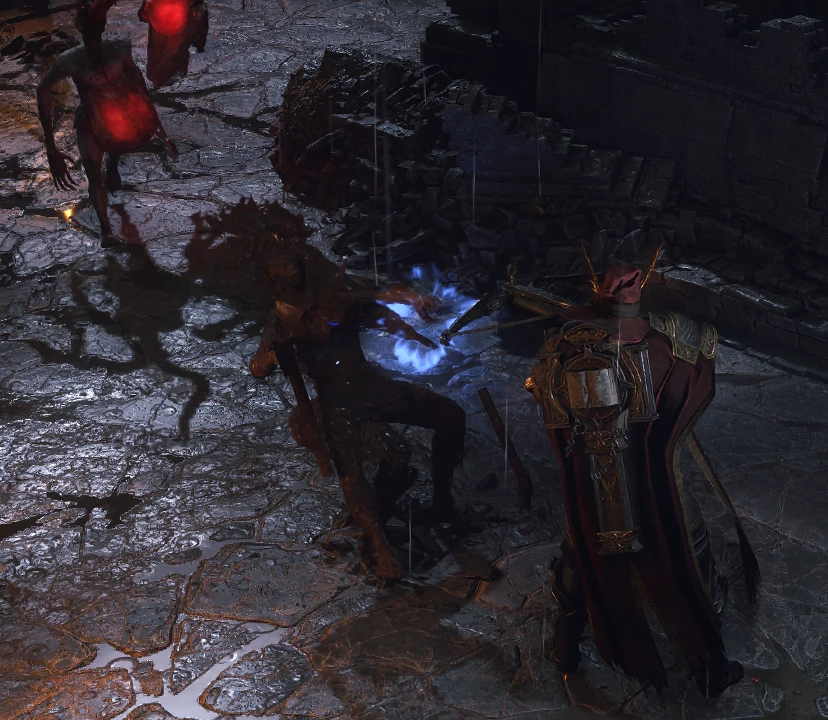
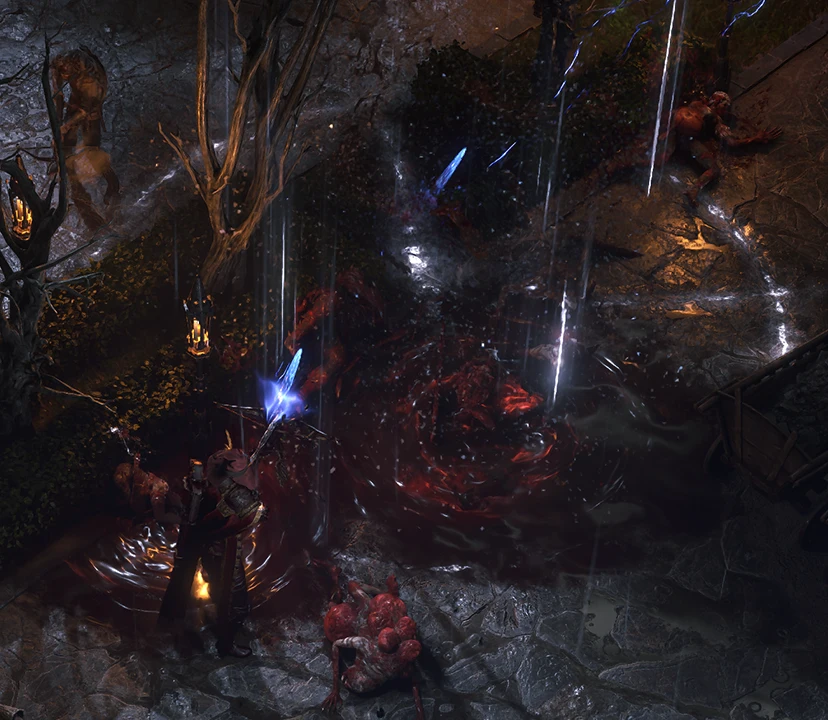
The Witchhunter Ascendancy for the Mercenary Class offers uniquely powerful offensive and defensive benefits to many builds. Consecrate enemies with the giant white explosions of your Zealous Inquisition, leaving not even a corpse behind. Explode boss health bars as well, with the massive first strike damage of Judge, Jury, and Executioner.
But the Witchhunter is not just offensive power, the Class also employs a powerful shield against Elemental damage with the Sorcery Ward skill granted by Obsessive Rituals. It's explosive playstyle, elemental defence, and focus on defeating Demonic and Undead enemies makes the Witchhunter a perfect choice for cleaning Corrupted maps in the endgame — and for farming content like Breach and Delirium.

Not all of the information on Path of Exile 2's classes and ascendancies has been revealed. Pin this post to be notified when we know more and something new is added during early access.
Witchhunter Passives
Witchhunter Ascendancy Mechanics
The Witchhunter Ascendancy offers a flexible choice of damage enhancing options suited to almost any build, with a bias towards explosive hit-based styles.
Zealous Inquisition
The Zealous Inquisition Passive gives you a 10% chance to explode any enemy on kill, dealing 100% of their maximum Life as Physical damage in a large area. This chance is doubled to 20% against Undead and Demons.
- Demons and Undead are extremely common in Path of Exile 2, even more so in Corrupted maps, Breaches, and Delirium. These types of Demon/Undead-filled content also tend to have a high density of monsters, further improving this effect. This makes this passive extremely effective for quickly farming content like this and you want to try to increase the pack-size of Breach and Delirium maps wherever possible.
- The area of effect on Zealous Inquisition's explosion is very large by default, and can be boosted with increases to Area of Effect such as the Authority. The small Ascendancy passive also grants 10% increased Area of Effect. This makes Zealous Inquisition a good synergy skill with any area-scaling builds, such as Grenade builds.

- The 10% (or 20%) chance may seem low, but the Physical Damage the explosion deals is based on 100% of the maximum Life of the enemy, which means it's very effective at killing everything around it — as they are usually the same monster types. It can also chain, where one explosion kills enemies that can also then explode.
- The Physical damage of the explosion can be scaled with increases to Area Damage and Physical Damage, such as the Goring or Cruel Methods notable passives. Nodes like Area Damage do not work however, as they specify "Attack Area Damage".
Obsessive Rituals (Sorcery Ward)
The Obsessive Rituals Passive grants you the skill Sorcery Ward, at the cost of some of your Armour and Evasion Rating. The Passive behind it further enhances the effects of Sorcery Ward, lowering it's cooldown and increasing the barrier it provides you.
- Sorcery Ward is an automatic skill that creates a barrier that completely absorbs Elemental Damage from hits until it depletes. The total amount it can absorb is based on 30% of your combined Evasion and Armour.
- Note that Sorcery Ward only protects from hits, it does not protect from things like Burning Ground or an Ignite.
- Improving your Armour and Evasion through gear upgrades, passives like Feel no Pain, and even other skills like Wind Dancer.
- Temporary boosts to Evasion or Armour can be very effective at scaling your Sorcery Ward. For example, Careful Consideration boosts your Evasion if you haven't been hit recently, which is useful for gaining a large Sorcery Ward between fights.
- You can link Support Gems to Sorcery Ward in your skill menu.
- You can link Fire Mastery, Cold Mastery, and Lightning Mastery gems to decrease its cooldown.
- Spirit supports like Vitality, Clarity, and Precision can also be socketed here. These still add their Spirit cost to your overall Spirit Reservation, despite Sorcery Ward not having a cost of its own.
- Ceremonial Ablution is powerful, but not mandatory. If you're satisfied with the performance of Sorcery Ward by itself you can use those points on other Passives to increase your damage.
Witchbane, Concentration, and No Mercy
The Witchbane Passive uses a unique mechanic called Concentration to lower enemy Cooldown Recovery based on the damage they have taken. With the No Mercy Passive this can also scale your damage.
- Enemies are given a hidden Concentration "health bar" based on 40% of their Maximum Life.
- Their Concentration is damaged when you damage their health.
- At 0 Concentration they suffer from 50% Less Cooldown Recovery Rate.
- Enemies begin regaining Concentration after 5 seconds (at a rate of 10% per second).
- You can disrupt this by dealing damage to them again.
- Reducing an enemy's Cooldown Recovery Rate means they cannot use their most powerful abilities as often, forcing them to spend more time doing their "basic attacks".
- For most small enemies this is inconsequential, as they may only have basic attacks. Or they may simply die well before their cooldowns would recover.
- For bosses this can be very effective at making the fight easier overall, especially over the course of a long fight. The impacts it has is difficult to notice as a player, as the cooldowns are not directly visible.
- No Mercy causes you to deal between 0% to 40% More Damage to an enemy based on their missing concentration.
- Assuming you maintained constant damage, you would begin at 0% bonus against an undamaged enemy, and ramp up to 40% bonus damage at the same time as the enemy has dropped to 60% total Life. Provided they didn't get a chance to recover their Concentration, you would maintain this 40% More Damage buff for the rest of the fight.
- In reality, some enemies have immunity phases or you are forced to retreat and stop dealing damage, causing some Concentration to recover.
- The overall effectiveness of Concentration and No Mercy's damage buff depend on the nature of the fight and how well you can maintain damage without major interruption.
Pitiless Killer (Culling Strike)
The Pitiless Killer Passive is very straightforward: it grants you Culling Strike.
- Culling Strike automatically kills any enemy if you hit them when they are below a certain Life threshold.
- 30% or less for Normal Monsters.
- 20% or less for Magic Monsters.
- 10% or less for Rare Monsters.
- 5% of less for Unique Monsters.
- This is only applied on a hit, you cannot trigger a Culling Strike with a damage over time effect such as Burning Ground or an Ingite.
- In theory, Culling Strike increases your total DPS against bosses by 5%, but in reality you may end up hitting them at 3%, or 2%, or even simply killing them with a large hit before they reach Culling Strike's threshold.
- The Passive Skill Tree Notable Cull the Hordes scales the effectiveness of Culling Strike, making it kill Unique enemies at 6.25% or less.
- Culling Strike is most effective on builds that hit frequently. It's ineffective on builds that hit very occasionally, especially if you rely on a damage over time effect after the hit like Poison or Bleed. It's a fairly minor boost on most builds but it is required to path to the Judge, Jury and Executioner Passive.
Judge, Jury and Executioner (Decimating Strike)
The Judge, Jury, and Executioner is behind Pitiless Killer, and it is substantially more impactful (although inconsistent). It grants the Decimating Strike effect to your build.
- When you hit an enemy with full life (100%, completely undamaged), Decimating Strike causes you to remove between 5% and 30% of their Life.
- Decimating Strike occurs before, and, in addition to, your regular hit damage.
- If you usually deal about 80% of an enemy's health in damage with a hit, Decimating Strike sometimes remove 20-30% of their life first, meaning your hit kills them.
- This is a huge amount of potential damage, increasing your total DPS by up to 30%! The drawback is that it is highly inconsistent. Sometimes you hit a boss and only trigger a 5% Decimating Strike.
- The power of math reveals that, on average, Decimating Strike increases your total DPS by 17.5%. Which is very solid!
- Another drawback is that the enemy must be on full life when you hit them. If a party member, or a Companion, or a stray projectile does even 1 point of damage to the enemy's Life, then no Decimating Strike occurs.
- An upside is that enemies with Energy Shield can be on full Life even if their Energy Shield has taken some incidental damage.
Weapon Master
The Weapon Master Passive and the small Specialisation Points Passive before it both grant additional Weapon Set Skill Points.
- These are not regular Passive Skill Points. Your total Passive Skill Points remains the same.
- This effectively lets you divide your Weapon Set Passive Trees further than usual, allowing you to specialize more on both trees.
- This is going to be most effective if your two Weapon Set Trees are wildly different, such as Specializing one set on Lightning Grenade Skills and the other on Fire Crossbow shot skills.
- The default amount of Weapon Set Points is 24, which is often enough to have 3 to 4 Passive Clusters of variation. Consider Weapon Master if you plan on going well beyond that.
- The total value of this Passive is entirely dependent on how much value you extract from the differences in your skill Trees. Weapon Swaps are very powerful in almost any build, but making use of that much different takes a creative build-crafter.
In addition to the Witchhunter, check out our overviews for the Mercenary Ascendancy Classes:
Summary
The Witchhunter Ascendancy is a powerful class that excels at hunting and defeating demonic and undead foes. With abilities like Sorcery Ward, Zealous Inquisition, Judge, Jury, and Executioner, and Witchbane, the Witchhunter can deal massive damage, control the battlefield, and survive challenging encounters. This guide explains how the Sorcery Ward skill works, how to scale Zealous Inquisition's explosion and what type of builds work well with Decimating and Culling Strike.
Credits
Written by: ZiggyD
Reviewed by: Crouching_Tuna, Tenkiei