Strongholds
Last Updated:April 24, 2025|Changelog
Strongholds are bastions of evil located around the world of Diablo 4. When you come across them, your task is to liberate them from the occupying hellspawn! As a reward, you get 100 Renown points, and some turn into central hubs with Waypoints, some become inhabited with vendors and artisans, or unlock new Dungeons and Zone Events.
Strongholds Overview
Each Zone has three unique Strongholds that you need to liberate from evil.
Dry Steppes
Objectives
- Explore the Ruins of Qara-Yisu
- Find and destroy the Infernal Spires (3)
- Investigate the disturbance at the mine
- Defeat Utulku
- Rekindle the Wanderer's Shrine to clear Qara Yisu
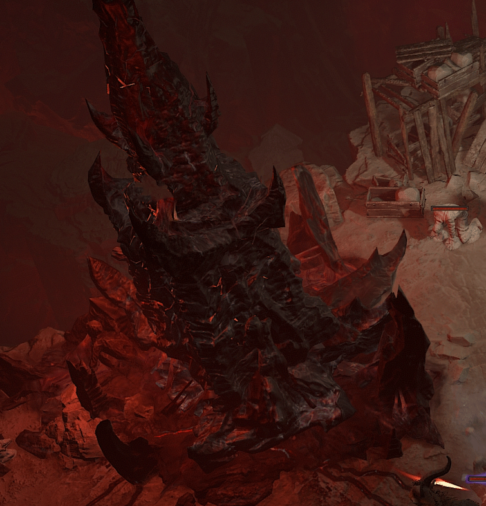
This Stronghold can be completed very quickly. Enter the ruins of Qara-Yisu. Three red dots appear in the area that mark the locations of Infernal Spires. Make your way to all of them and destroy them. A Shaman called Utulku spawns in the North of the area. Face and kill him!
This Stronghold can be completed very quickly. Enter the ruins of Qara-Yisu. Three red dots appear in the area that mark the locations of Infernal Spires. Make your way to all of them and destroy them. A Shaman called Utulku spawns in the North of the area. Face and kill him!
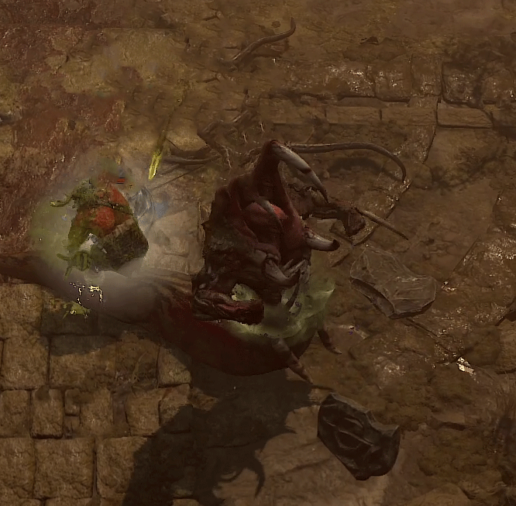
Objectives
- Slay the Cannibal Champions
- Locate Molqarth's Lair
- Slay Molqarth
- Slay the Spawn of Molqarth
- Rekindle the Wanderer's Shrine to clear the Temple of Rot
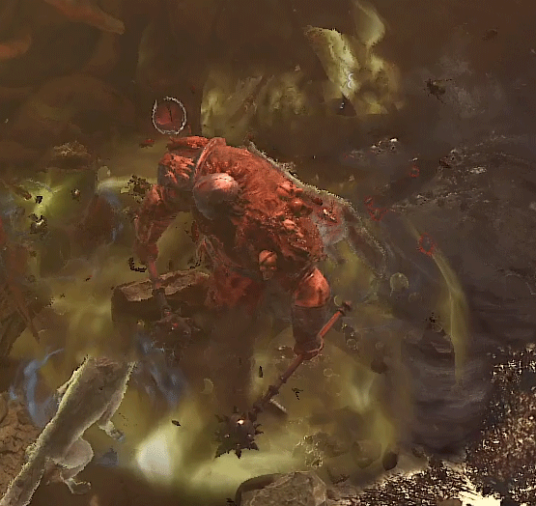
Enter Temple of Rot from the South-East, then run to the west part of the big yellow rectangle on your map. Once you enter it, the yellow area mark splits up into 3 pieces: The Garden in the West, the Temple in the middle, and the Courtyard to the East. Kill all monsters in the Garden first, then head to the Courtyard, and finally in the Temple. After clearing all three areas, a barrier that blocked the entrance to Elagabalu's Lair at the far end of the Temple opens up. Follow the tail to the Underbelly, where Elagabalus awaits your arrival. He is a large Warrior that hits very hard with his club. Be aware of your surroundings. Killing the warrior unravels a little surprise. He explodes and a slightly smaller demon, the Spawn of Elagabalus appears. Slay it to liberate the Temple of Rot.
Objectives
- Find a way into the camp
- Kill bandits and raze their encampment
- Find Ezmin inside the Watchtower
- Defeat Captain Ezmin
- Rekindle the Wanderer's Shrine to clear the Onyx Watchtower

Enter the Onyx Watchtower through any entrance. Fight your way through the camp and kill everything that crosses your way. On the right side of your screen, you can see a progress bar that fills up as you kill bandits. If you wander far enough to the North of the camp, you can already see a large Skull on the map. This is Captain Ezmin behind a closed door that opens when you killed enough enemies. Go and face him once you are done with his followers. He likes to turn invisible, during which he cannot be targeted. In addition, explosives rain from the roof, leaving a blinding smoke behind. Both make this fight incredibly annoying. Play around it the best you can. If you have a lasting source of Unstoppable in your skill kit, use it against the smoke.
Fractured Peaks
Objectives
- Investigate the village
- Speak with the Priestess
- Survive the Crazed Villagers' assault
- Investigate villagers' homes
- Destroy the Demonic Effigies
- Return to the chapel
- Rekindle the Wanderer's Shrine to conquer Nevesk
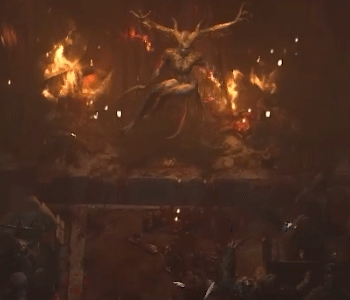
The chapel in the east of Nostrava is your first destination in this Stronghold. Inside, you find some praying villagers and a Priestess next to the altar. With an epic red nova that knocks you down, she transforms into a Succubus and all the villagers go crazy and attack you. Defeat the villagers and start investigating their homes. Each house contains an effigy that needs to be destroyed. Be careful, there lies an ambush inside each house! Return to the chapel to engage in an epic battle against 3 Succubi (Negala, Torvala, and Kozira) with different abilities.
Objectives
- Search for the source of the storm
- Find and slay Ice Clan Stormcallers to stop the blizzard (3)
- Return to the center of Malnok
- Kill the remaining Ice Clan
- Slay Frosthorn
- Rekindle the Wanderer's Shrine to conquer Malnok
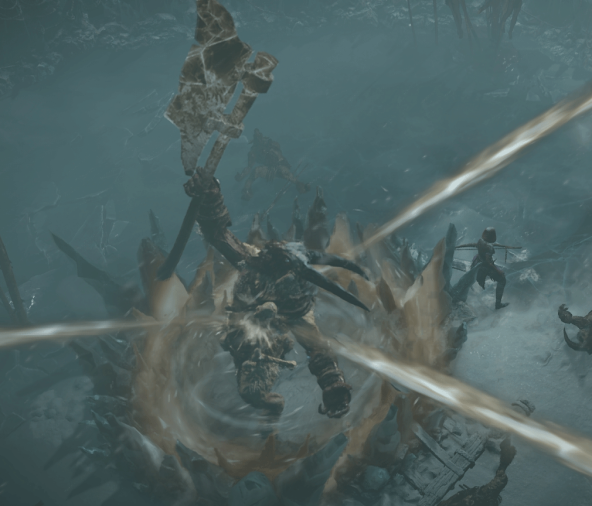
Chill and Freeze are your main concerns in this Stronghold. Make sure you have an ability that gets you out of crowd controls! Enter the zone and move towards the epicenter of the storm. Once you reach it, 3 icy lines connect the center of the storm with 3 Ice Clan Stormcallers that summon the blizzard. They initially are immune to damage, attack them and an Elite spawns next to them. Killing them turns the Stormcallers vulnerable. Finish them all to interrupt the ritual. Return to the center of the zone and kill all highlighted Ice Clans. Face Frosthorn in an epic 1 vs 1 in the small arena in the center of the zone - HE HURTS!
Objectives
- Explore Kor Dragan
- Purge Kor Dragan of vampiric corruption
- Slay the remaining Sanguine Knights
- Destroy the Vampiric Aberration
- Delve into the Archives
- Slay Nilcar, the Forgotten Bishop
- Rekindle the Wanderer's Shrine to conquer Kor Dragan
Enter Kor Dragan and witness what vampires have done to this old fortress. There are 3 Vampiric Incubators, each connected to smaller Vampiric Corruptions. The incubators are invulnerable until you destroy the smaller ones. Once an incubator is destroyed, a Sanguine Knight is released. Kill all 3 of them, then head North to the Vampiric Aberration. It is invulnerable until the last incubator is destroyed. Get rid of it and face Nilcar in a hard fight as he summons Elites to aid him in fighting you!
Hawezar
Objectives
- Search the Monument
- Clear the Monument of the Undead
- Investigate the Graverobber's corpse
- Pick up the Exhumed Crusader's Skull
- Place the Crusader's Skull in the Ritual Brazier
- Search the Graverobber's corpse for the Crusaders' Skulls
Cleanse the Skulls in the Ritual Brazier - Defeat the Crusader Champions
- Rekindle the Wanderer's Shrine to conquer the Crusaders' Monument

Enter the Crusaders' Monument from either of the 3 entrances. Move to the center of the circle and destroy the Undead that surround the Monument. Investigate the corpse that lies next to the Brazier, pick up the Skull and interact with the Ritual Brazier. Numerous white diamond shapes appear on your map. Each of them marks the location of a Graverobber's corpse. Check them for more Crusaders' Skulls and place them in the Ritual Brazier to fill up the progress bar on the right of your screen. When the bar is filled, 3 ghosts of Crusader Champions appear that you'll need to defeat. The first champion fights by himself, the other two fight together once you destroyed the first one.
Objectives
- Enter the Burning Village
- Speak with the Ghost
- Kill the Fallen Overseer
- Pick up the Villagers' Remains
- Retrieve the Villagers' Remains and use them to extinguish Erimans' fires
- Extinguish Eriman's Pyre
- Slay Duz'Agur, Erimane's Bane
- Rekindle the Wanderer's Shrine to conquer Eriman's Pyre
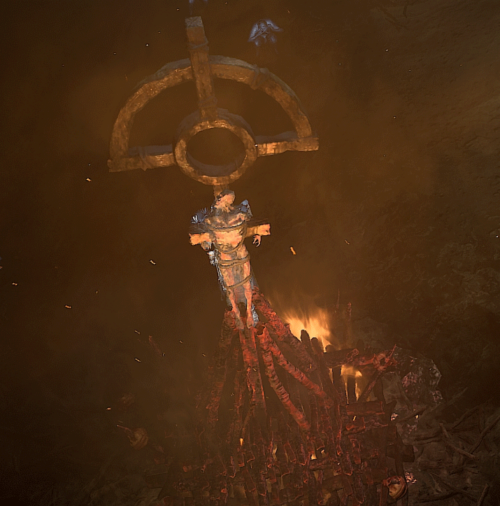
Enter Eriman's Pyre and move to the center of the yellow circle to talk to the Ghost. Destroy the Fallen Overseer that spawns on top of you. Pick up the Villagers' Remains, then click Fiery Focuses marked by the white diamond shapes on your map. Follow the three red dots on your map to pick up even more Villagers' Remains from the Elites you face. Return them to the center and interact with Eriman's Pyre to extinguish it. The ghost Duz'Agur spawns, make him pay for his transgressions.
Objectives
- Explore Vyeresz
- Find and destroy the Serpent's Eyes
- Open the Serpent's Eye Door
- Survive the Cultist onslaught
- Explore Vyeresz' Temple Ruins
- Slay Dianthus
- Rekindle the Wanderer's Shrine to conquer Vyeresz
Enter Vyeresz and find the Serpent's Eye Shrines. They all sit inside of huts throughout Vyeresz and are protected by strong Elites. One is in the far East, one is in the Northwest corner, and one is in front of a closed door with petrified people standing in front of them. Once you have interacted with all three, you can open that door, but you will be ambushed. Survive for 45 seconds and kill all remaining monsters once this timer runs out. Continue Northeast into the Stronghold and face Dianthus in the final area.
Kehjistan
Objectives
- Explore Alcarnus
- Delve deeper into Alcarnus
- Speak with the Necromancer
- Slay Rashta, the Mad Surgeon
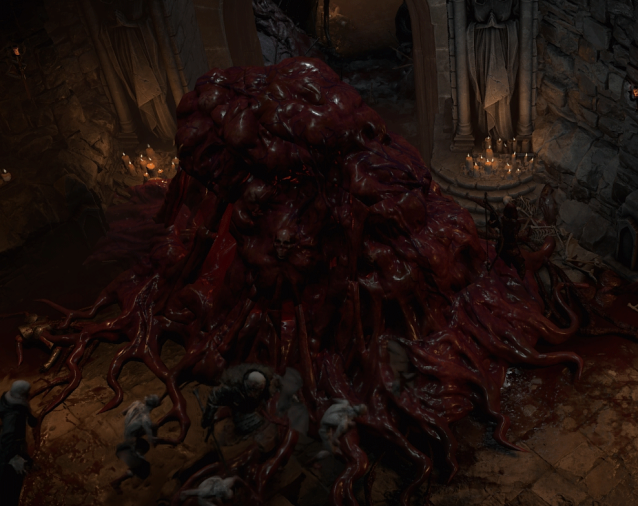
- Investigate the Lair of the Witch
- Destroy one of the Necrotic Masses
- Slay Rashta's Simulacrums
Destroy the Necrotic Masses - Return to the Lair of the Witch
- Slay Rashta Reborn
- Rekindle the Wanderer's Shrine to conquer Alcarnus
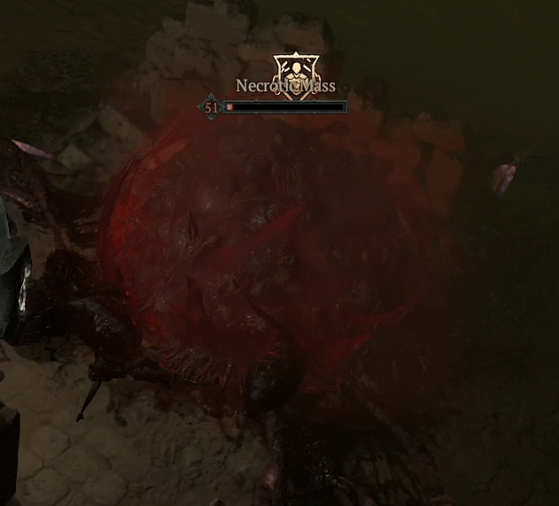
Enter Alcarnus and head to the Northern corner and interact with the Necromancer. He'll turn hostile and you need to defeat him. He disappears at around 15% Life remaining. Leave the boss area towards the South. Find the 3 Necrotic Masses and destroy them. Each will spawn a Simulacrum, kill them as well. Head back North to where you interacted with the Necromancer. Face Rashta Reborn here.
Objectives
- Explore the cavern
- Find the Keystones
- Use the Keystones to unlock the Ritual Chamber
- Slay Dark Cardinal Maldul
- Rekindle the Wanderer's Shrine to conquer Altar of Ruin
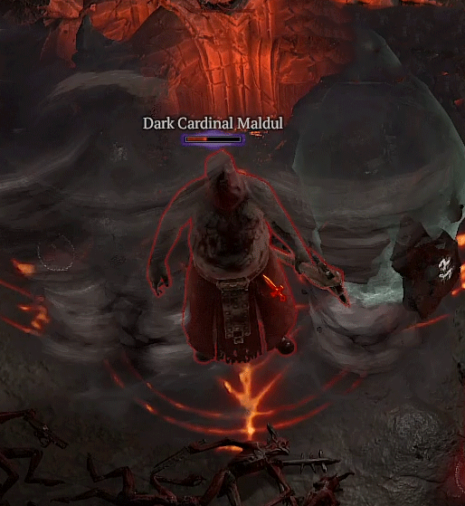
Find a way into the ruins through the cave system. You need to clear a barrier to get in. Kill the Elite cultists to find the Keystones required to open the Ritual chamber. There are 3 of them. Open the chamber and face Maldul. He first spawns 2 monster waves before you can fight him.
Objectives
- Find a way into Omath's Redoubt
- Investigate Omath's Redoubt
- Discover the source of the devastation
- Inspect the Ceremonial Staff
- Slay High Priestess Hadar
- Rekindle the Wanderer's Shrine to conquer Omath's Stronghold
Enter the area through a climb on the South. Interact with the four slain Kehjistani's. After a few seconds, the Ceremonial Staff appears, head to the center of the yellow circle on your map and interact with it. After another few seconds the High Priestess Hadar appears. Kill her - She can be a little annoying as she can move around quickly.
Scosglen
Objectives
- Find a way to the Lighthouse
- Turn the winch to create a path forward
Survive the Drowned assault - Find the missing winch
- Return the winch to the Broken Mast
Survive the Drowned assault
- Turn the winch to create a path forward
- Slay Tidewitch Ne'gana
- Ignite Hope's Light
- Rekindle the WAnderer's Shrine to clear Hope's Light
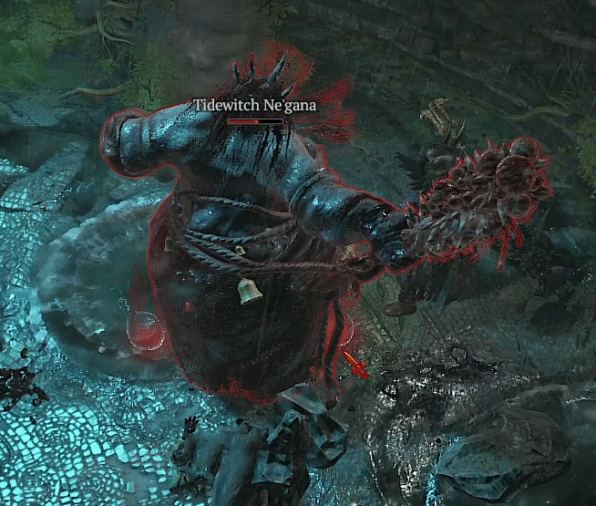
Enter the area and follow the path of obstacles to the left until you reach the first shipwreck. Interact with the winch next to the mast highlighted by the white diamond on your map. Fight the enemies that spawn around you until the mast has turned enough to let you traverse to the East. Follow the path to the South-East island, the winch is located at the far end of it. Pick it up, jump back up and climb the shipwreck to the North-East. Repair the Broken Winch and defeat the Drowned assault that happens afterward. A path opens up top left of your location. Make your way to the plateau within the yellow marked area. It is time to fight the Tidewitch Ne'gana. Destroy him, then climb up to the top of the hill and light the beacon.
Objectives
- Investigate the area around Moordaine Lodge
- Find the Lodge's missing hunters
- Defeat the Beast of Moordaine
- Pursue the Beast
- Enter the Beast's lair
- Slay Fionnir the Mad Druid
- Rekindle the Wanderer's Shrine to conquer Moordaine Lodge
Enter Moordaine Lodge and find the three missing hunters. One is located in the North-Western corner of the area, one is located in the hut in the middle, and the last one is in the North-East corner. Interact with the corpses to fill up the bar on the right of your screen. Interacting with the final corpse triggers the Beast of Moordaine to appear. Fight it until it runs away, then follow it to its lair at the top of the area. Enter the lair and keep fighting the beast until it turns to human form. Now you are facing the true form of Fionnir the Mad Druid, make him pay for his sins!
Objectives
- Enter Tur Dulra
- Delve further into Tur Dulra
- Approach the Tree
- Investigate the Runestone
- Find the Druid Spirits
- Free the spirits of Tur Dulra's Druids
- Return to the Great Oak
- Slay the Infernal Tormentor
- Rekindle the Wanderer's Shrine to clear Tur Dulra
Enter Tur Dulra and follow the path towards the yellow circle until you reach the massive Tree. Red markings appear behind you, in the middle of it sits a Runestone, interact with it. Three red dots, marking the locations of Druid Spirits you need to free from their prison. Defeat the surrounding monsters, then interact with them. They turn into Elite Shamans using different elements, Odhran the Tormented Earth Druid, Brighde the Tormented Wind Druid, and Eanan the Tormented Poison Druid. Once you defeated all three, return to the Great Oak and face the Infernal Tormentor that waits for you. Kill him to free Tur Dulra.
Nahantu
Objectives
- Free the Villagers from the Cages
- Reunite with the Survivors
- ISpeak with Akhin
- Defend Kichuk from the Lacuni
- Speak with Keitseh
- Enter the Caves
- Slay the Dweller in the Dark
- Destroy the Pillars to Collapse the Cave
- Escape the cave and find Keitseh
- Find and Talk to Keitseh
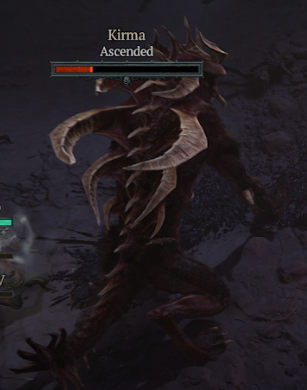
- Slay Kirma
- Slay the Remaining Lacuni
- Rekindle the Wanderer's Shrine to clear Kichuk
Objectives
- Investigate the Caves
- Use the Reliquary Lantern to activate the warding brazier and open a way forward
- Bring the Reliquary Lantern to the source of the hateful dark
- Use warding braziers to slay Maleficium
- Rekindle the Wanderer's Shrine to conquer Festering Dark

Enter the caves and find the Reliquary Lantern. Once you pick up the Reliquary Lantern, you are instructed to activate the Warding Brazier and open a way forward. You come to a vine that you will destroy with the Reliquary Lantern to open a climb up a cliff. Proceed along the path until you reach the Warding Brazier. Light the Reliquary Lantern and proceed further into the cave. Open the path blocked with vines and enter the door to the Shifting Darkness. Follow this path to the next door to the Forgotten Depths. In this area are multiple Warding Braziers and tons of monsters. Fight your way through until you reach a Boss named Vesicator. Kill him and proceed to the area marked with a yellow circle. In this area, you find a Warding Brazier. Activate this to spawn Maleficium. To fight this Boss, you need to make sure he is inside the area created by the Warding Brazier. He will be immune to damage if not within these circles. After you defeat Maleficium, rekindle the Wanderer's Shrine to conquer the Stronghold
Objectives
- Investigate the ruins of Chakhir
- Destroy the Dregs' Brewing Cauldrons
- Destroy 4 Cauldron Keepers
- Destroy the Maggot Lair
- Disrupt the Empowerment Ritual
- Destroy the Befouled Briars
- Find the source of the Dregs' new poison
- Slay Darm
- Destroy the Falo Blooms
- Confront Sinerat and Skerg
- Slay Sinerat and Skerg
- Rekindle the Wanderer's Shrine to conquer Chakhir
Upon entering the stronghold, you are instructed to investigate the caves. Moving into the area, you are instructed to destroy the Dregs' Brewing Cauldrons. These are marked on your map with a skull icon, each uniquely warded. Two are guarded by Cauldron Keepers, one by a Maggot Lair, one by an empowerment ritual, and one by Befouled Briars. Once you have destroyed all of the Brewing Cauldrons, you are instructed to find the source of the Dregs' new poison. Make your way to the area marked with a yellow circle on the map. Upon entering this area, you are instructed to slay Darm. After killing him, a door will open behind him, and you are to destroy the Falo Blooms inside the room. Destroy the Blooms, and you are instructed to confront Sinerat and Skerg. Destroy the overgrown brambles and progress to the next area. When you enter the area, Sinerat and Skerg will spawn. Kill them and rekindle the Wanderer's Shrine to conquer the Stronghold
Rewards
- Each completed Stronghold grants 100 Renown points and experience
- In addition, Waypoints and Dungeons can be unlocked as well.
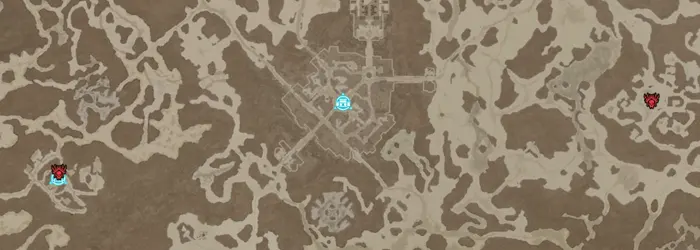
Stronghold Map Tool
Our Map Tool, which among many other benefits lets you easily find Strongholds (and a whole lot more!) and track them by saving your progression. It's a powerful tool that we aim to update more as the game evolves over time.
Summary
- All Strongholds are unique in their appearance and objectives to complete them.
- The objectives are very clear and self-explanatory.
- 100 Renown points are rewarded, making them the best source of these in the game!
- Each Stronghold has a minimum monster level. Don't go there until you at least reached that level, or you will struggle!
Credits
Written by Teo1904
Updated by Chewingnom, Seroc Ifkre
Reviewed by wudijo