Bow Progression Guide
Last Updated:May 1, 2025|Changelog
The purpose of this build is to provide straightforward and easy to farm sets with skills optimized to help you progress from low rank through high rank so that you can start farming for endgame sets and Artian components. For the armor, the only monster that you need to farm is Blangonga. You should get most of the materials you need to craft Dober Armor while completing the main story. The remaining bones come from looting some of the bone piles in the Oilwell Basin, and the Ruins of Wyveria. Similarly, the Guardian Doshaguma bow is good enough for players who want to skip elemental bows before the Artian grind.
Low Rank Progression
Low rank is simple for two reasons. First, there are very few decoration slots and minimal offensive armor skills that are actually worth farming out, and second, you use the same bow trees as the rank build: Guardian Doshaguma for raw, and Rey Dau, Hirabami, Xu Wu, and Arkveld for elemental. Guardian Rathalos is best in slot for fire bows, but it is not worth the time to farm out. Against enemies weak to fire, use a raw bow instead, since you do not continue down the Guardian Rathalos tree in high rank.
Since your offensive options are limited, your top priority is maxing out Constitution and Stamina Surge. These skills allow you to dash dance (explained in Playstyle) at max charge for longer. Therefore, they increase your DPS even if they don't directly impact your attack values. Affinity is critical hit chance, and critical hits increase your raw damage by 25% by default.
- All Hirabami armor has Evade Window, which is useful if you are struggling to time your dodges.
- Rey Sandmail, Rey Sandcoil, and Rey Sandgreaves each have one point of Constitution.
- G. Ebony Helm, G. Ebony Braces, and G. Ebony Coil each have one point of Burst. Burst is one of the only low rank non-stamina skills that provides a relevant damage increase.
- Xu Wu Mail, Xu Wu Coil, and Xu Wu Greaves each have a point of Stamina Surge. These are must-have pieces before moving to high rank.
- Fitness Charm I gives a point of Constitution, allowing you to max the skill. Additionally, any open level one decoration slots should use a Physique Jewel [1] until you have 5 Constitution.
The Weapons
Since the goal of this progression build is getting to endgame, you do not need to spend time farming decorations and should instead use the ones you gain passively while completing other tasks. You are better off working towards an endgame set of armor, and the monsters you need to farm for that drop high tier decorations anyway.
Before you get to Artian weapons, follow the bow trees at the highest level you can craft. You can get away with only using raw until Artian weapons, but there are elemental options as well:
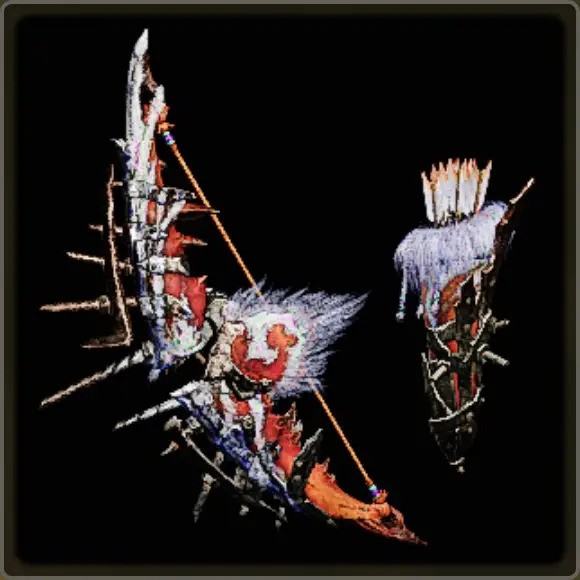
- For raw, the Dosha Griefbringer II tree is your best option, even when you have access to Artian weapons. It uses close range and blast coatings.
- For fire, the Prominence Bow I tree. It uses Power Coatings.
- For water, the Nihil Bow II tree. Provides Power and Exhaust Coatings.
- For thunder, the Rey Perkonis II tree. It uses Close range and Blast Coatings.
- For ice, the Windbrace Bow II tree. Provides Power Coatings
- For dragon, start with the Veldian Arcum I tree, it uses Pierce Coatings, then swap to an Artian bow at the highest level you can. Make sure all 3 pieces have the same element. Entbehrung I is also an option if you cannot build an Artian bow, it provides Power and Blast Coatings.
The Rey Dau and Guardian Doshaguma bows are slightly different. These have one level of Special Ammo Boost as a weapon skill. You should only use a Trueshot Jewel [1], and use an Expert Jewel II [2]. For everything else, you use a Trueshot Jewel II [2], and either an Expert Jewel III [3] or an Expert Jewel [1].
An Exception
If you have a Pierce Jewel [3] or a Spread Jewel [3], these are an upgrade over an Expert Jewel III [3] for Dragon Piercer or Power Shot/Thousand Dragon builds respectively. However, they are rare, and it is unlikely you get one before you are able to make a true endgame build.
The Armor
Since the Dober pieces require bones from the high rank apexes, it's possible that you may need a few stopgap pieces of armor before they are able to acquire it. This set is designed as a midpoint, and prioritizes full stamina skills with the expectation that you have not yet acquired many of the high rank decorations. All you need is one Physique Jewel [1]. In this case, you want to use a Rathalos Helm β, Blango Mail β, Doshaguma Braces, Blango Coil β, and G. Fulgur Greaves α.
Use the following jewels in your slots:
- Level 2: Use Flawless Jewel [2s] in your 2 slots.
- Level 1: You want one Brace Jewel [1], and one Physique Jewel [1].
- This leaves 3 remaining 1 slots, which should use Protection Jewel [1s] to add survivability.
Dober and Blango Armor
For your armor, you use the Dober Vambraces α and Dober Helm α along with the Blango Mail β, Blango Coil β, and Blango Greaves β. You want a Fitness Charm II to max out Constitution, along with the Corrupted Mantle for some bonus damage.
Use the following jewels in your slots:
- Level 3: Counterattack Jewel [3]
- And Tenderizer Jewel [3] or Chain Jewel [3]
- Level 2: These armor slots are the most flexible, Flawless Jewel [2] adds a good amount of extra damage but you don’t lose much by dropping Maximum Might for Ambush Jewel [2] or Evasion Jewel [2].
- Level 1: You want either 2 Physique Jewel [1s] and a Fitness Charm I to max out Constitution
- If you have a Fitness Charm II you can use a single Physique Jewel [1] and a Brace Jewel [1]
The End Result
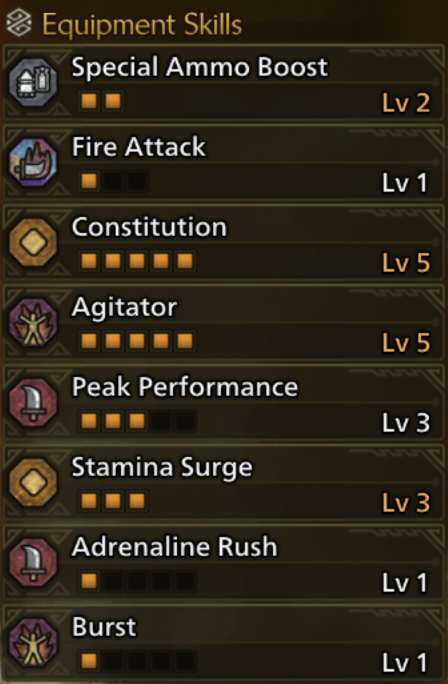
Here is a breakdown of the final version of your skills, how many ranks to get and what they do. There are minor differences between building for early elemental, raw, and Artian Elemental which is detailed in the planner below.
- Constitution 5 reduces fixed stamina consumption, like firing your bow or dodging
- Agitator 5 increases your raw damage and affinity while the monster is enraged. When a monster is enraged, it is more aggressive, and may have new attacks or patterns. If the symbol on the lower left of the monster's icon on the minimap is red, it is enraged.
- Stamina Surge 3 increases your stamina recovery rate
- Peak Performance 3 increases your damage when you are at full health
- Special Ammo Boost 2 increases the damage of your dragon piercer and thousand dragons
- Critical Eye 1-4 increases your affinity
- Alternatively: Elemental Attack Skills increases your elemental damage, for example Dragon Attack. Only use these when wielding the corresponding weapon.
- Adrenaline Rush 1 rush increases your raw damage for 30 seconds after i-framing a monster’s attack. The Bow's special dodge counts as an i-frame dodge
- Burst 1 gives you an increase to attack and elemental damage from your first hit on, that increases after your fifth hit. The hit counter resets after a short time without damaging the monster.
- When using a Raw weapon, replace Burst with Weakness Exploit 1 increases your affinity on attacks that hit a weak point. If you are hitting a wound, you get additional affinity.
- Flinch Free 1 removes reactions to teammates hits. This is borderline essential in multiplayer. When playing solo you can swap it out for Self-Improvement 1.
If you want a quick reference, check out the Bow Progression Build in our Monster Hunter Wilds Planner.
Playstyle
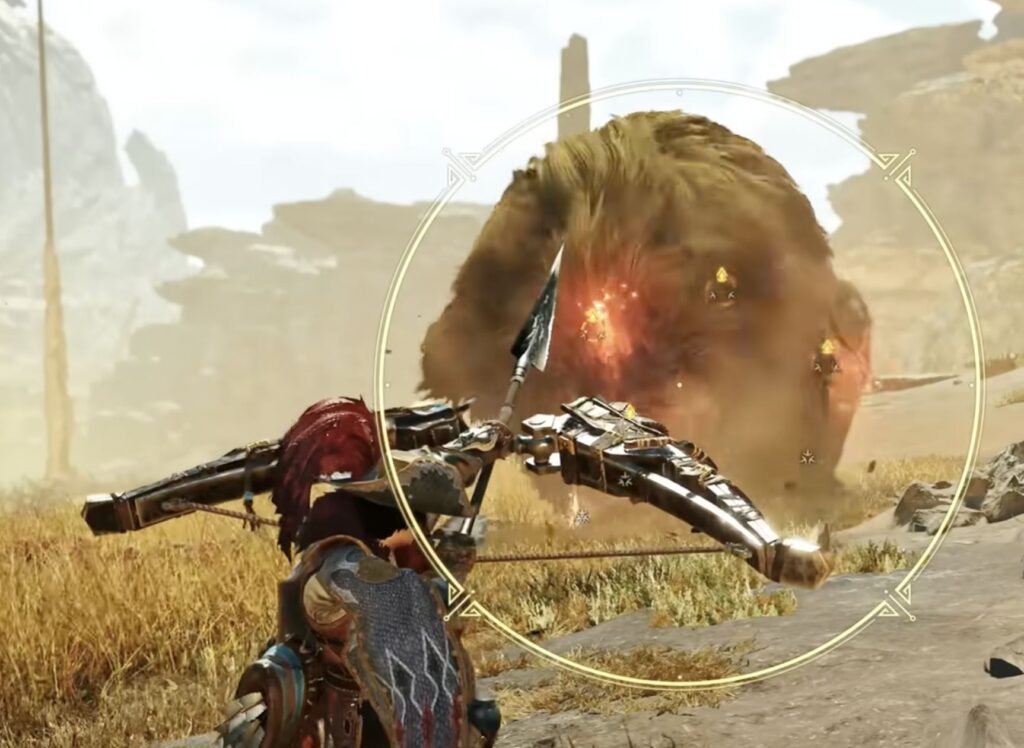
This build is pretty flexible in playstyle. When the monster is active, you should dash dance to maximize your damage. Dash dancing is chaining together max charge volleys of shots by using charging sidesteps. You should use Dragon Piercers whenever you have the opening, especially if the monster is immobilized. Try and line your shots up with the head and tail of the monster if you can. The farther a Dragon Piercer travels through a monster, the more damage it does. Dragon Piercer fires faster when it is part of a combo. You can tell you've done this if you character does a 360 degree spin as part of the attack animation. This only needs one shot, and dragon piercers can combo with each other. Therefore, it is usually worth it to fire once before you start chaining them together. It can also be worth mixing in some arc shots while the monster is down or not moving much.
Make sure you always have your coatings equipped, as they increase your damage significantly. Power, Close Range, or Pierce Coatings should be used over status Coatings. Generally Power and Close Range are the best, but Pierce does shine in a few situations, so don't completely discount it.
Tracer Arrows are only worth using if you are certain they do not interfere with keeping up your coatings. Make sure you are staying at critical distance (when the reticle is orange) to maximize damage. Use focus strike to break one wound at a time so you can maximize how long the monster stays immobilized, allowing teammates a larger damage window. The Bow's focus strike stuns the monster for a few seconds while you fire a Dragon Piercer as a part of the focus strike. Additionally, breaking one wound at a time gives you more free Dragon Piercers. If you are in multiplayer, do not be too trigger happy on breaking wounds. Some teammates may be using Weakness Exploit or using a weapon that is powered up by breaking a wound, like Charge Blade or Long Sword.
Consumable Items
This build doesn't need any special items, though Demondrug and Armorskin are always a good buffing option. That said, make sure you have your Powercharm and Armorcharm in your inventory. You get them through the Wounded Hollow quests. Just having them in your inventory increases your raw damage and defense respectively, so they are a good addition.
While Dash Juice could be beneficial for those struggling with stamina, you should instead practice landing the special dodge. The time spent hunting Gypceros is not efficient since it doesn't have any standout gear for Bow. Plus, mastering the special dodge serves you well in the long run, as it provides a ton of value at any point in the game.
Credits
Written by: Brogangh
Reviewed by: Perciculum, Tenkiei