The Dark Citadel
Last Updated:April 24, 2025|Changelog
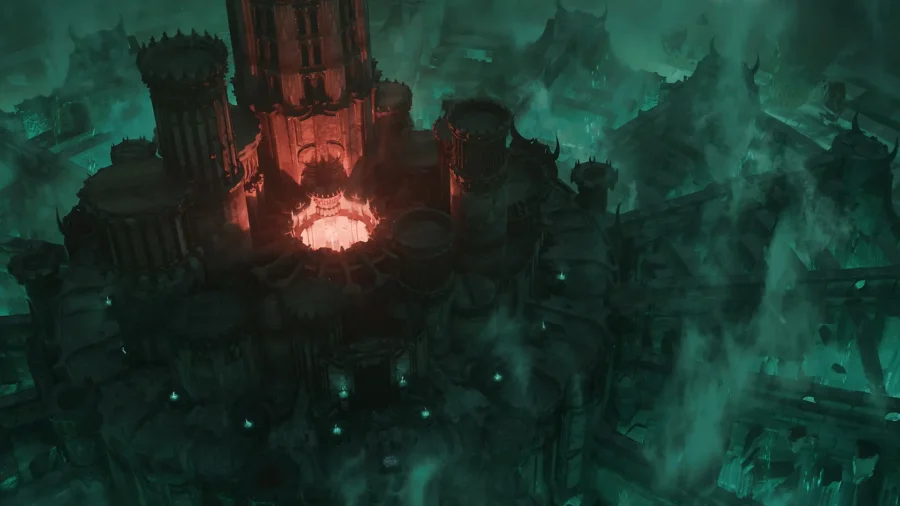
The Dark Citadel is a PvE End-Game Co-Op activity that pushes you to your limits. The First Khazra aim to do experiments on unlucky villagers and sacrifice their souls. Now it's up to you to stop them and prevent all the evils taking place. All of the challenges inside are based on you working together with your party members to make it through these dangerous puzzles and boss fights and to come out triumphant on the other side!
The Dark Citadel becomes unlocked once you reach the Endgame and requires completing an Introductory Quest, which only needs to be completed once per account. The Dark Citadel is gated behind Torment 1 Difficulty, which requires completing a Pit Tier 10 to unlock.
Beware Hardcore players! A lot of instant-death mechanics await you in The Dark Citadel.
Khazra Treasury
- While you are progressing through The Dark Citadel you encounter a bonus objective that requires you to fill the corresponding bar. These bonuses can be collected after clearing each big intermission rooms.
- These bonuses are available multiple times throughout all wings of The Dark Citadel.

Impending Doom
- Impending Doom is a mechanic present throughout various parts of The Dark Citadel.
- As soon as the bar fills up you die and have to restart your attempt at the checkpoint.
- BEWARE HARDCORE PLAYERS! THIS IS A PERMANENT DEATH FOR YOUR CHARACTER!

Enclave of Strife
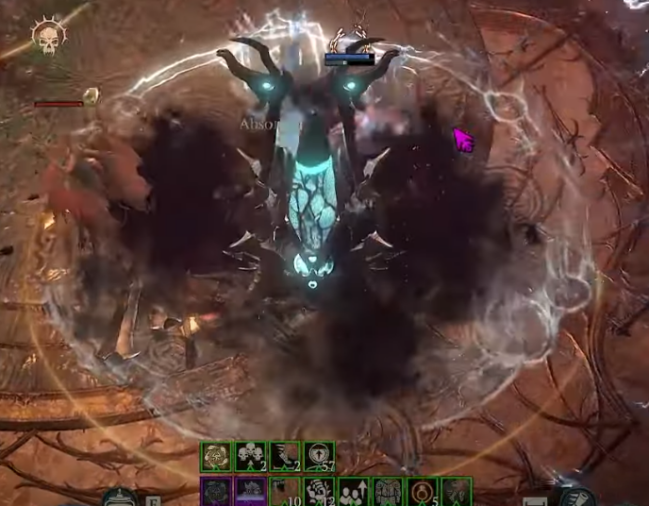
- On your way to the bosses you encounter Soul Siphons that need to be charged by standing in them while being attacked by waves of enemies.
- When these are fully charged, Ward Guardians spawn that need to be killed.
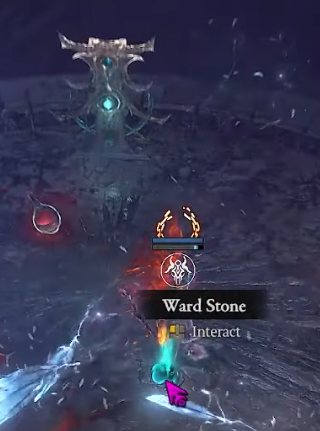
- These Ward Guardians drop Ward Stones which you place on the Sealing Wards.
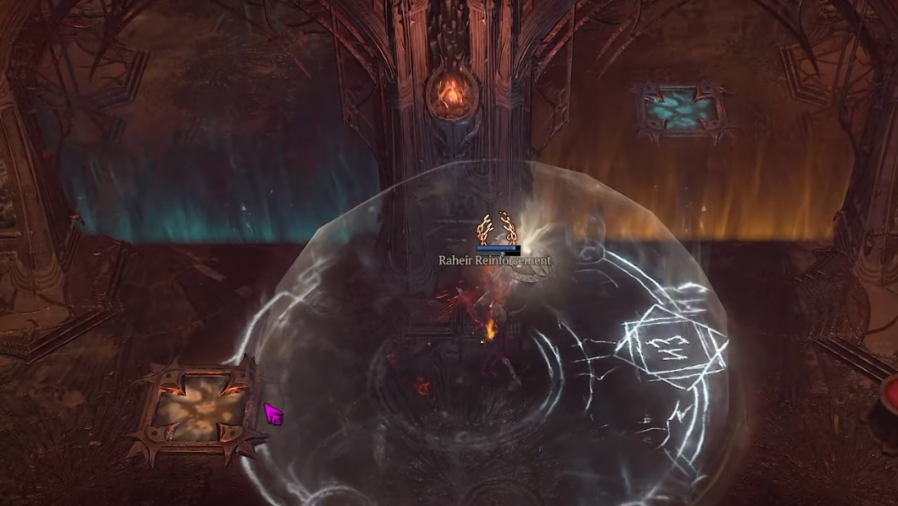
- Continuing forward you encounter pressure plates.
- When a players stands on the yellow pressure plate, the yellow barrier opens.
- Then send one player to stand on the blue pressure plate to open up the blue barrier.
- Make sure atleast one player is on every side.
- In the following intermission rooms, you encounter a Gateway that needs to be charged with Realm Shards.
- The Realm Guardians around the Gateway drop Realm Shards, which need to be picked up and deposited in the Gateway by running over it.
- You need a total of 6 Realm Shards to activate the Gateway.
- The picture to the right shows a Gateway that is charged with 2 out of 6 Realm Shards.
- After you click the fully charged gateway, you are teleported to the next intermission room.
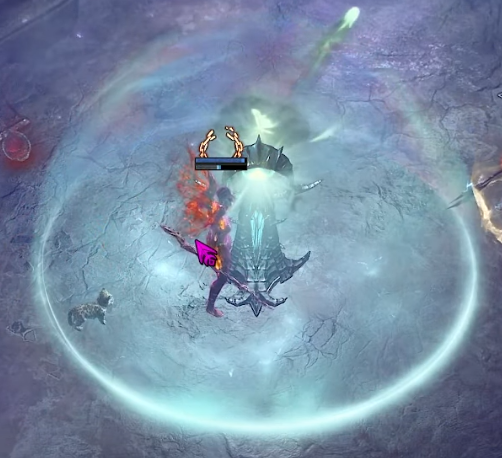
- In the Realm of Oblivion, it is vital to protect yourself from Death by entering Soul Dampeners.
- While outside of a Soul Dampener, you are stacking a debuff from 0 to 100, killing you instantly at maximum stacks. Make sure to clear these by dipping into a Soul Dampener!
- Exit the Realm of Oblivion with another Gateway.
Kubal, The Shadowbreaker
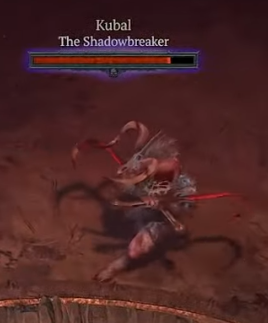
- Afterwards, you encounter the first boss in The Dark Citadel, "Kubal, The Shadowbreaker".
- This is a fairly simple fight compared to what awaits you in the future boss fights in The Dark Citadel.
- Kubal draws a white line between himself and a player. This white line is the aggro, meaning Kubal focuses all his physical attacks on this target.
- Meanwhile, Kubal applies a shadow zone on one of the other players, which needs to be dropped at the edges of the arena to not fill everything in dangerous AoE effects.
- After defeating Kubal, you move forward through another intermission room onto the last fight of the first wing.
Gorschak, The First Ascendant
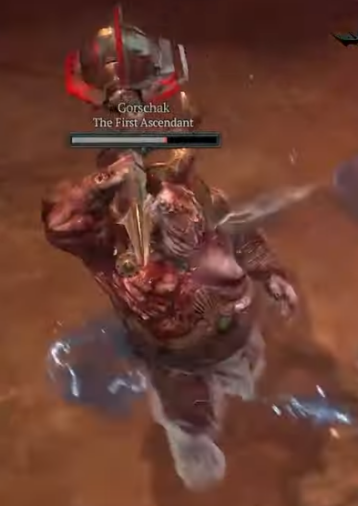
- The final boss of the Enclave of Strife is "Gorschak, The First Ascendant".
- Gorschak's skill set is a little bit more complex than that of the previous boss.
- You have already learned all of the mechanics present throughout the fight in the previous intermission rooms.
- You start the fight by killing two minor adds to free Gorschak.
- Gorschak has extremely powerful physical melee attacks, which prompt the player targeted by his aggro line to be on their toes and ideally kite Gorschak around.
- When Gorschak's remaining Health hits 66%, he becomes invincible, activates the Impending Doom timer, and summons Realm Guardians. Kill these to acquire Realm Shards and open the Gateway. Send 1 or 2 players into the Gateway.
- In the Realm of Oblivion, you kill Ward Guardians that drop Ward Stones, which you place on the Sealing Wards.
- This unleashes the Fragmented Soul of Gorschak. Defeating this enemy yields a Soul Essence, which needs to be brought back into the Realm of the Living to make Gorschak attackable again.
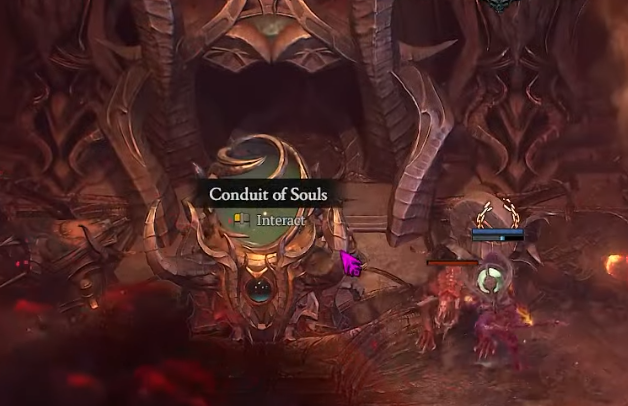
- While this is happening in the Realm of Oblivion, the players remaining in the Realm of the Living need to prepare the Gateway by killing Realm Guardians, collecting Realm Shards, and clicking it when the other players have acquired the Soul Essence.
- The returning players put the Soul Essence into the Conduit of Souls, making Gorschak attackable again.
- This whole process repeats once more at 33% of Gorschak's life
The Labyrinth of Souls
- While moving towards the first boss, you encounter an Unknown Portal.
- You can spot already familiar pressure plates right next to the portal.
- After sending one player each to stand on those pressure plates, you unlock the Unknown Portal and may proceed.
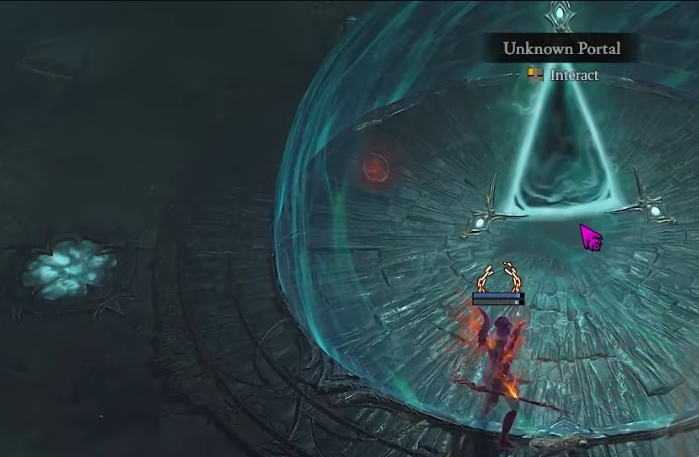
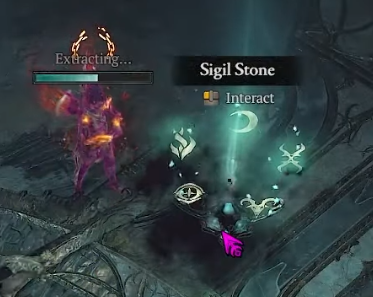
- Continuing forward, you encounter Soul Siphons and Impending Doom as well as Sigil Stones that need to be collected and placed into the corresponding Ritual Sigil.
- For this, you are marked with a Moon, Cross, Goat, Eye, or Flame icon when picking up the Sigil Stone.
- As soon as you have put the Sigil Stones in the Ritual Sigils, your Impending Doom bar disappears, and you are safe.
- Afterwards, you enter the Realm of Oblivion again, this time through an Unknown Portal.
- Just as before, make sure to check your Debuff stacks regularly and look for Soul Dampeners.
- You exit the Realm of Oblivion through another Unknown Portal at the end of the area.

Faeroch, The Incinerator
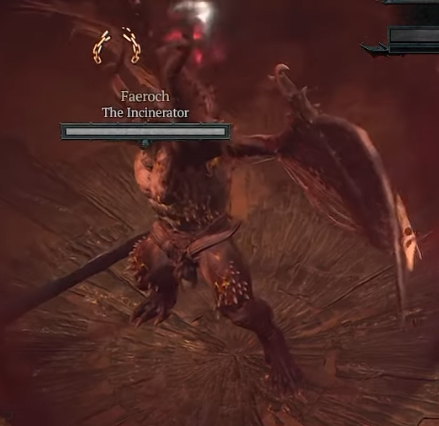
- The first boss in the Labryinth of Souls is Faeroch, The Incinerator.
- He is shielded by an impenetrable barrier. By clicking on a Barrier Ward, you remove it and start the fight.
- You need to stand in the barrier generated by the Barrier Ward to survive Faeroch's one-shot damage pulse.
- These Barrier Wards can only be used once and are crucial for the fight, as the one-shot damage pulse is still present throughout the fight.
- You have 4 Barrier Wards available to you, one in every cardinal direction of the room.
- If you have used all 4 Barrier Wards and haven't killed Faeroch yet, he spawns another one just before you need it close to him.
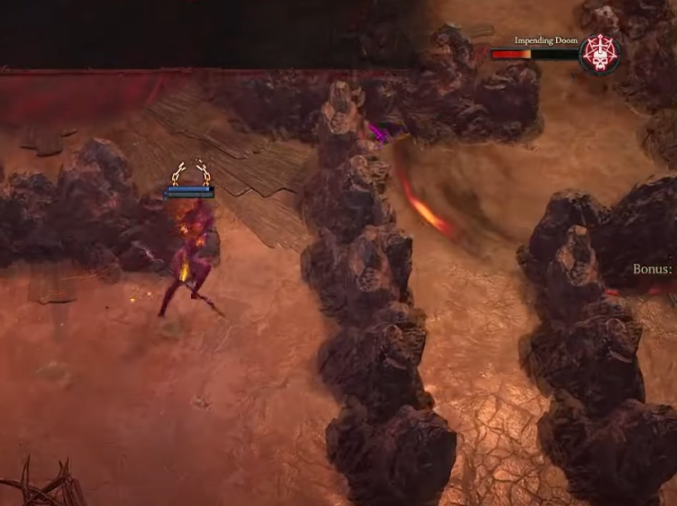
- Multiple times throughout the fight, Faeroch spawns a stone maze and starts channeling Impending Doom.
- The objective is to get to a Barrier Ward in the room and press it before the Impending Doom goes off and ends your attempt.
- These walls can be jumped over with traversal abilities, and some of them can even be destroyed by damage.
- Be careful, you do not have much time to get to a Barrier Ward.
- This whole phase can be skipped through raw damage by killing Faeroch before he conjures the maze.
Lorzuul, The Gorger
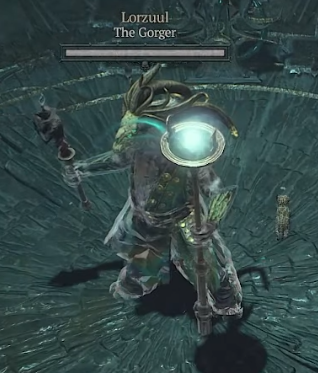
- Lorzuul, The Gorger is the second boss in the Labyrinth of Souls and by far the toughest opponent in The Dark Citadel.
- To make him attackable and start the encounter, you kill 4 souls close to Lorzuul.
- This spawns 2 Barrier Guardians with symbols. Killing those opens the corresponding symbol's barriers.
- Entering the now unlocked rooms, you find a Sigil of Binding that needs to be placed in the middle of the boss arena.
- Travel to the center of the arena by using the Unknown Portal right next to the Sigil of Binding and place the Sigil of Binding in the corresponding Soulbound Ward to fully engage the boss encounter.
- Lorzuul conjures waves and bombardments of Cold damage that deal tons of damage and can easily kill you through direct and damage over time. Dodging his abilities and your group's movement speed is important for your success in this encounter.
- After some time, Lorzuul becomes invincible and start the second phase of the encounter.
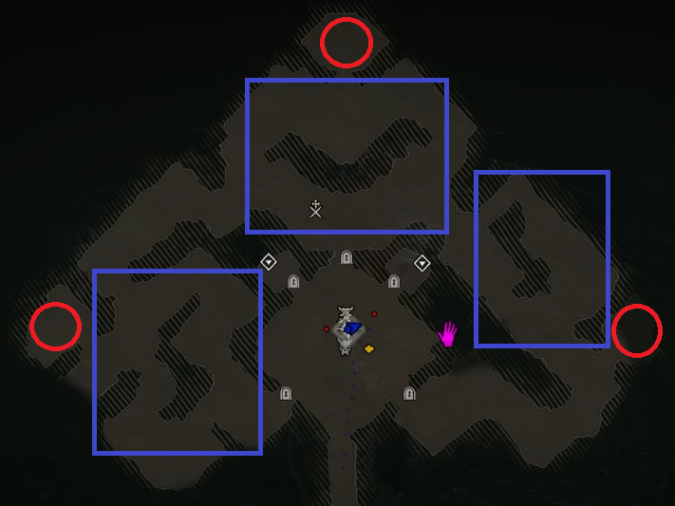
- When entering Phase 2 of the encounter, you now have to scout the outer circle of the arena for more Barrier Guardians.
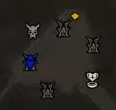
- You can find the Barrier Guardians in the blue squares and the corresponding unlocked Rooms in the red circles on the map layout on the right side.
- The Barrier Guardians ARE NOT opening the room that is closest to them. Instead, they open their corresponding Sigil's room somewhere on the map.
- Be fast in exploring, killing, and collecting during this phase!
- While all of this is happening, your slowest party member has an immensely important job to fulfill while following the boss around, keeping him from consuming souls.
- If Lorzuul consumes too many souls (check "Souls Consumed" bar in the top right), he starts channeling Impending Doom.
- This phase happens at 66% and 33% boss health.
Dominion of Zagraal
- This time, you are greeted by 2 Unknown Portals that are blocked by a barrier which can be turned off by standing on the Pressure Plates.
- Inside the Unknown Portal, you encounter Ward Guardians that drop Ward Stones that you need to place onto the Sealing Wards to proceed.

- At the end of the corridor, you encounter a Spell Guardian that drops a one-time use Counterspell Essence.
- This new Counterspell Essence mechanic reflects Soul Orbs back at their caster by pressing the new skills on your bar at the correct moment and being in range.
- By standing on the pressure plate, the statue shoots out a Soul Orb that you need to reflect back at it to open up a portal on the ground that leads to the next area.
- This is a one-time use only
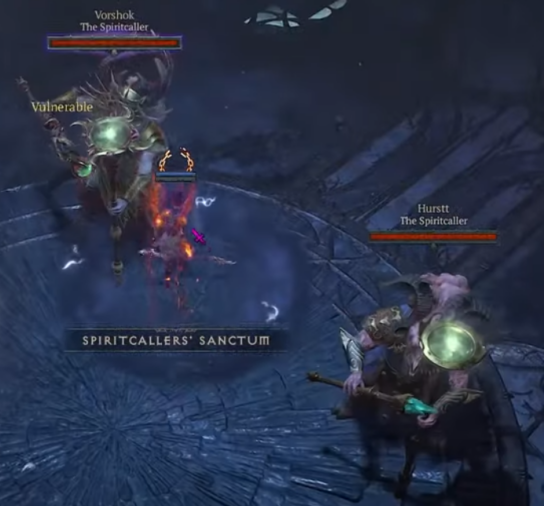
Hurstt and Vorshok, The Spiritcaller
- Hurstt and Vorshok are the first Boss encounter in the Dominion of Zagraal.
- After dealing enough damage, both become immune and summon a Spell Guardian, which holds the Counterspell Essence required to progress the fight.
- Reflect the Soul Orb back to one or even both bosses when they are close together, as learned previously.
- Follow the portal on the ground to the other plane with your whole group to kill the first boss.
- Repeat one more time to also kill the other Boss and end the Boss encounter.
Zagraal, The Eternal
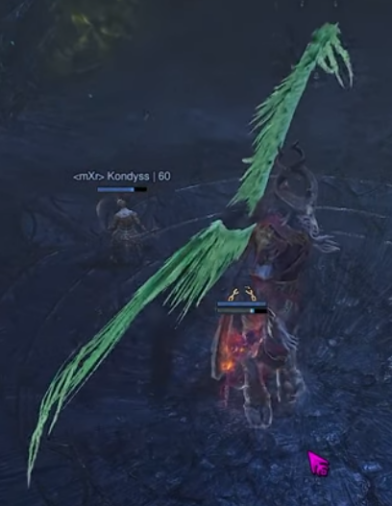
- You have arrived at the endboss of The Dark Citadel Zagraal, The Eternal.
- Follow Zagraal through the portal on the ground he creates before the fight starts.
- You start receiving Impending Doom stacks, which kill you at 100 stacks. To make sure this does not happen, you need to leave the Realm of Oblivion at around 70 to 80 stacks, depending on how close you want to cut it.
- At some point, Zagraal teleports to the edge of the arena and starts channeling red beams that you need to dodge out of.
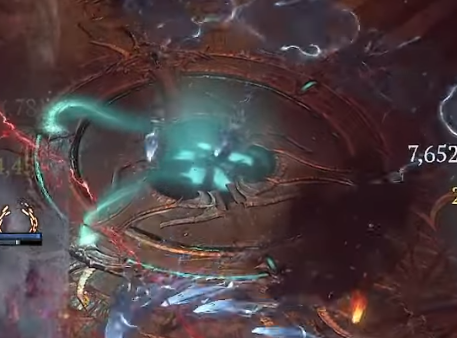
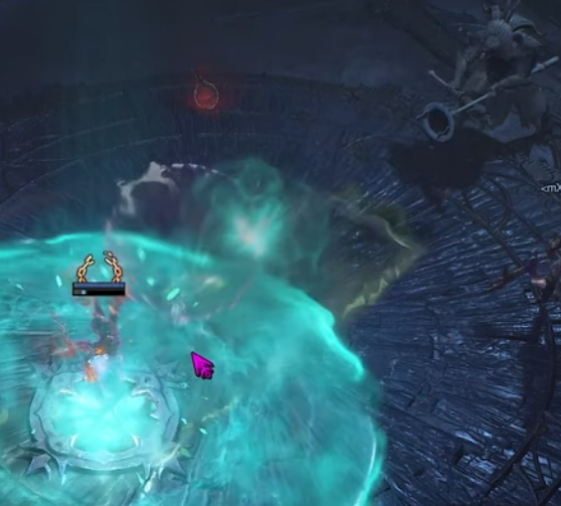
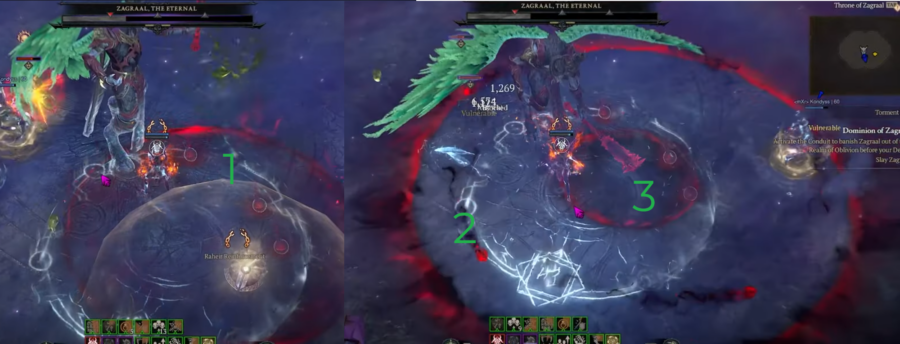
- While in the Realm of Oblivion, Zagraal also does a slam sequence, seen in the picture to the right.
- Area 1 needs to be dodged. After dodging Area 1, make sure to stand in Area 2, while dodging Area 3, which grows outwards until it disappears.
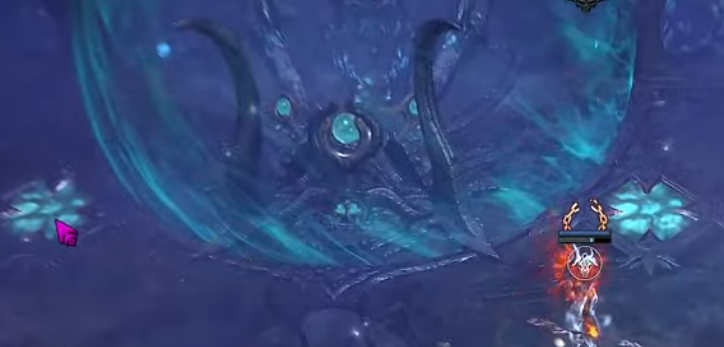
- Zagraal turns invincible after you have dealt enough damage. To banish Zagraal out of the immunity and the Realm of Oblivion, you need to stand on the Pressure Plates at the top of the arena, unlocking the clickable Conduit. After clicking the Conduit, Zagraal channels a portal back to the main realm.
- After reaching the Main Arena again, you encounter 4 Soul Siphons in different parts of the room. During this time, Zagraal is invincible and not part of the fight.
- Charge the Soul Siphons similar to the previous wings.
- After fully charging a Soul Siphon, a Ritual Guardian appears. The Ritual Guardians drop a Sigil with one of four symbols, which need to be brought and inserted into the corresponding Soul Siphon.
- When you place all four Sigils correctly, a Spell Guardian spawns, dropping a Counterspell Essence when slain.
- Use this Counterspell Essence to reflect Zagraal's Soul Orb to go back to the Realm of Oblivion.
- Repeat this one more time, and you have defeated Zagraal and successfully cleared The Dark Citadel.
Video Guide
Summary
- The Dark Citadel is a complicated co-op endgame activity designed for 4 players, but can be completed by 2 players and introduced in the Vessel of Hatred Expansion.
- The Quest Log under your minimap is incredibly useful to navigate The Dark Citadel successfully.
- Clearing all three wings rewards a weekly cache, but you can farm The Dark Citadel loot as often as you wish.
- Earn exclusive cosmetics based on the monsters from the Citadel through these victories!
Credits
Written by Chronikz